Section 4
Familiarization
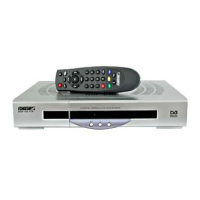
Page 4 - 8 EchoStar DVR-5000
© 2001 EchoStar International Corporation
All rights reserved
2.2. THE INSTALLATION SETUP MENU
■ The button, that gives you access to the System Setup page (for Fixed dish);
■ The button, that gives you access to the System Setup page (for DiSEqC 1.2);
■ The button, that gives you access to the Program Satellites page (for DiSEqC 1.2));
■ The button, that gives you access to the User LNB Setting page;
■ The button, that gives you access to the About EchoStar information page;
■ The button, that gives you access to the System Upgrade page;
■ The button, that gives you access to the Factory Reset page.
THE SIGNAL INDICATOR
In some menus the signal indicator is shown to help you to find a satellite and fine tune for the
best signal level and quality.
This main menu has different sub menus that give
access to the pages where you can customize the
settings to match your personal requirements.
Note that the sub menus are dynamic which means
that they change with the selections you make.
The installation setup menu always comes in view with
the system setup sub menu. In the menu bar the
sub menus are shown at the right side. The available
sub menus are shown as icons which become a
highlighted button after selection. The sub menus are
accessible with:
■ The signal indicator
The top bar shows the signal level to indicate that
you receive a signal.
The bottom bar shows the quality of the signal
(signal-to-noise ratio) to indicate that you have a
lock onto the selected transponder.
The bottom text gives the satellite and network
information to which the lock is established.