ENG - 71
2. PREPARATION BEFORE USE
● Before charging, please rstly turn on the button
at the bottom of the Winbot. (0 OFF 1 ON. The default
state is “0”) Otherwise, Winbot can NOT be charged
or working.
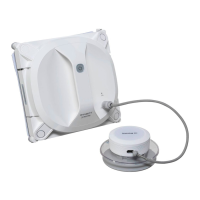
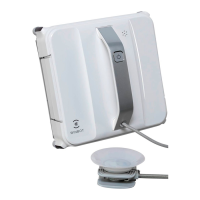
● Plug the adapter into your electrical receptacle and assemble the two connectors, tightening
the nut so the connector will not pull apart. Place the Winbot’s switch button, located under
the handle, in the Charging Position “ ” (far to the right) and changer for 2 hours. The
Indicator light ashes GREEN and will go to a steady GREEN when the charging is complete.
●
While the unit is charging, take time to read the Instruction Manual for Safety Notes and proper
use ofthe unit
.
● For most of your windows, the cord supplied will meet your demands. Should you be cleaning
the outside ofthe window, you must use the Safety Pod. Read the instructions on SAFETY
POD use in your Instruction Manual.
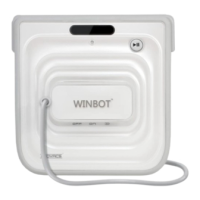
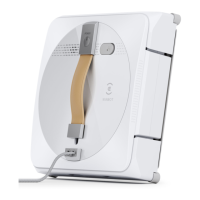
● You MUST place the large cleaning pad on the front
oating plate, making sure to cover the whole plate.
The smaller cleaning pad to be attached to the rear
of the unit in the space provided.
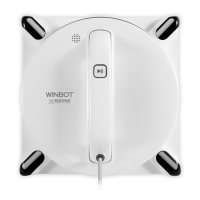
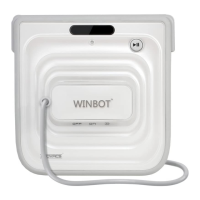
● Make sure the button on the bottom of the Winbot is turned ON.
● Just prior to placing the unit onto the window, take the glass cleaning solution bottle and spray
ONLY the FRONT pad. The pad should just be damp.
3. USE OF PRODUCT
● Grasping the unit by the handle, place the unit on the window which is most convenient to
you, BUT making sure it is at least 10 cm up and in from the corner ofthe window frame.
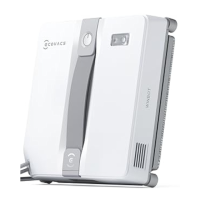
● While still having a hold on the handle, move the switch from the OFF position (far left) to
the ON position (Center) and you will hear a slight noise. This is the vacuum motor creating
suction to hold the unit to the window. When the indicator light turns BLUE, the unit has
attached itselfto the window and you can now let go ofthe handle.
● After ensuring the Winbot is correctly placed on the glass, press “ ” button ofthe Remote
Control momentarily or directly press the “ ” button on the Main Unit, then the product will
use automatic cleaning mode for cleaning the window and when nished cleaning will return
to the stan position.
● If you want the product to pause during the cleaning, press “ ” button on the Remote Control
momentarily or directly press “ ” button on the Main Unit, then the product will pause working
and go on standby. When the unit is done cleaning and has returned to the START position,
grasp the handle ofthe unit and move the switch under the handle to the OFF position – left,
and while still grasping the unit, insert tinger into the Air Release trigger and Pulling up on it,
remove the unit from the window.
For more complete and detailed information, please refer to Instruction Manual, which provides
important safety, use and maintenance information.v
Do NOT replace reading the Instruction Manual with review ofthe Quick User Guide.