Chapter 2
| Installation Overview
Switch Installation Tasks
– 17 –
Switch Installation Tasks
Follow these tasks to install the switch in your network. For full details on each task,
go to the relevant chapter or section by clicking on the link.
Caution:
Before installing your switch, first review all the safety statements and
guidelines in the Regulatory and Safety Information document.
Unpack Package and Check Contents
Unpack your switch and check the package contents to be sure you have received
all the items. See “Package Contents” on page 16.
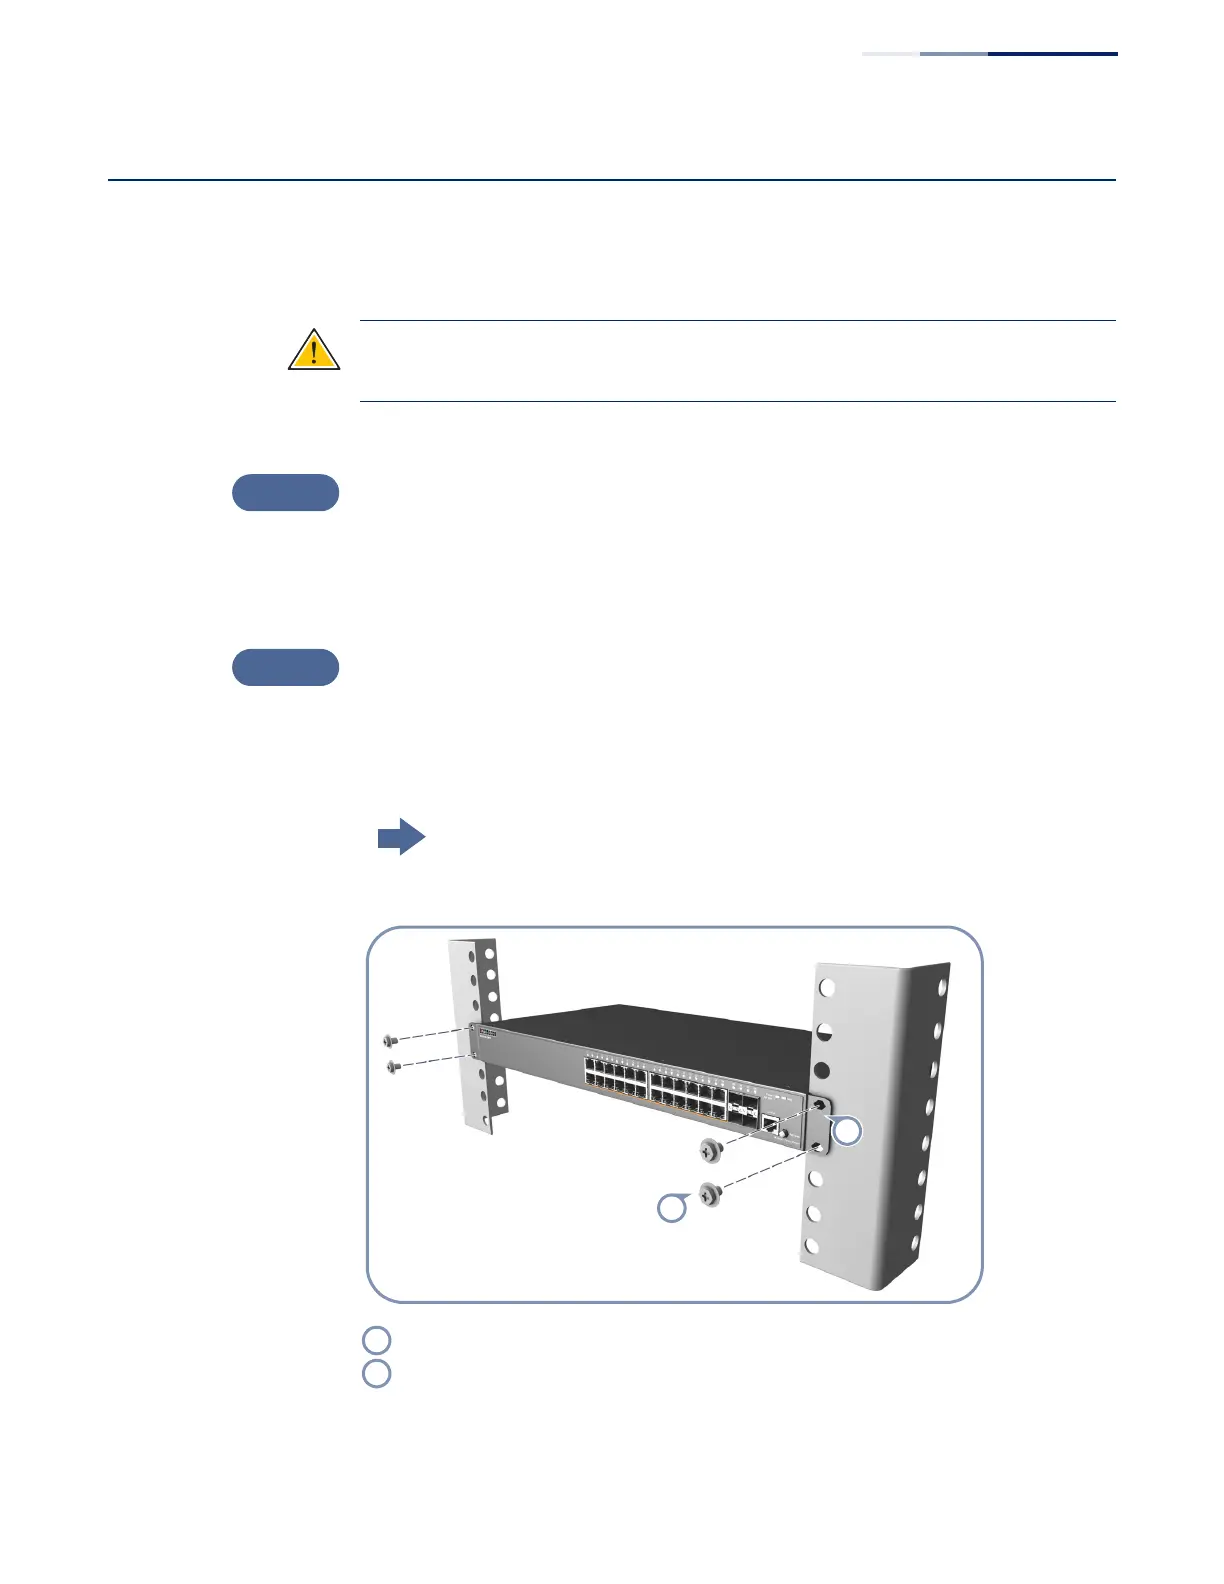
Install the Chassis
The switch is designed to be installed in a standard 19-inch equipment rack. Plan
your rack installation and install the switch chassis in the rack. Be sure to take into
account switch cooling requirements.
Go to the chapter “Switch Chassis”
Figure 3: Installing the Switch in a Rack
Attach the brackets to the switch.
Use the screws supplied with the rack to secure the switch in the rack.
 Loading...