Chapter 5
| Port Connections
How to Install an SFP/SFP+ Transceiver
– 37 –
How to Install an SFP/SFP+ Transceiver
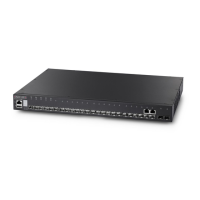
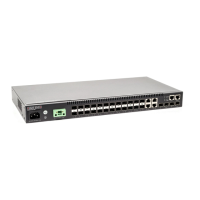
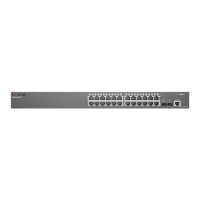
The switch provides slots for optional SFP/SFP+ transceivers. The supported
transceiver types are listed below:
◆ 1000BASE-SX
◆ 1000BASE-LX
◆ 1000BASE-ZX
◆ 1000BASE-LHX
◆ 10GBASE-SR
◆ 10GBASE-LR
◆ 10GBASE-ER
Note:
SFP/SFP+ transceivers are hot-swappable. The switch does not need to be
powered off before installing or removing a transceiver.
Note:
SFP/SFP+transceivers are not provided in the switch package.
To install an SFP/SFP+ transceiver, do the following:
1. Consider network and cabling requirements to select an appropriate
transceiver type that is also compatible with the switch transceiver support.
2. If the SFP/SFP+ slot is covered with a rubber protective cap, remove the cap
and keep it for later replacement.
3. Insert the transceiver with the optical connector facing outward and the slot
connector facing down. Note that SFP/SFP+ transceivers are keyed so they can
only be installed in the correct orientation.
4. Slide the transceiver into the slot until it clicks into place. If you do not
immediately connect a cable to the port, use a rubber protective cap to keep
the transceiver optics clean.
 Loading...