Chapter 2
| Installation Overview
Switch Installation Tasks
– 19 –
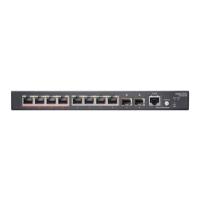
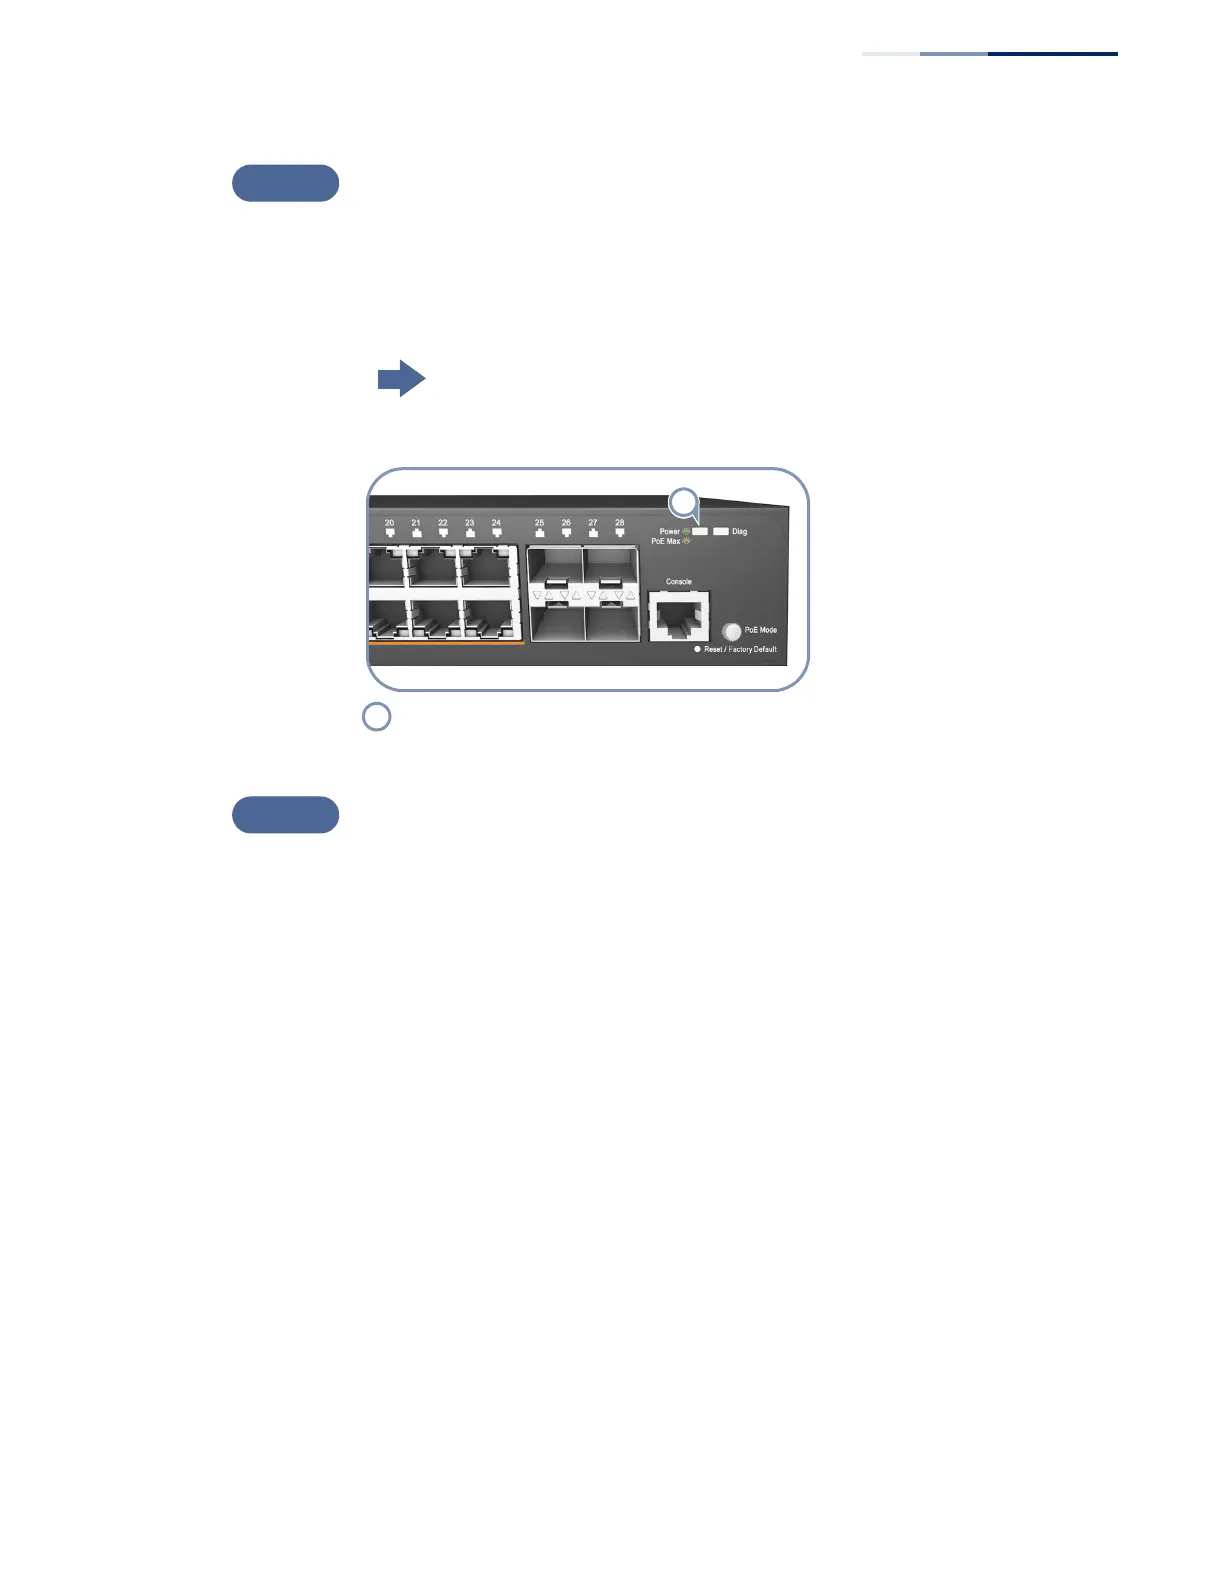
Verify Switch Operation
Verify basic switch operation by checking the system LEDs.
When operating normally, the Power and Diag LED should both be on green. If
either of these LEDs are on amber, see “Diagnosing LED Indicators” on page 51.
Go to the section “Understanding the System Status LEDs” on page 47
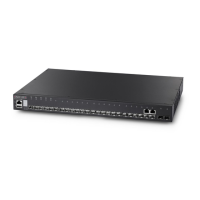
Figure 6: System LEDs
Make Initial Configuration Changes
At this point, you may need to make a few basic switch configuration changes
before connecting to the network. You can either connect to the switch console
port or any RJ-45 port to perform this task.
Through an RJ-45 Port
The switch offers a user-friendly web-based management interface for the
configuration of all the unit’s features.
You can make initial configuration changes by connecting a PC directly to one of
the switch’s RJ-45 ports. The switch has a default management IP address of
192.168.2.10 and a subnet mask of 255.255.255.0. You must set your PC IP address
to be on the same subnet as the switch (that is, the PC and switch addresses must
both start 192.168.2.x).
Log in to the web interface using the default settings:
◆ Login Name — admin
◆ Password — admin
System Status LEDs.
 Loading...