9.2 Setting-up in the battery mode (cold starting)
1. Ensure that the UPS that you have installed has got more that 1 set (20
pieces) 12 V/ 7 AH batteries.
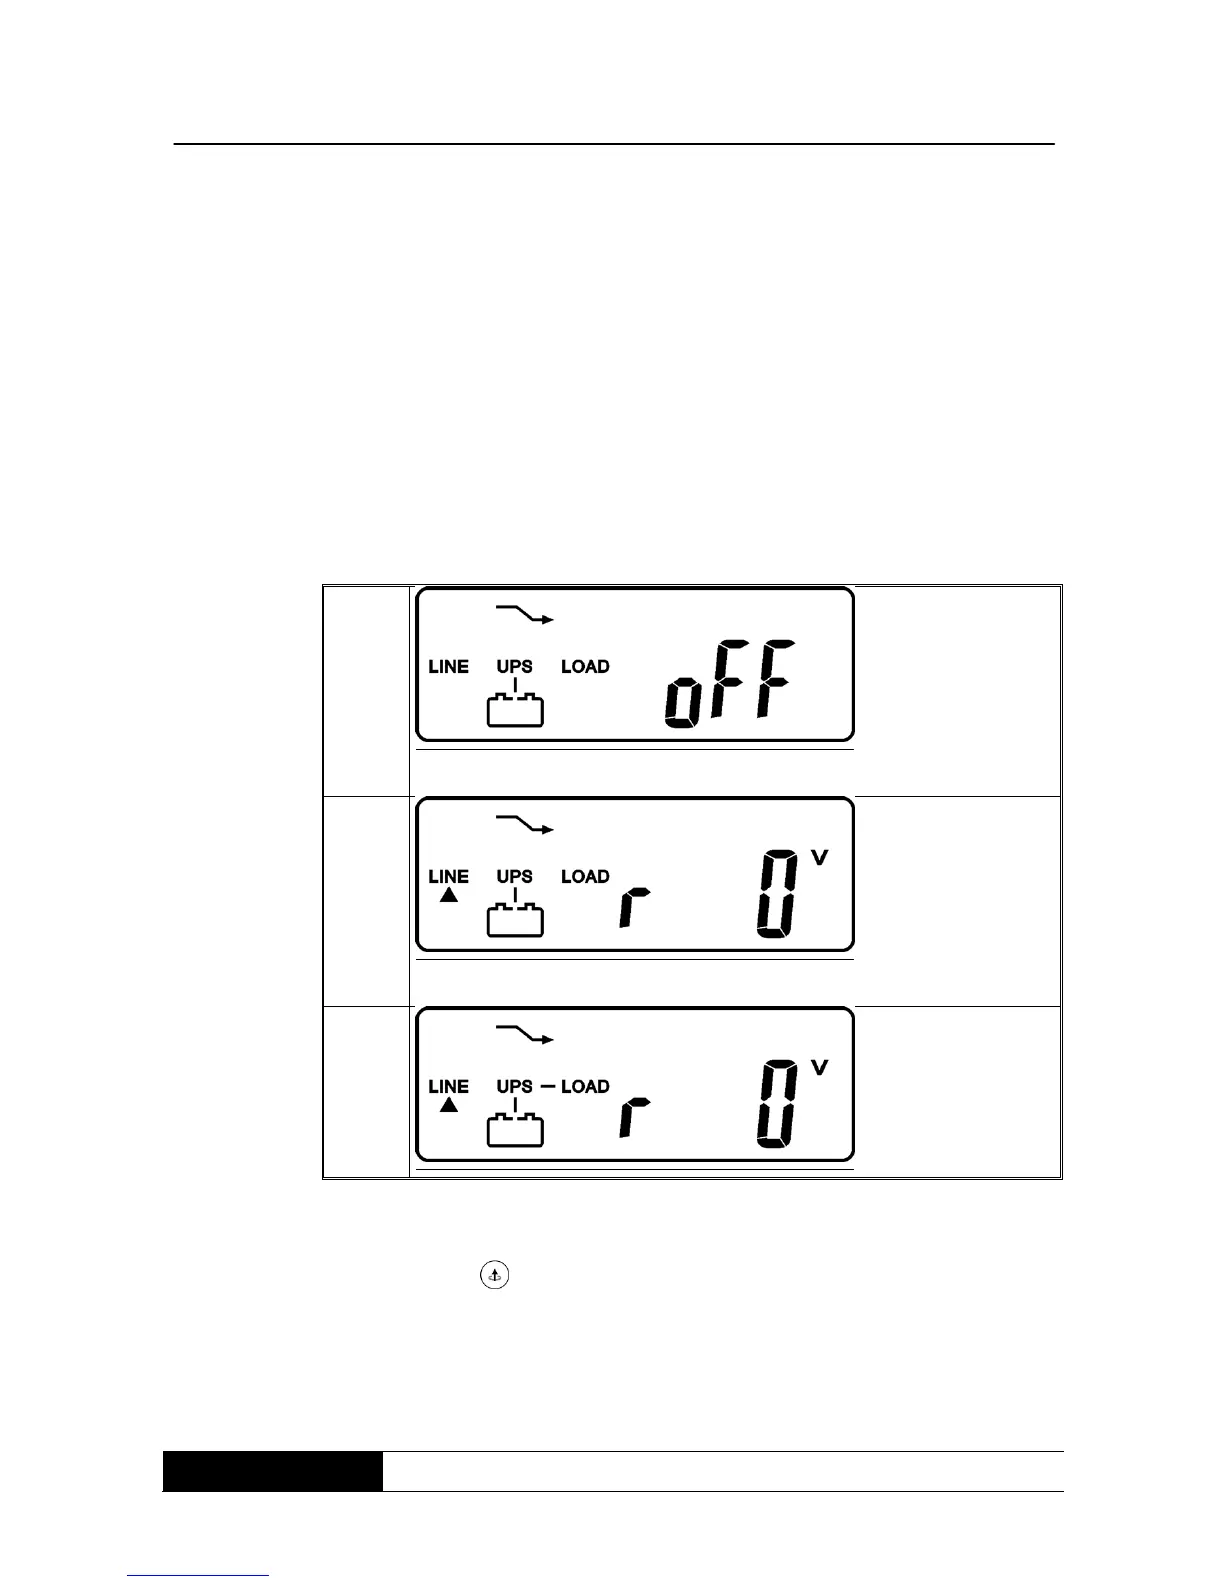
2. Push the switch-on button of the UPS for about 3 seconds to activate
the UPS. The buzzer resounds then two times. The LCD-display
indicates drawing A until drawing G and remains for about 10 seconds
activated.
3. Push the switch-on button of the UPS again for about 3 seconds until
the LCD-display indicates drawing G until drawing H. Now the UPS is in
self-mode. The UPS can supply the output within 1 minute with energy
and the LCD-display shows drawing I. If the switch-on button of the
UPS is not pushed within 10 seconds, the UPS will cut off
automatically. Then you have to repeat step 1 until 3.
9.3 Examination of the measurements and figures given by the UPS
When you want to examine the measurements and figures, use the buttons for
scrolling forward and back. If you use the button block to scroll forward, the
LCD-display will indicate drawing C (voltage from supplying input) drawing I1
(voltage from bypass input) -> drawing J (frequency from supplying input) ->
drawing K (frequency from bypass input) -> drawing L (UPS output voltage) ->
drawing M (UPS output frequency) -> drawing N (UPS output charge %) ->
drawing O (UPS battery voltage) -> drawing P (UPS internal temperature).