20
eSteer10 User Manual
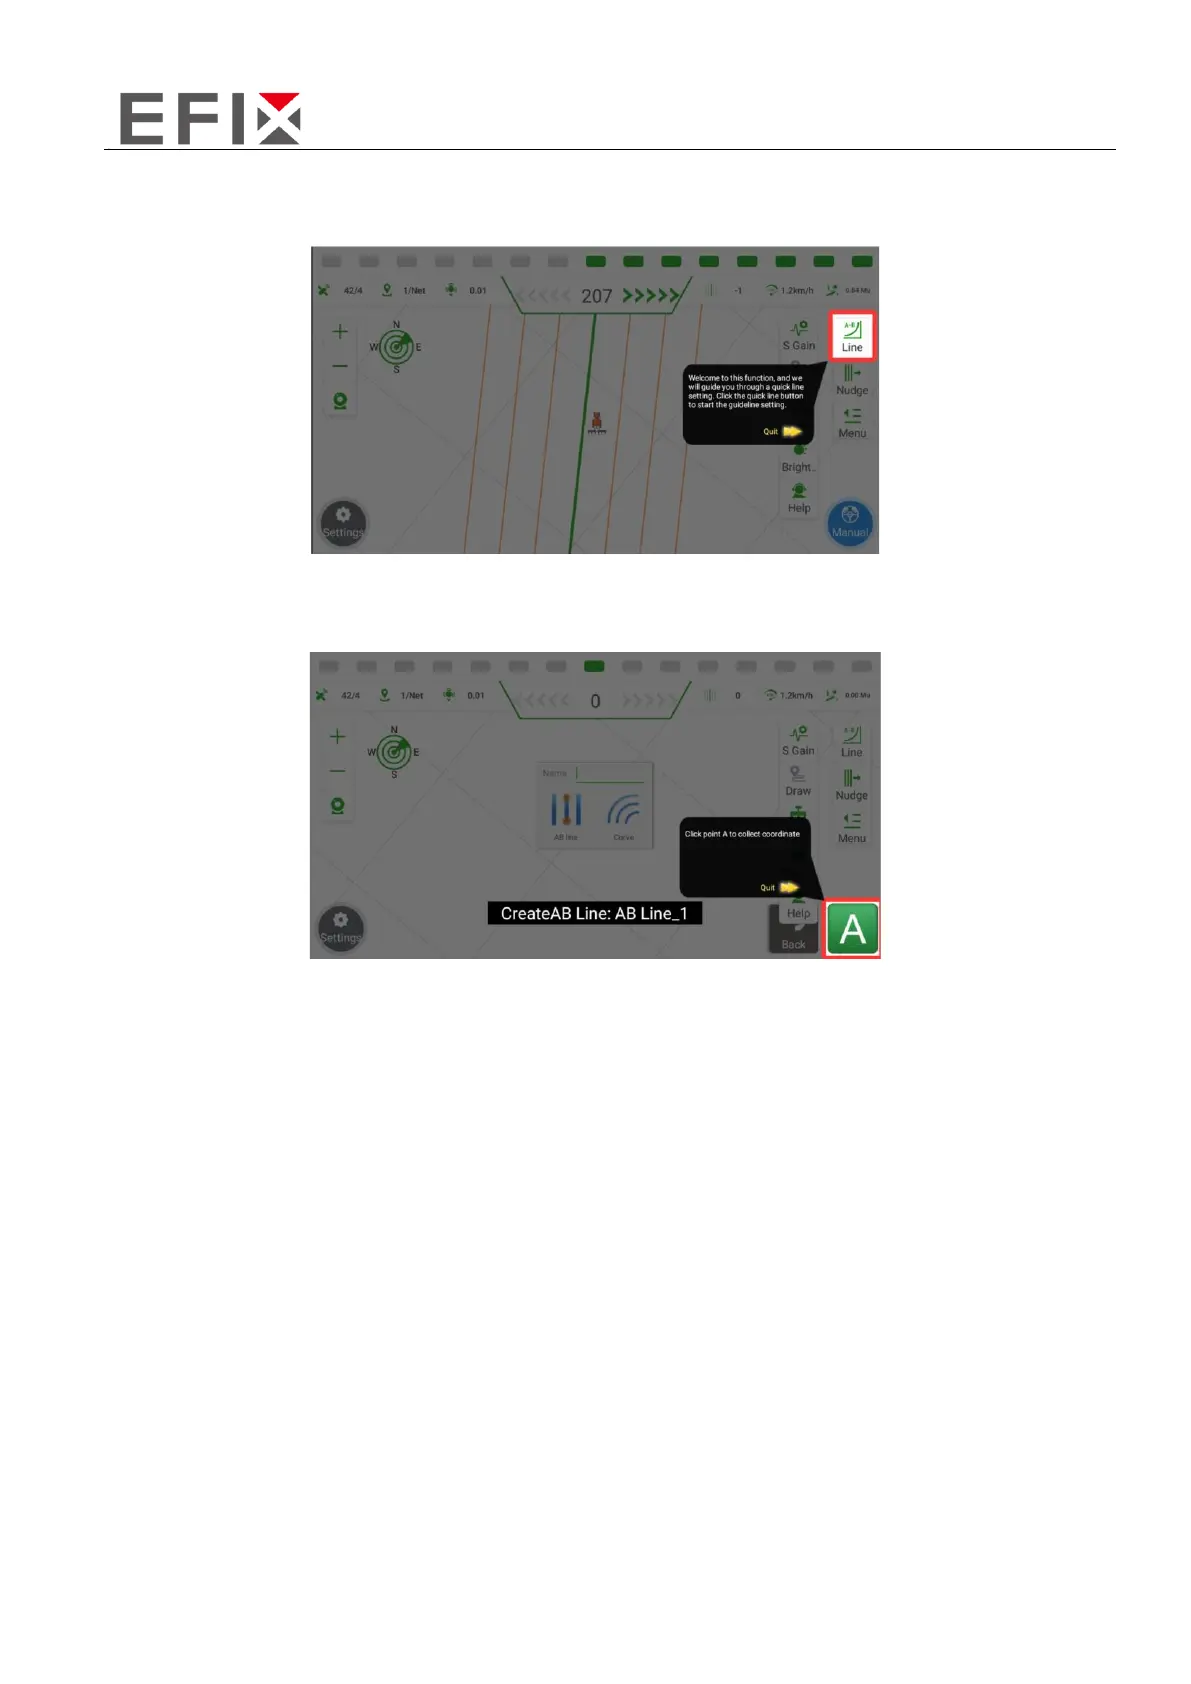
Step 2: After clicking on "Line Guidance," you will notice that the main interface restricts interaction
in all areas except for the "Line" function button on the right side. This is to ensure that you can focus
on the line guidance process without any distractions from other functionalities.
Step 3: Click on "Line," and you will see the appearance of the "A Point" in the bottom-right corner of
the screen. At this point, stop the vehicle at the desired starting point for line setup, which is typically
at the field headland.
Step 4: Manually drive the vehicle to the end of the field, ensuring that you cover one row without
performing any operations. Once the vehicle is stationary, click on the "B Point" to mark the endpoint
of the line. It is important to ensure that the direction from A to B is consistent with the desired line
direction. After confirming the B point, click on "Save." The screen will display the automatically
generated guidance line, indicating that the line setup is complete.
C. Row Spacing Calculation Guidance
Due to the issue of implement misalignment, the transition rows may not be accurate. Users can use
the Transition Row Calculation Guidance feature to manually adjust the transition rows.
Step 1: Click on "Transition Row Calculation Guidance" in the "Help" menu to initiate the guidance for
transition row calculation.
 Loading...