MAINTENANCE
22 SM-DK50 DS-EN-20_02-2016
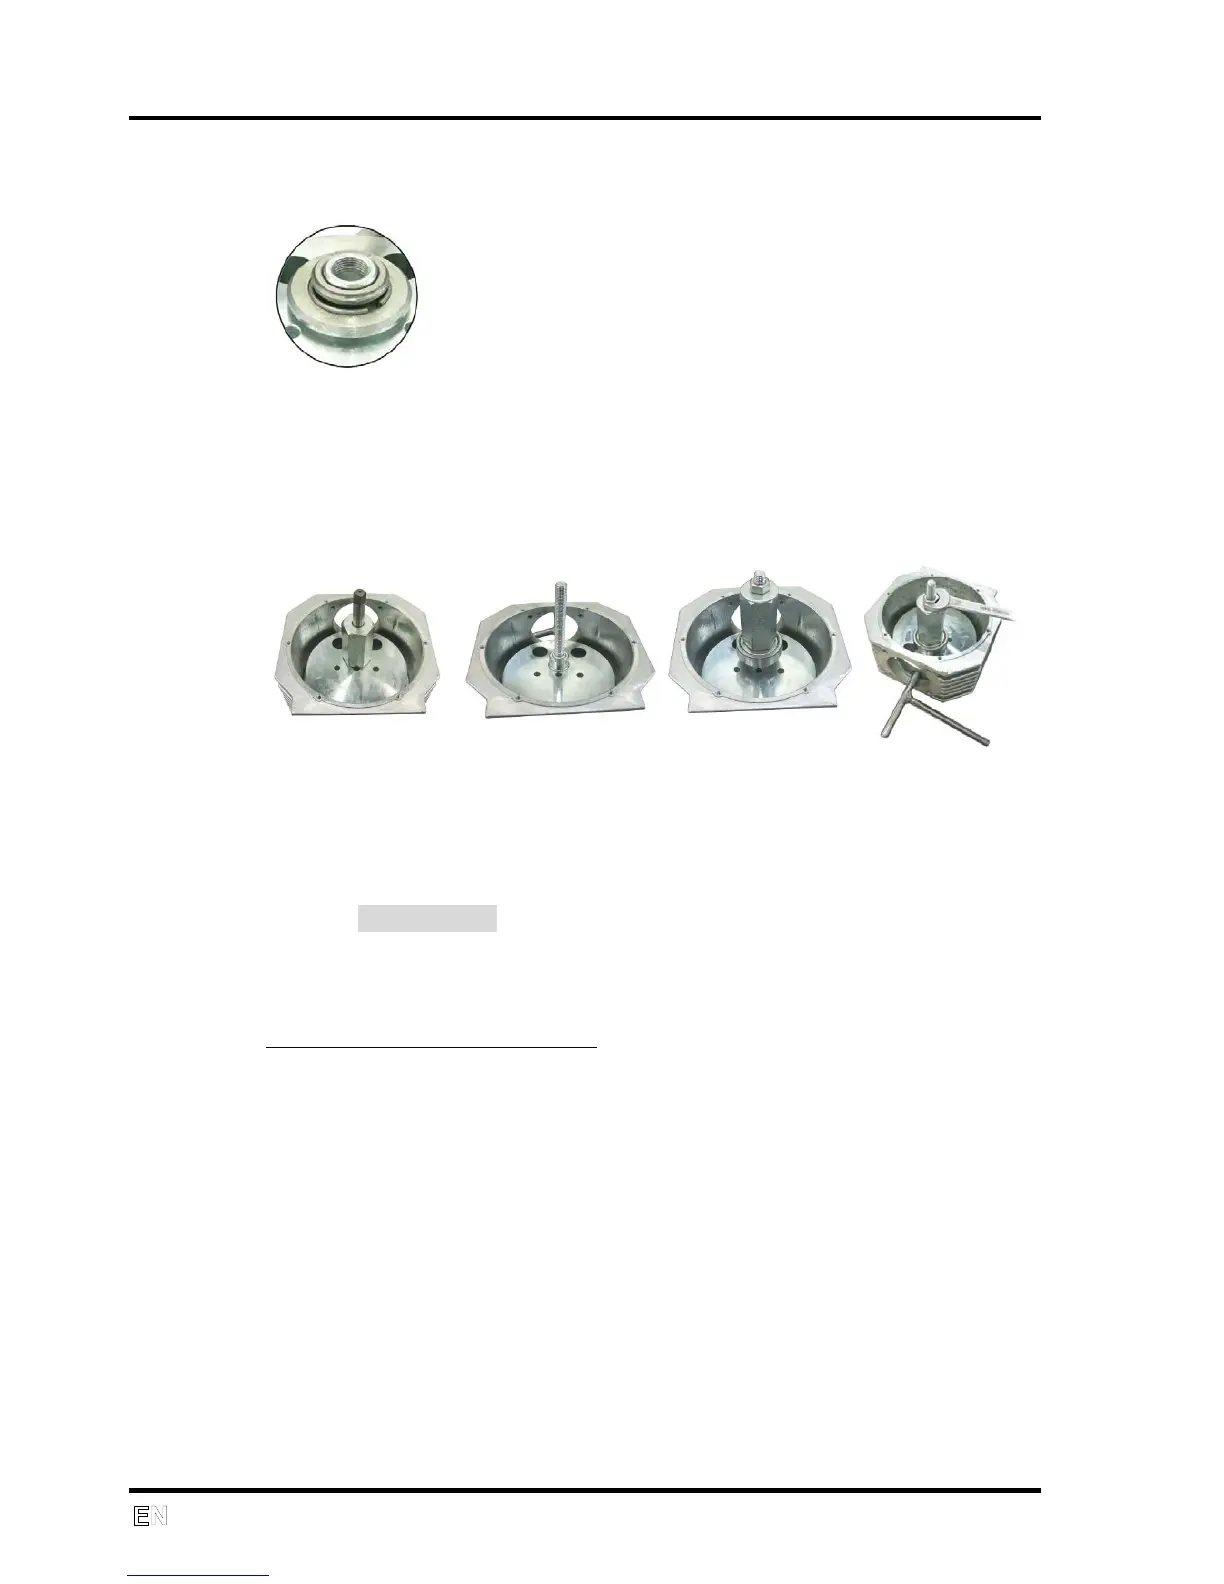
Remove the bearing using the bearing 6204 removal tool (Part No.
604001094).
If the bearing is damaged and missing its external ring, use the metal ring
together with the clamping sleeve.
Put the clamping sleeve and the metal ring on the internal ring. Tighten
the clamp.
Assembly
Secure the crank against movement.
Screw on the draw rod of the bearing pressing set.
Place the new bearing on the draw rod, fix the guide extension with a
washer and screw on the tightening nut to completely seat the bearing.
Control electronics - 115V version
Procedure for replacing the SMART circuit board
Handling the printed circuit board
- Protect against a static electricity discharge when handling
- The battery cannot be mounted on the printed circuit board before the board
is installed
- Mount the battery after the printed circuit board has been installed and
check to ensure polarity is correct
If possible mark down the value of the operating hours counter
Safely disconnect the power from the equipment
Remove the rear panel from the compressor
Disconnect the hoses, connector and wires from the printed circuit board
Remove the printed circuit board and replace with a new one
Reconnect the wires and connector following the electrical schematic