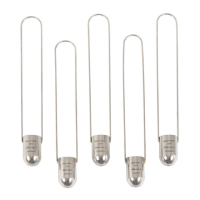
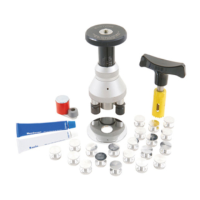
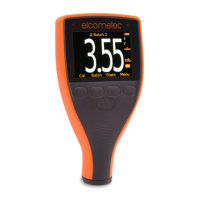
The precision manufactured probe tip will wear after continued use. This
is a consumable item which can be replaced by the user. (See Gauge &
Probe Accessories on page
A 2-point factory recalibration is required after a tip replacement to ensure
the continued accuracy of the gauge.
1. Select Menu/Reset/Factory Calibration and using the calibration test
foils supplied with the gauge / probe, follow the on screen instructions
59.)
To calibrate after probe tip replacement (T):
1. Press the Cal softkey
2. Select Factory Calibration and using the calibration test foils supplied
with the gauge / probe, follow the on screen instructions
To calibrate after probe tip replacement (BT):
When a new probe is connected, the re-calibration procedure will start
automatically.
Selecting “Yes” will start the calibration procedure. If the user chooses not
to recalibrate, the Cal softkey will continue to flash until the gauge is
recalibrated.
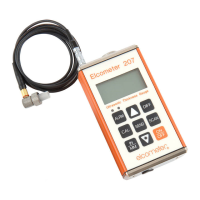
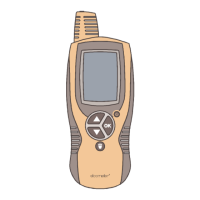
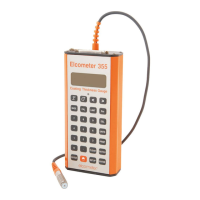
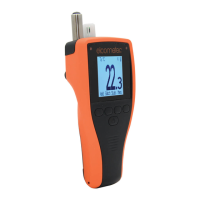
5 THE DISPLAY
The Elcometer 224 gauge has a colour display:
• White characters: All measurement and statistical values.
• Orange characters: All menu items, statistical parameters and
symbols.
• Red: A measurement value which is outside set limits; a limit symbol
when the limit value has been exceeded (Model T).
• - - - indicates reading outside range of probe.
www.elcometer.com9
en
R