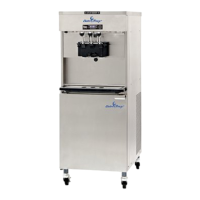
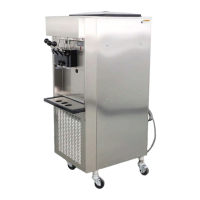
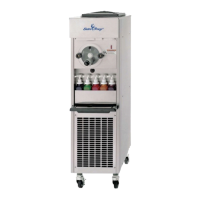
ELECTRO FREEZE Cocktail/Slush Freezer Model 812
2345678901234
2345678901234
2345678901234
2345678901234
2345678901234
2345678901234
2345678901234
2345678901234
2345678901234
2345678901234
2345678901234
2345678901234
2345678901234
2345678901234
2345678901234
2345678901234
2345678901234
2345678901234
2345678901234
2345678901234
2345678901234
2345678901234
2345678901234
2345678901234
2345678901234
2345678901234
2345678901234
2345678901234
2345678901234
2345678901234
2345678901234
2345678901234
2345678901234
2345678901234
2345678901234
2345678901234
2345678901234
2345678901234
2345678901234
2345678901234
2345678901234
2345678901234
2345678901234
2345678901234
2345678901234
2345678901234
2345678901234
2345678901234
2345678901234
2345678901234
2345678901234
2345678901234
2345678901234
2345678901234
2345678901234
2345678901234
2345678901234
2345678901234
2345678901234
2345678901234
2345678901234
2345678901234
2345678901234
2345678901234
2345678901234
2345678901234
2345678901234
2345678901234
2345678901234
2345678901234
2345678901234
2345678901234
2345678901234
2345678901234
2345678901234
2345678901234
2345678901234
2345678901234
2345678901234
2345678901234
2345678901234
2345678901234
2345678901234
2345678901234
2345678901234
2345678901234
2345678901234
2345678901234
2345678901234
2345678901234
2345678901234
2345678901234
2345678901234
2345678901234
2345678901234
2345678901234
2345678901234
2345678901234
2345678901234
2345678901234
2345678901234
2345678901234
2345678901234
2345678901234
2345678901234
2345678901234
2345678901234
2345678901234
2345678901234
2345678901234
2345678901234
2345678901234
2345678901234
2345678901234
2345678901234
2345678901234
2345678901234
2345678901234
2345678901234
2345678901234
2345678901234
2345678901234
2345678901234
2345678901234
2345678901234
2345678901234
2345678901234
2345678901234
2345678901234
2345678901234
2345678901234
2345678901234
2345678901234
2345678901234
2345678901234
2345678901234
2345678901234
2345678901234
2345678901234
2345678901234
2345678901234
2345678901234
2345678901234
2345678901234
2345678901234
2345678901234
2345678901234
2345678901234
2345678901234
2345678901234
2345678901234
2345678901234
2345678901234
2345678901234
2345678901234
2345678901234
2345678901234
2345678901234
2345678901234
2345678901234
2345678901234
2345678901234
2345678901234
2345678901234
2345678901234
2345678901234
2345678901234
2345678901234
2345678901234
2345678901234
2345678901234
2345678901234
2345678901234
2345678901234
2345678901234
2345678901234
2345678901234
184946 21
10.2 Adjusting Product Consistency (continued)
2. Find the small adjustment cover
on the left side freezer panel.
3. Remove the top screw holding
the cover and loosen the bottom, letting
the cover swing away from the access
hole.
4. Look into the access hole and
you will see an arm extending from the
drive motor (see figure 10-1.) The arm
is held in place by springs on both the
top and bottom. At the end of this arm
is a nylon adjusting stud. This stud will
adjust the consistency of the product.
5. If the product is too thin, turn
the adjusting stud counterclockwise
(up) 1/2 turn. If the product is too thick,
turn the adjusting stud clockwise (down)
1/2 turn. Close cover and reconnect
power. Turn selector switch to “FREEZE”
and wait until the compressor has cycled
off.
6. Recheck the product consistency
in 30 minutes. Repeat steps and recheck
until proper consistency is obtained. Close
cover and reinstall screw.
10.3 Refractometer/Brix Reading
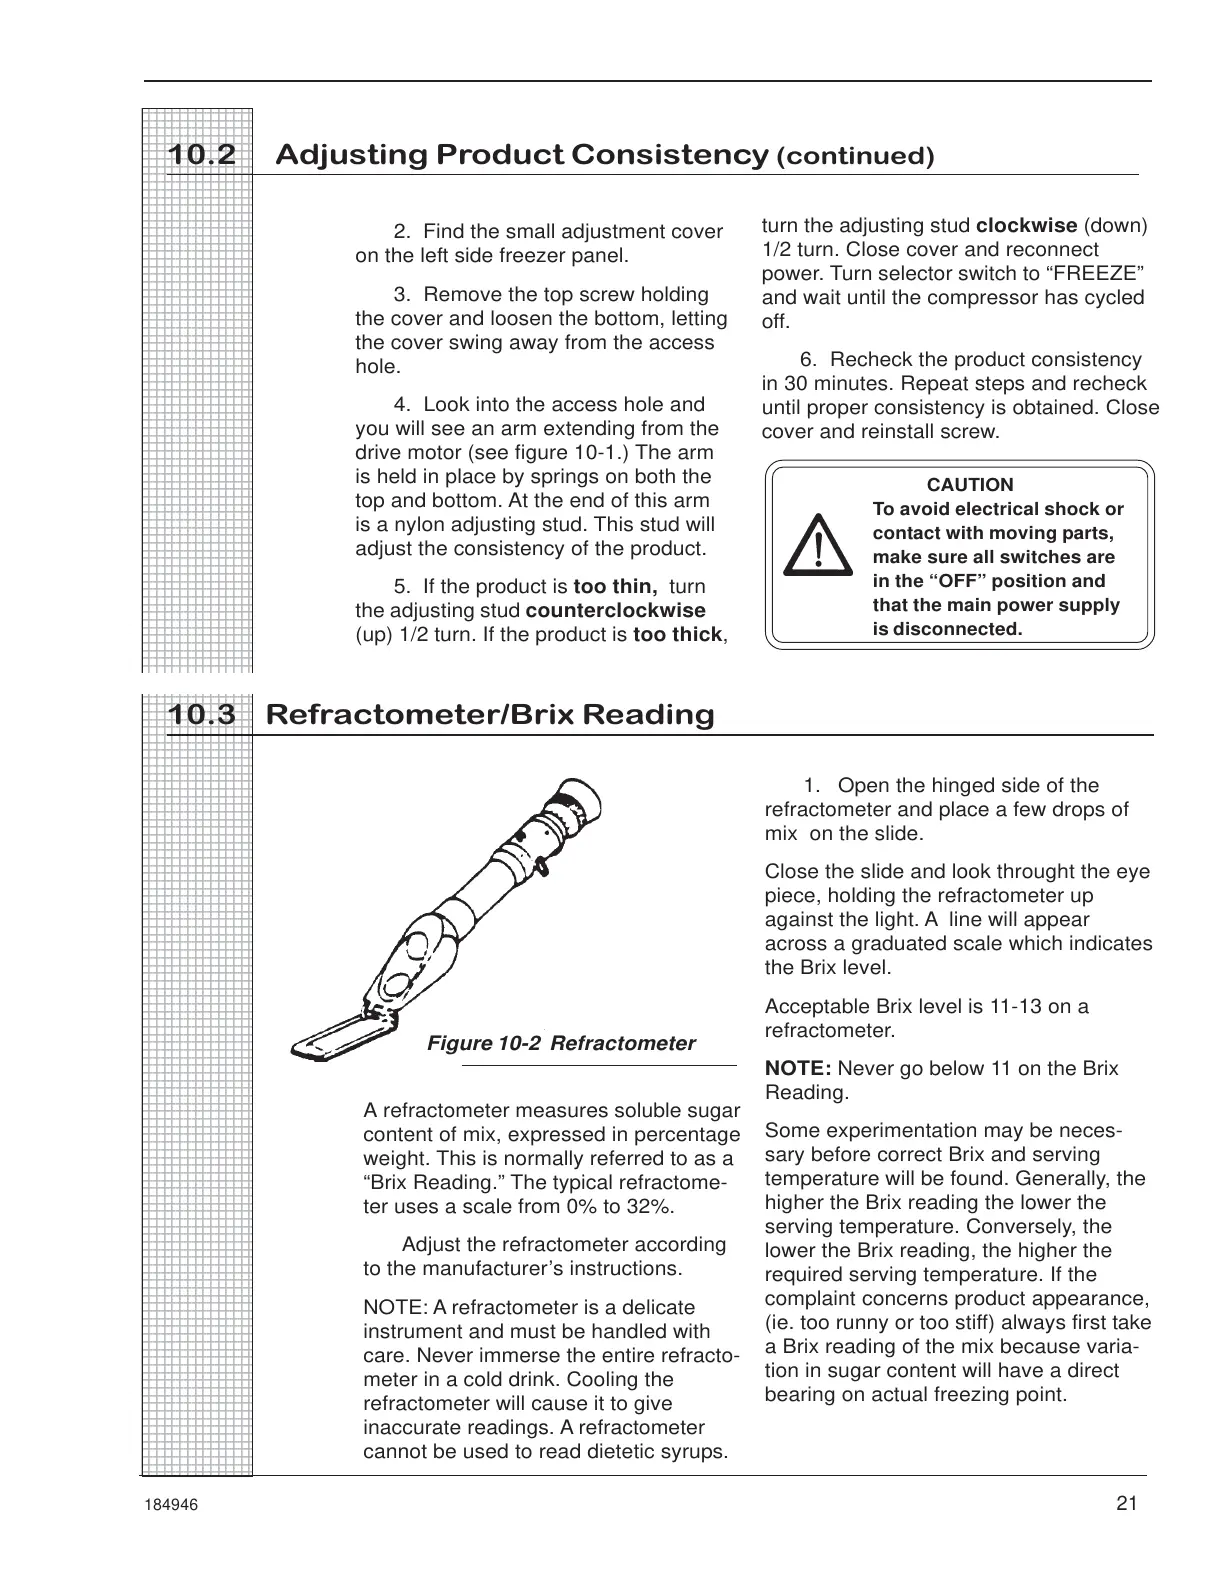
Figure 10-2 Refractometer
1. Open the hinged side of the
refractometer and place a few drops of
mix on the slide.
Close the slide and look throught the eye
piece, holding the refractometer up
against the light. A line will appear
across a graduated scale which indicates
the Brix level.
Acceptable Brix level is 11-13 on a
refractometer.
NOTE: Never go below 11 on the Brix
Reading.
Some experimentation may be neces-
sary before correct Brix and serving
temperature will be found. Generally, the
higher the Brix reading the lower the
serving temperature. Conversely, the
lower the Brix reading, the higher the
required serving temperature. If the
complaint concerns product appearance,
(ie. too runny or too stiff) always first take
a Brix reading of the mix because varia-
tion in sugar content will have a direct
bearing on actual freezing point.
A refractometer measures soluble sugar
content of mix, expressed in percentage
weight. This is normally referred to as a
“Brix Reading.” The typical refractome-
ter uses a scale from 0% to 32%.
Adjust the refractometer according
to the manufacturer’s instructions.
NOTE: A refractometer is a delicate
instrument and must be handled with
care. Never immerse the entire refracto-
meter in a cold drink. Cooling the
refractometer will cause it to give
inaccurate readings. A refractometer
cannot be used to read dietetic syrups.
CAUTION
To avoid electrical shock or
contact with moving parts,
make sure all switches are
in the “OFF” position and
that the main power supply
is disconnected.
 Loading...