8
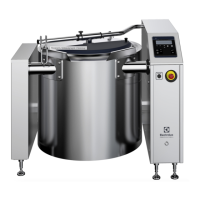
Calibration of temperature sensor
NOTE! In case of replacement of effect- or display PCB,
the food temperature sensor or the heating element tem-
perature sensor, temerature values for food and heating
elemet have to be calibrated as follows:
1. Fill up the boiling pan with appr. 10 cm water.
· Press Menu forwards and Menu back simul-
taneously for 5 seconds.
· Digit the code 1122 by pressing Increase value or
Decrease value
for digits, and Menu forwards
or Menu back for the position.
· Confirm by pressing Start .
SAFETY TEST MODE
· Select SERVICE MODE, pressing Decrease value
and press Menu forwards twice.
SERVICE
JACKET TEMP XX°C
CALIBRATED X°C
2. Press Decrease value and adjust the heating ele-
ment temperature sensor at -8°C.
3. Press Menu back .
SERVICE
JACKET TEMP XX°C
CALIBRATED X°C
· Press Decrease value and adjust the food tempe-
rature sensor at -3°C.
4. Press Start .
· Stir the water inside the pan with a wooden ladle.
· Boiling process starts. When the water inside the pan
is boiling, the display shall indicate 100°C. Calibrate
the value by pressing Increase value or Decrease
value max. ±8°C.
· Press Stop .
· Press Menu forwards once and Press Start .
· The boiling pan`s manometer have to show appr. 100-
110 kPa (1,0-1,1 bar) when the display indicates 121°C.
Calibrate the value by pressing Increase value or
Decrease value max ±8°C.
· Press Stop .
· End the process by switching off the power, pressing
ON/OFF .
Adjustment of the jacket cooling water
1. Start the automatic cooling program, vait until a
uniform flow of water running out of both pipes.
2. Put a bucket under båth pipes and fill under 20
seconds.
3. messure the water and confer with the tabe be-
low:
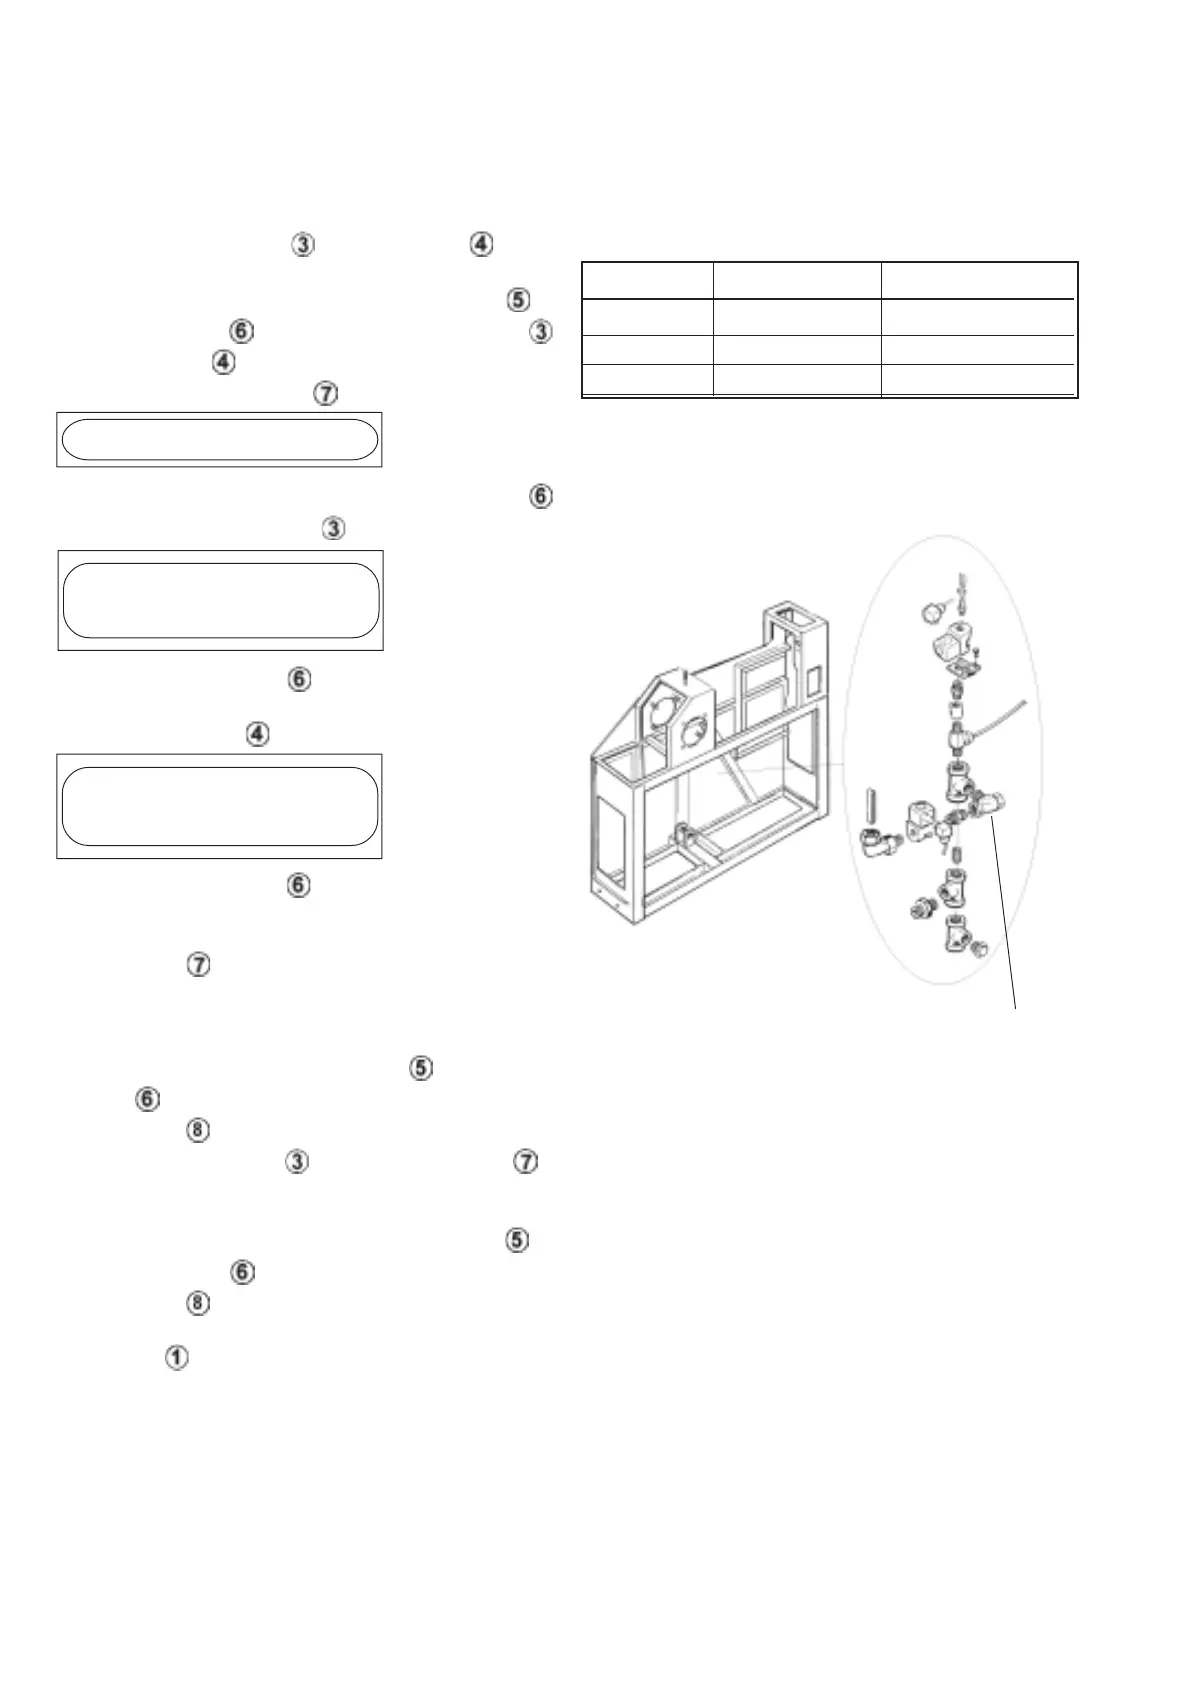
Size(L) Flow (l/min.) Flow (l/20 sec.)
50-100 10 3,3
150 11 3,7
200-300 12 4
Adjust with radiator filler neck.
radiator filler neck
 Loading...