- 20 -
7-2 X-Ray Protection Test:
-Short R202 (Install 3k ohm tool), Check if the protection circuit works.
-Remove the tool and Restart the unit.
7-3 Focus Adjustment:
-Apply the mode (mode 6 for 15” , mode 7 for 17” and 19” signal with the text
pattern.
-Set the brightness and contrast to the raster just disappears.
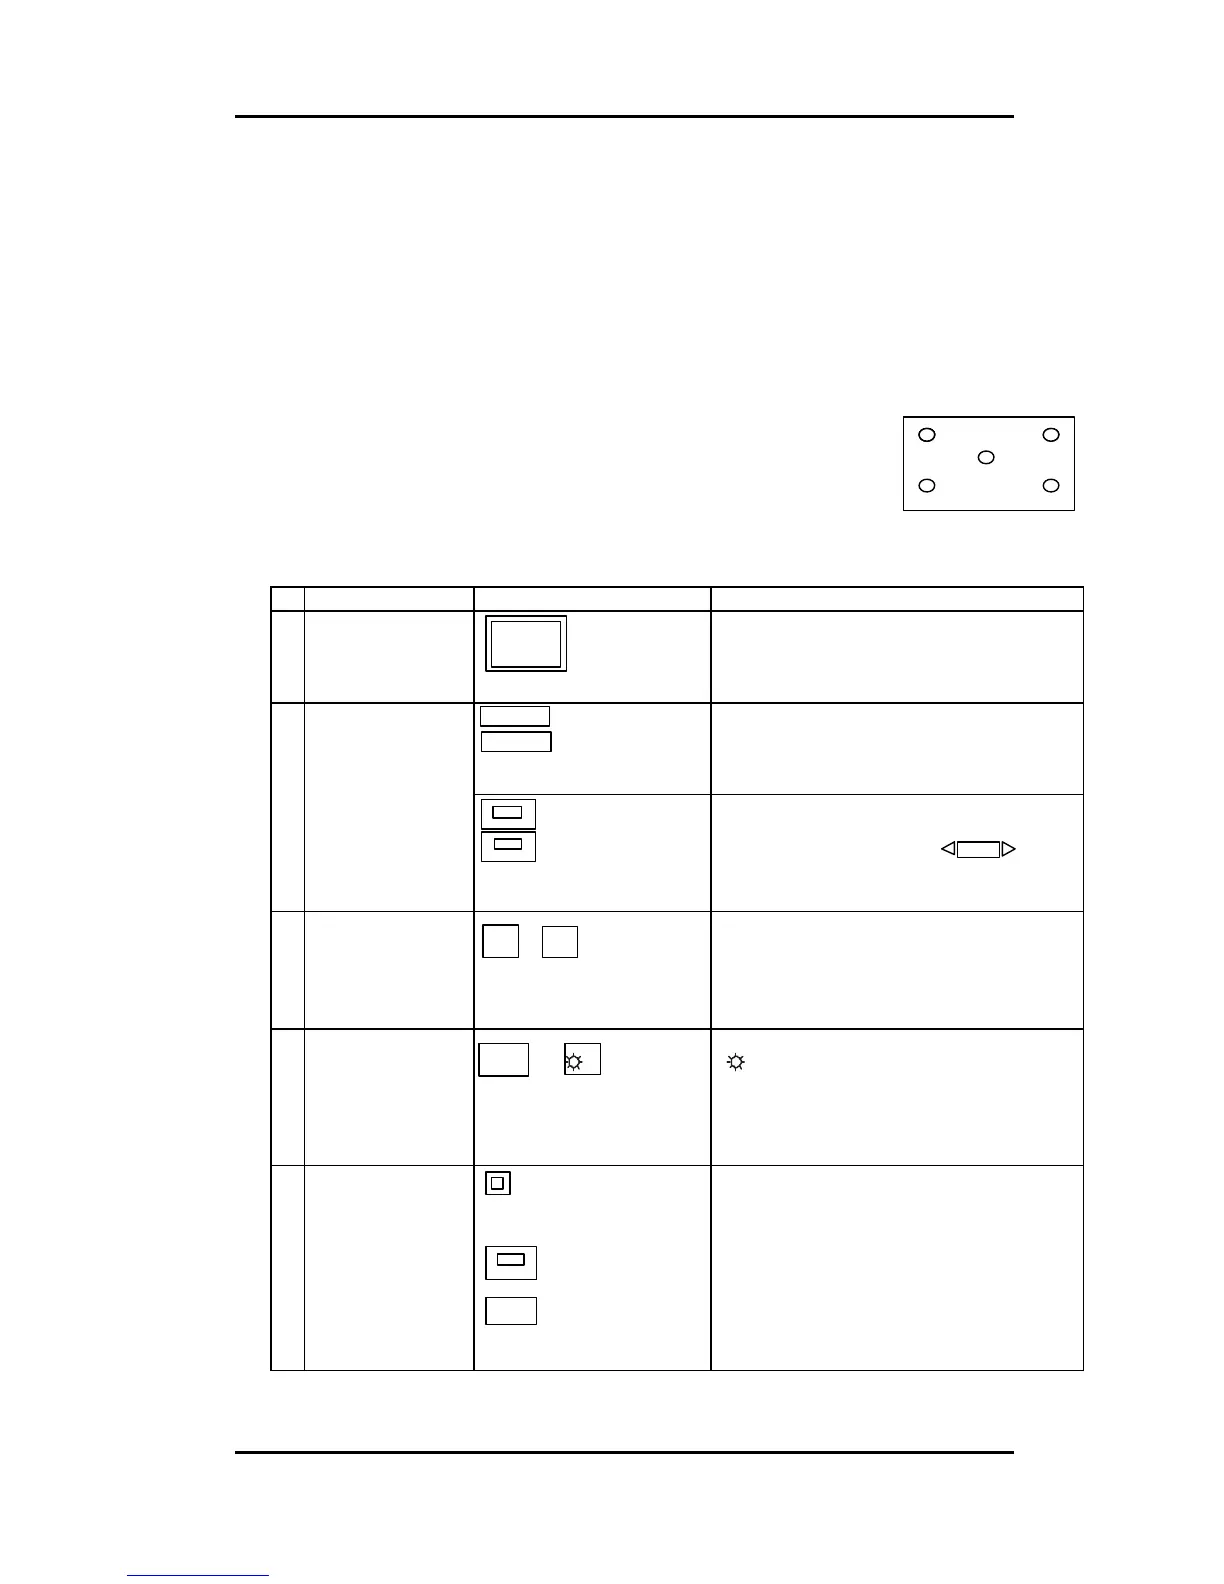
-Make the corner sections of the screen optimum by focus VR1 on the F.B.T.
-Make the center sections optimum by turning focus VR2 on F.B.T.
-Repeat 1,2 to make it optimum.
7-4 White Balance Alignment : (The monitor must to be warmup over up 30 minutes)
No. Item Function Process
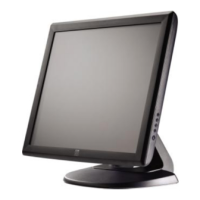
1 Set to factory mode Green Picture
Press OSD button and power on the OSD show
green color with in factory mode
2 Raster adjustment
and select the
resolution and
pattern
OSD Picture
Raster Pattern
Apply the mode 7 ( 15” select to mode 6) signal
with the video cut off pattern.
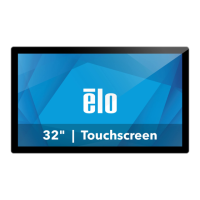
Brightness
Contrast
Set the contrast to Max, and the Brightness to
the max. (OSD function)
Select the OSD “OSD” → “ “move
the OSD picture to right side.
3 Raster of Brightness
adjustment
→
Put the color analyzer probe on the screen
center, adjust the OSD “OSD” → “G1” until the
color analyzer show “Y” is 0.5~0.7 Ft-L, select
“ESC” select “SAVE”.
4 Raster of
Temperature
Adjustment
→
Select the OSD “R.G.B” color temp. adjust the
R.G.B to until , the color analyzer show
“x” =0.283 and “y”=0.297+/-0.02(the “Y” must be
in 0.5~0.7 Ft-L range), select “ESC” select
“SAVE”.
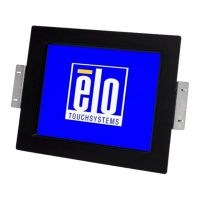
5 White
Square-box pattern
(50x50mm) setting
White Square-box pattern
Brightness
Contrast
Select a White Square-box pattern (50x50cm) set
the contrast to max and the brightness to the 50
value.
eeeeeeeeeeeeeeeeeeeeeee
eeeeeeeeeeeeeeeeeeeeeee
eeeeeeeeeeeeeeeeeeeeeee
eeeeeeeeeeeeeeeeeeeeeee
eeeeeeeeeeeeeeeeeeeeeee
eeeeeeeeeeeeeeeeeeeeeee
eeeeeeeeeeeeeeeeeeeeeee
eeeeeeeeeeeeeeeeeeeeeee