Note: In the Win10 system, after some Arduino is connected to the computer (non-genuine chips are
difficult to be recognized), the system will automatically download the corresponding driver, you don’t
need to install the driver by yourself, but in Win7 system, you need to follow the above steps. Install the
driver manually.
As shown in the figure above, we can see that the USB serial port is recognized as COM15, but different
computers may be different. You may be COM4, COM5, etc., but the Arduino Uno must be the same. If you
do not find the USB serial port, it may be that you installed it incorrectly or the system is not compatible.
IDE interface introduction
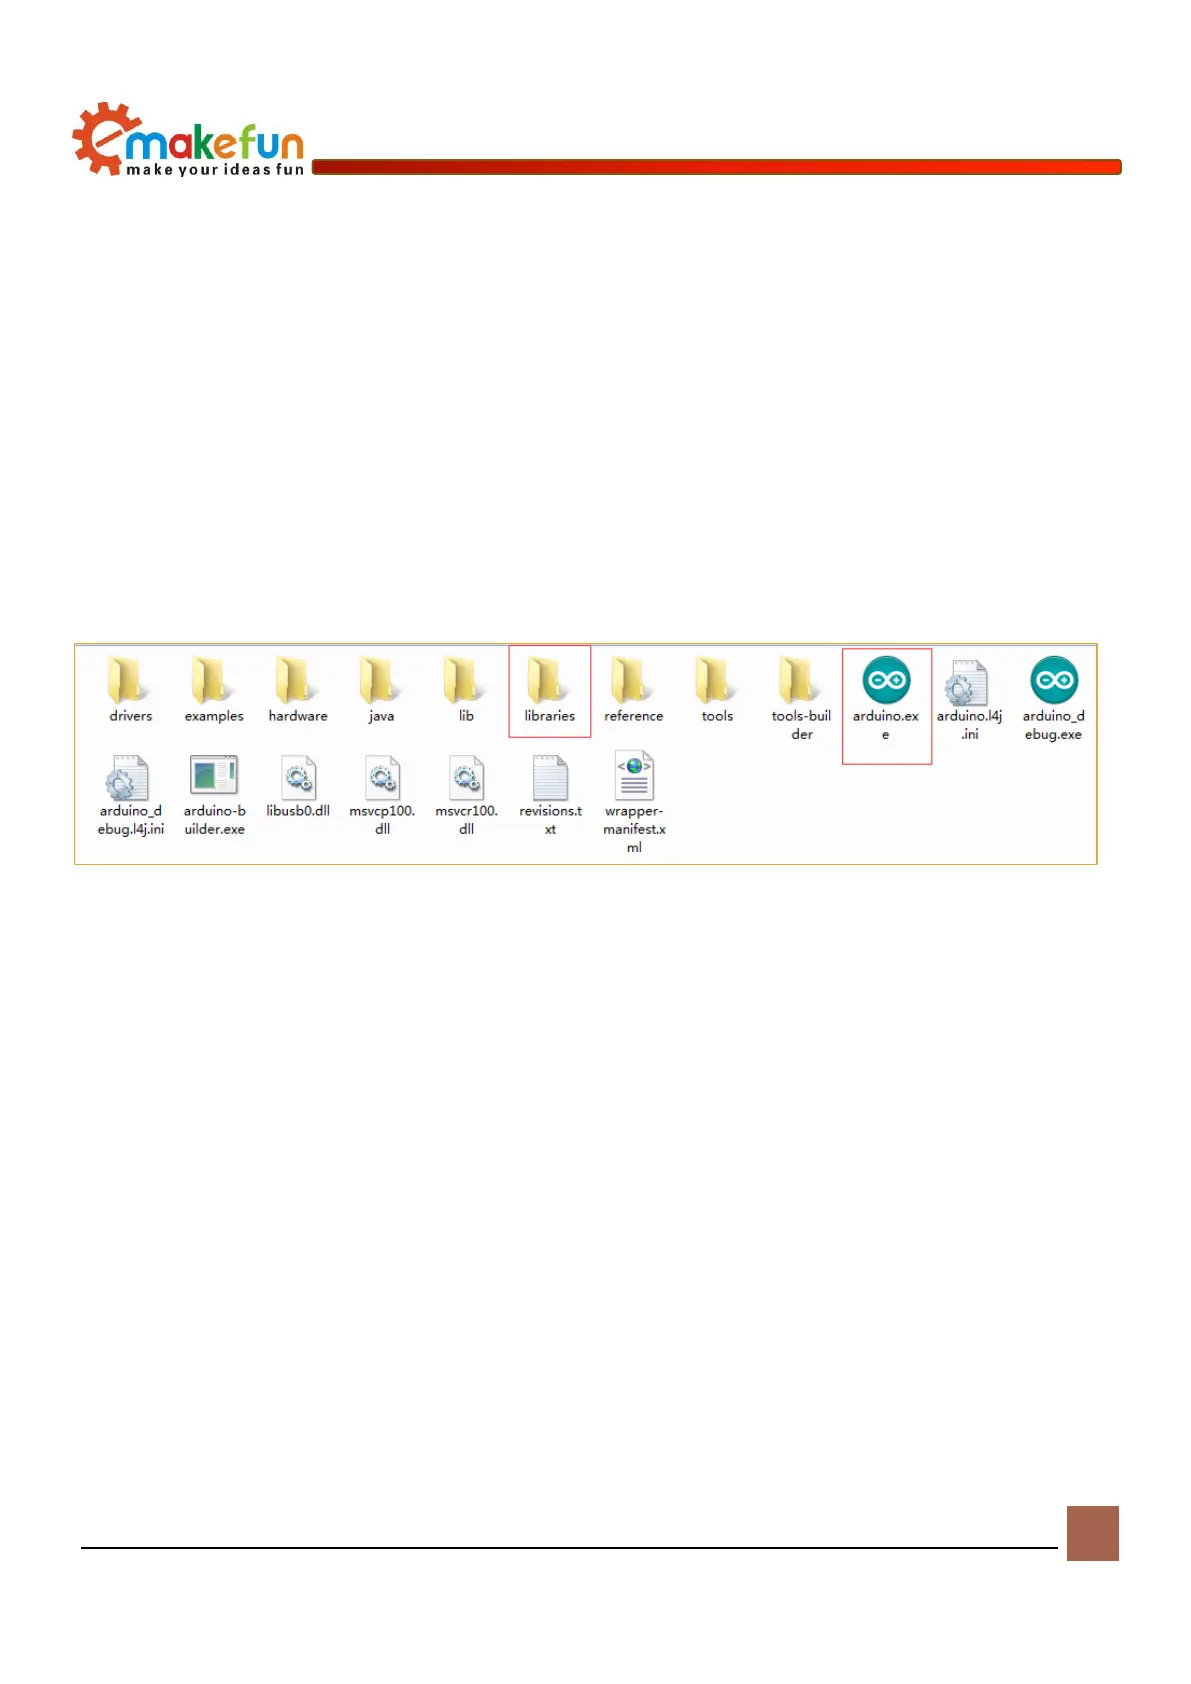
Then we introduce the IDE interface of Arduino. Firstly, enter the software directory. Then you can see the
arduino.exe file and double click to open the IDE. As shown in Figure 4-9.
Figure 4-9 Software catalog
1、The first thing that catches your eye is the interface below. The toolbar button functions are
"Compile" - "Upload" - "New Program" - "Open Program" - "Save Program" - "Serial Monitor", as
shown in Figure 4-10.