S600+ Field Upgrade Guide
S600+ Upgrade Kit
Before you begin, open the upgrade kit and verify that you have all
the components you need to complete this process:
CPU module (P152 R5, part number 7381520) in an anti-static bag.
New S600+ front panel faceplate.
Front panel connector cable (with ferrite clamp filter)
Modified security plate.
1. Save Configuration
The Config600 software installed on your PC maintains copies of all
configurations you have defined, storing them in the folder
C:\Program Files\Config600 X.X\Configs (where X.X represents the
current installed version of the Config600 software).
Note: This is the system default folder for configurations; your site
may have changed this location.
If you have not recently modified any of your configurations, you may
not need to re-save them. As a precaution, you might review and save
the most recently used configurations or use the Config Transfer utility
to upload the active configuration (refer to the Config600
Configuration Software User Manual (A6169).
Proceed to the next step.
2. Power Down S600
Before powering down the S600, ensure that any processes it may
control are themselves shut down or otherwise controlled. Once you
are sure of this, disconnect power from the S600 by removing the
power wire terminal block.
Proceed to the next step.
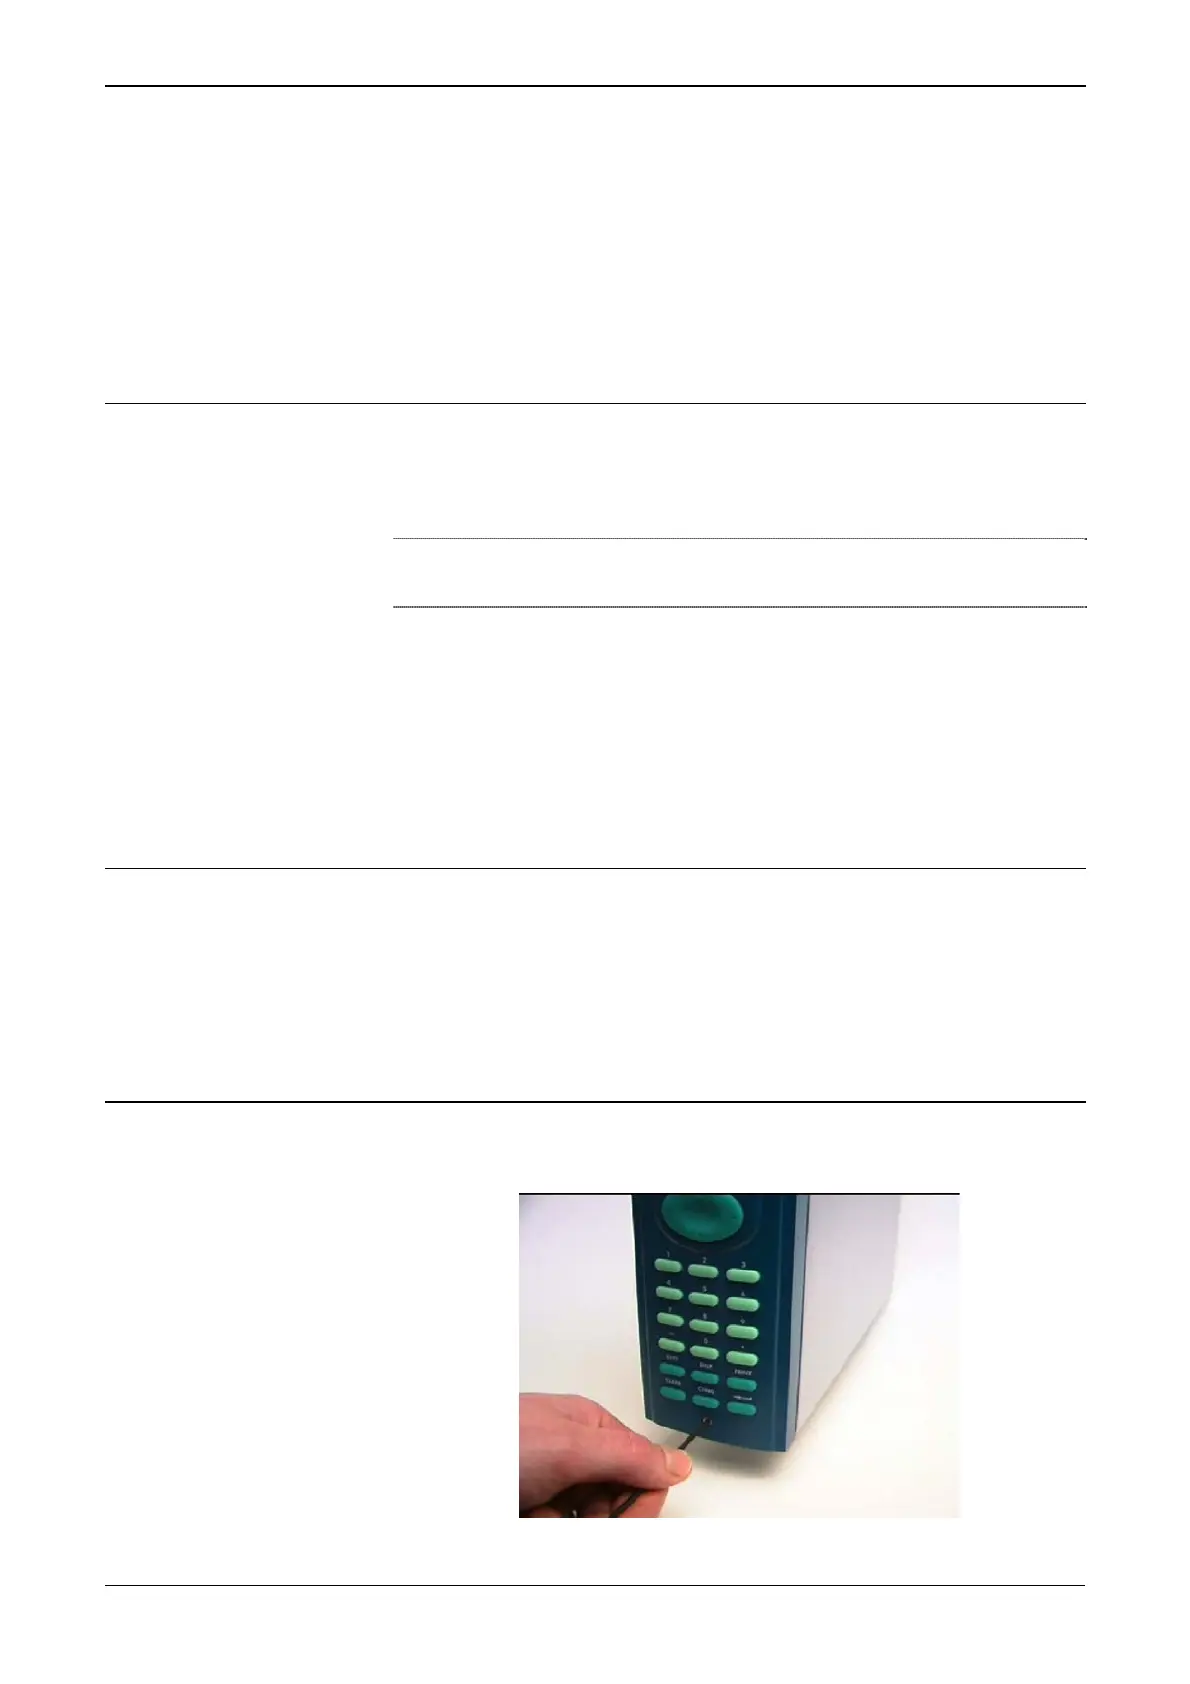
3. Remove the Front Panel Faceplate
1. Using a 2.5 mm Allen key, remove the hex cap screw from the
bottom centre of the front panel.
Figure 1. Removing the Hex Cap Screw
2 Revised Feb-11

 Loading...