S600+ Field Upgrade Guide
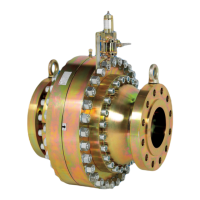
7. Remove Current CPU Module
Before you can remove the current CPU module, you may have to
open the case for the S600. Depending on how the S600 is installed at
your site, you may first have to remove a security plate that prevents
easy access to the modules.
1. Disconnect all wiring to the CPU and any other installed modules.
Note: The power wiring to the new CPU module is identical to
the old CPU module. However, other wiring is very similar.
TB2 on the old CPU module has 13 pins. Pin 13 is not
supported. Pins 5-13 are a single 5-pin connector block. If
you use these, swap this 5-pin connector for a 4-pin
connector. Detail the current wiring structure so you can
replicate it with the new CPU module.
2. Remove the aluminium security plate at the back of the S600
chassis.
Note: Removing this plate may require you to detach wire seals
placed in accordance with measurement requirements (such
as NMi). Ensure that you follow the appropriate procedures
to replace these seals.
3. Unscrew the retaining screws and remove the cover plate at the
back of the CPU module.
4. Using the attached lifters, detach and slide the CPU module out of
the chassis. Store it in an anti-static bag for safekeeping.
Proceed to the next step.
8. Unpack New CPU Module
The new S600+ CPU module (P152 Rev 5 or above) is factory-packed
in an anti-static bag. Carefully remove it from the bag, observing all
cautions—including personal grounding—to prevent accidental static
discharge (which might damage the CPU module). Place the module
flat on a static-safe surface so that the communication connectors face
up, as shown in Figure 7:
Revised Feb-11 7

 Loading...