S600+ Field Upgrade Guide
3. Enter the default access code (1111).
Note: Change this default value to your site’s chosen value as
soon as possible to prevent unauthorised access to the
system.
4. Select Cold St and confirm your selection. The system restarts and
displays the Cold Start menu:
1* WARM START
2* COLD START
3* NETWORK SETUP
4. REFLASH FIRMWARE
5. CONFIG SELECTION
8* FACTORY SETUP
Figure 11. Cold Start Menu
5. Select Network Setup.> Network I/F 1. The TCP/IP Menu
displays (see Figure 12).
Note: Ensure that your Ethernet cable is connected into the
NTWK1 port on the CPU module.
1. TCP/IP ADDRESS 1
2. GATEWAY ADDRESS 1
3. SUBNET MASK 1
4. TCP/IP MODE
5. GO BACK
Figure 12. TCP/IP Menu
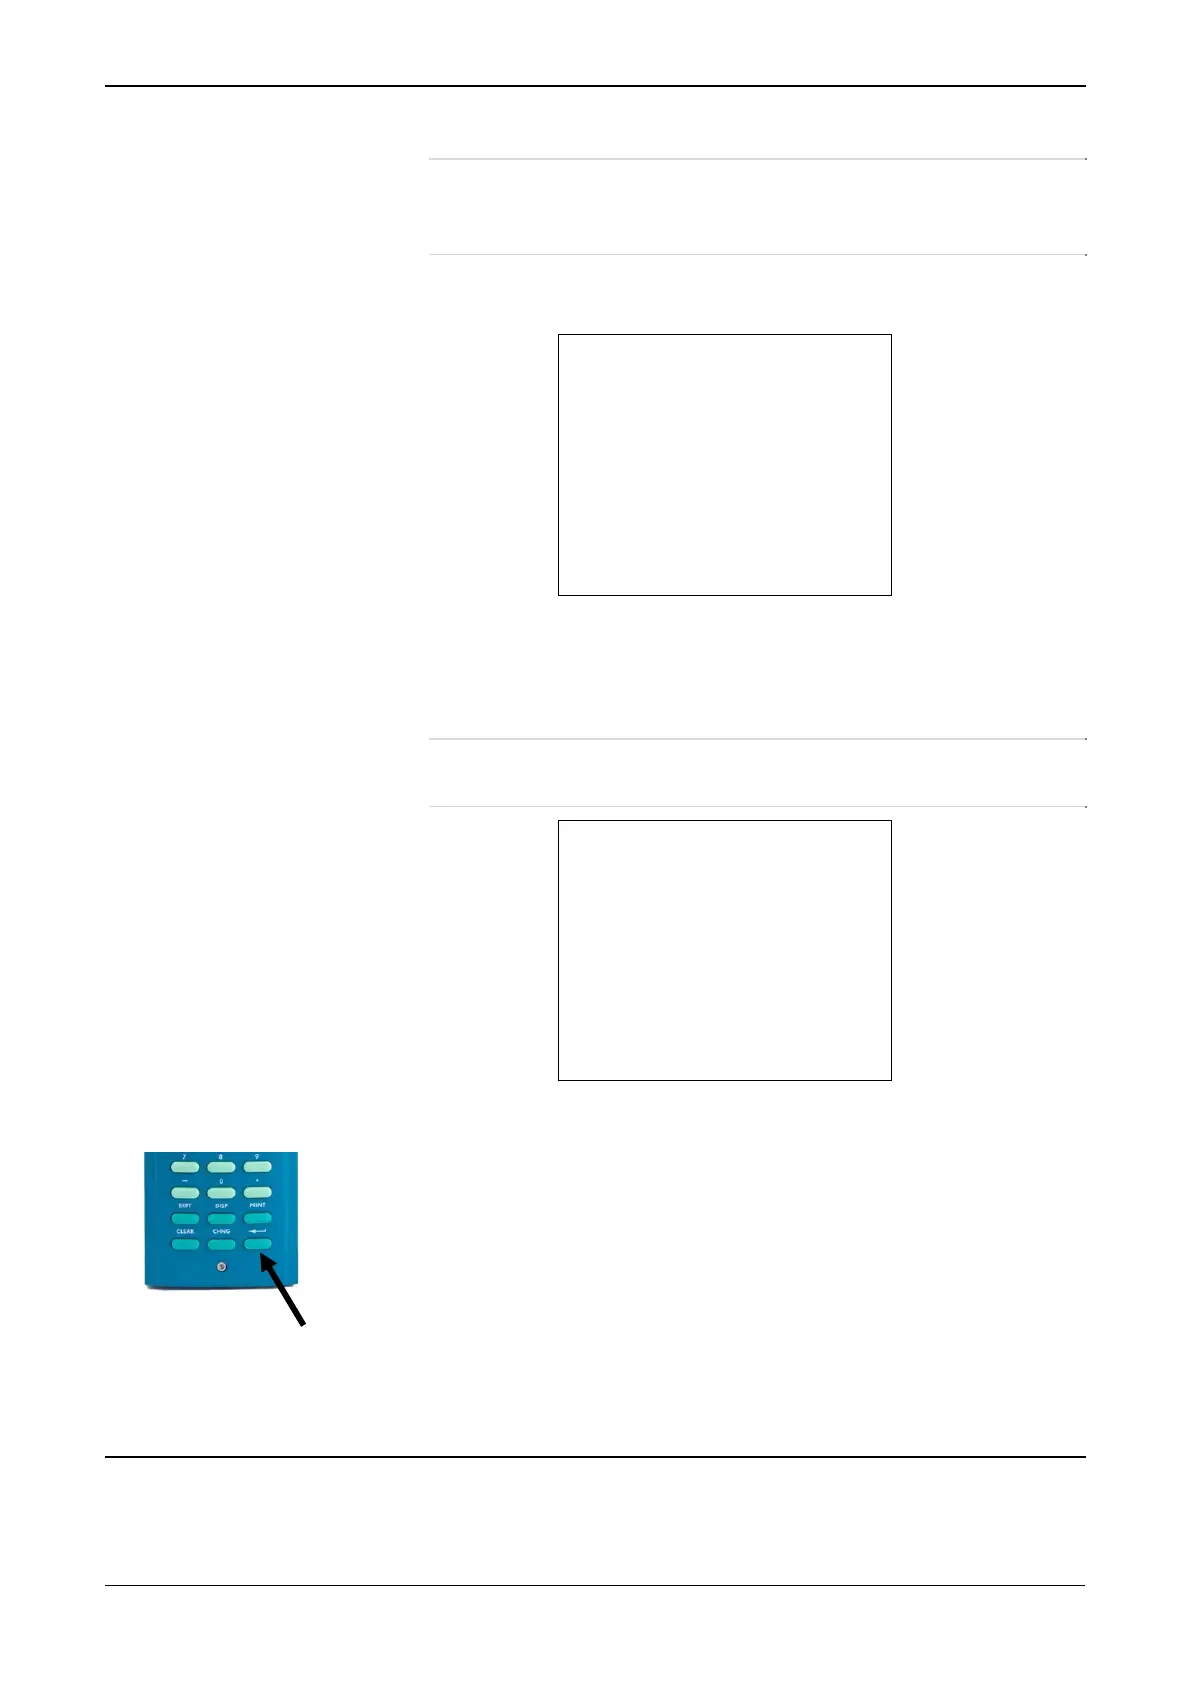
6. Select TCP/IP Address 1, provide a valid TCP/IP address, and
press the enter key (located at the lower right corner of the
keypad).
7. Repeat the process to define a valid gateway address and a valid
subnet mask.
8. Select Go Back > Go Back to return to the Cold Start menu.
Proceed to the next step.
16. Download Configuration
Once you have configured communications, load one or more
configurations to your S600+ using the Config Transfer utility.
Revised Feb-11 13

 Loading...