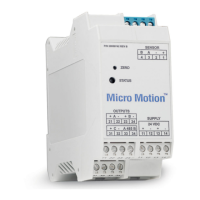
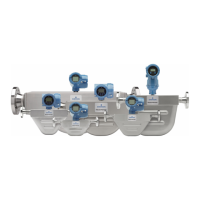
2.3 Set up the transmitter
Use this procedure only if you are installing the module with a transmitter.
Procedure
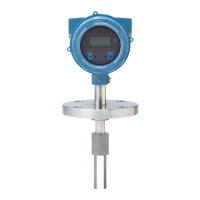
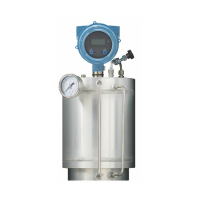
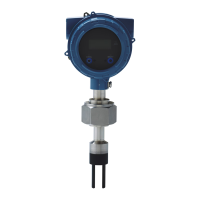
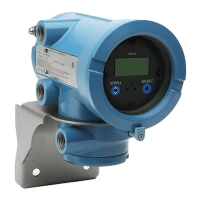
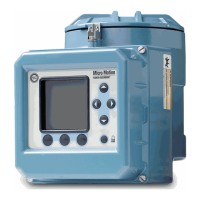
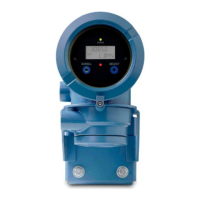
1. Mount the transmitter and wire it to the sensor and to power.
2. Power up the transmitter.
3. Set the Modbus address on the transmitter to 1.
4. If your transmitter does not support Modbus auto-detect, configure the RS-485
terminals as follows:
• Modbus RTU
• 38400 baud
• 2 stop bits
• No parity
Postrequisites
Continue to Mount, wire, and set the network settings.
2.4 Mount, wire, and set the network settings
Use this procedure to mount, wire, and set the network settings for both the transmitter
and MVD Direct Connect configurations.
Procedure
1. Ensure that the following slot registers are available for use by the EtherNet/IP
Module:
• 655–750
• 751–846
If these slot registers are currently in use, you must reprogram your Modbus
interface.
2. Mount the EtherNet/IP Module on the DIN rail.
Figure 2-2: Snap on
Installation
User Guide
January 2019 MMI-20019808
10 Micro Motion EtherNet/IP Module
 Loading...
