19
Assembly of the knob
The regulators and taps sent for After Sales Support
are ADJUSTED and TESTED to function correctly.
Don’t modify the adjustment before assembly.
Preparation of the regulator holder
Cut the three external pins coming from the moulding.
Lay down a lm of silicone paste on the contact surface
between the knob and the holder.
Assembly instructions
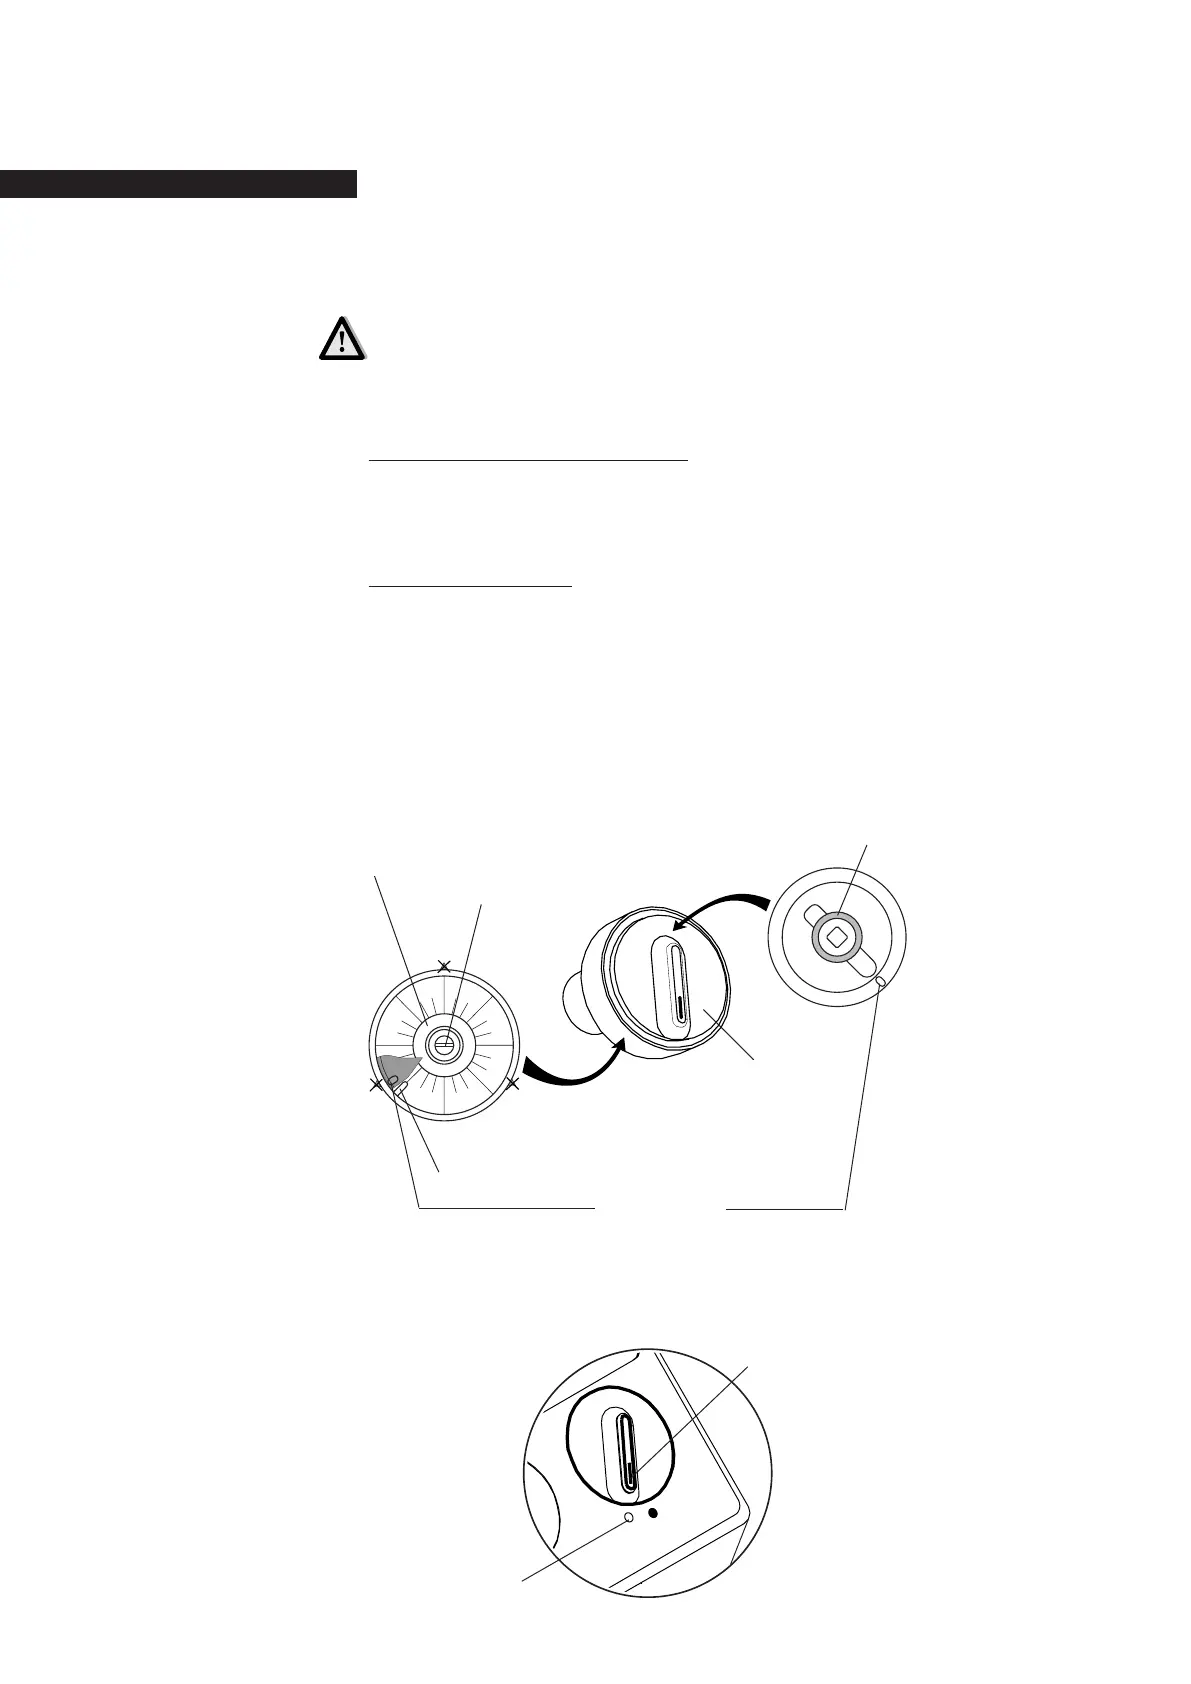
Put the knob (68) and the elastic washer (69) into the knob
holder of the regulator in such a way that the stop of the
knob is as close as possible to the stop of the knob holder
(on the left). Do not turn the axis of the regulator. The knob
should be able to turn in a clockwise direction (thus open-
ing the regulator).
Turn the knob anticlockwise (0
o
-15
o
) to join the 2 stops. The
regulator is now at minimum position.
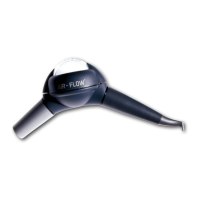
Put the assembly into the upper casing of the unit (from
inside), the spot of the knob should be opposite to the spot
on the casing .
69
Stop on the knob
Stop on the regulator
holder
Silicone paste
Regulator axis
68
Spot of the knob
Spot on the casing