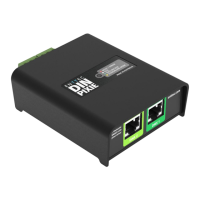
Standalone
The DIN PIXIE Standalone feature can playback up to 2 Universe sequence/show recorded from DMX
port or up to 4 Universe using the ENTTEC EMU Software.
Recordings can be generated either from a DMX console or through DIN PIXIE's USB input by
connecting it to a computer using the EMU software. This software facilitates Art-Net internal
loopback IP address (127.0.0.1) communication.
The DIN PIXIE only records the changing frames, to maximum the length of the recording.
The playback of the Standalone sequence/show can be triggered from within EMU Software or
automatically upon powering up the DIN PIXIE.
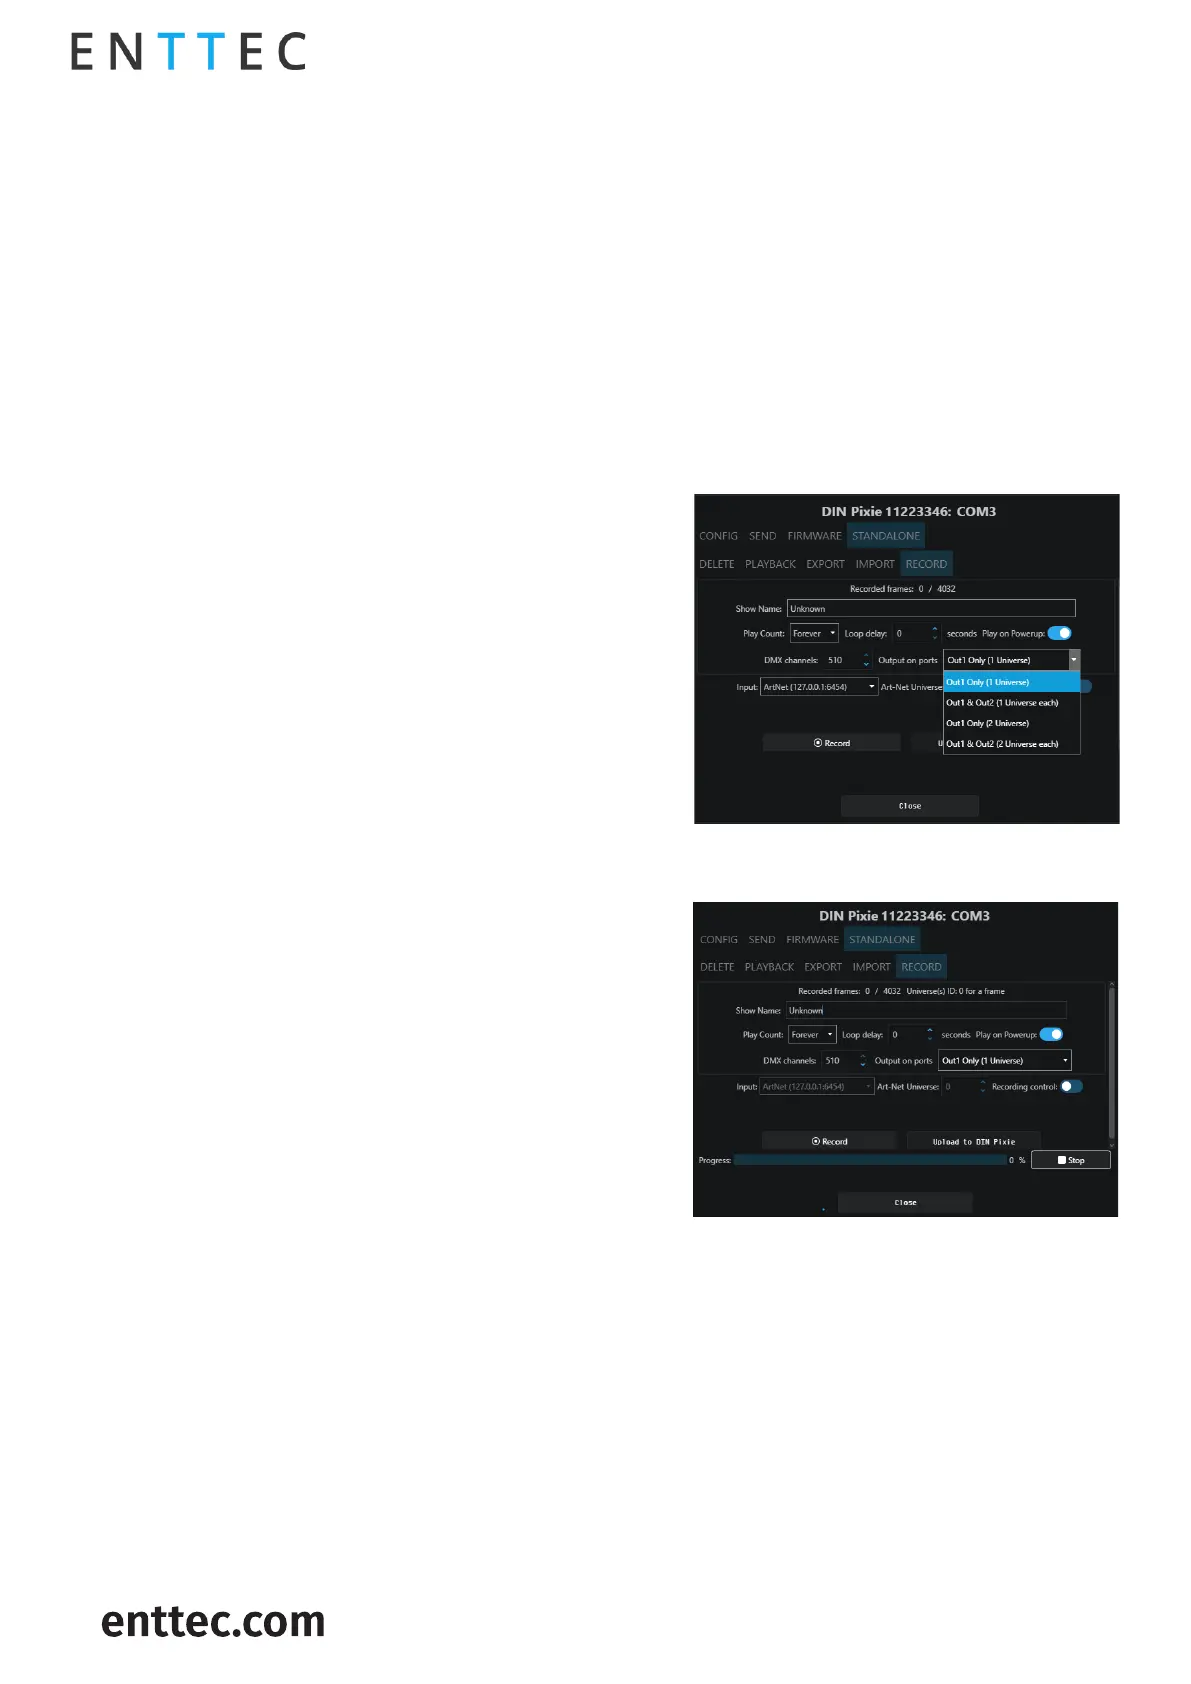
This page allows the input and output configuration for the recording and cannot be modified after
it has been recorded. The configuration includes:
Name to identify the show being
recorded.
Total number of times the show is
played back (from 1 to Forever).
The number of seconds delay,
between each Loop playback.
If set to Yes, this will
automatically start outputting the show as soon as
power is supplied to the device.
The number of channels to record
per DMX Frame (less channels = longer duration of
recording)
specify the outputs on which the recording will be played back..
Select which source the device will record
from.
refers to the input universe that
you are designating for recording. This setting allows
you to specify the specific Art-Net universe from
which data will be recorded.
If you want to use an Art-Net
Trigger to start and stop recording, simply set the
conditions for the Universe, Channel, and Value that
will activate recording. When the received value goes
above this threshold, recording starts. If it drops
below the threshold, recording stops.
Here is a guide to the recording process:
1. Recording Information Display: At the start of the recording process, you'll see details like the
number of recorded frames and an estimated show duration. The recording will automatically
stop if all available memory is used up.
2. Stop Recording: To finish the recording, click on the "Stop recording" button.
3. Upload to DIN PIXIE: After stopping the recording, click on the "Upload to DIN PIXIE" button. This
action transfers the show file to the memory of the DIN PIXIE. The progress of this transfer will
be visible on the page. It's crucial not to interrupt this memory load process to prevent show
corruption. Please wait until the upload progress is finalized.
4. Upload Completion: Once the upload is complete, the page will indicate that a show is stored
on the DIN PIXIE. If you wish to do so, you can revisit the recording page after deleting the stored
show.