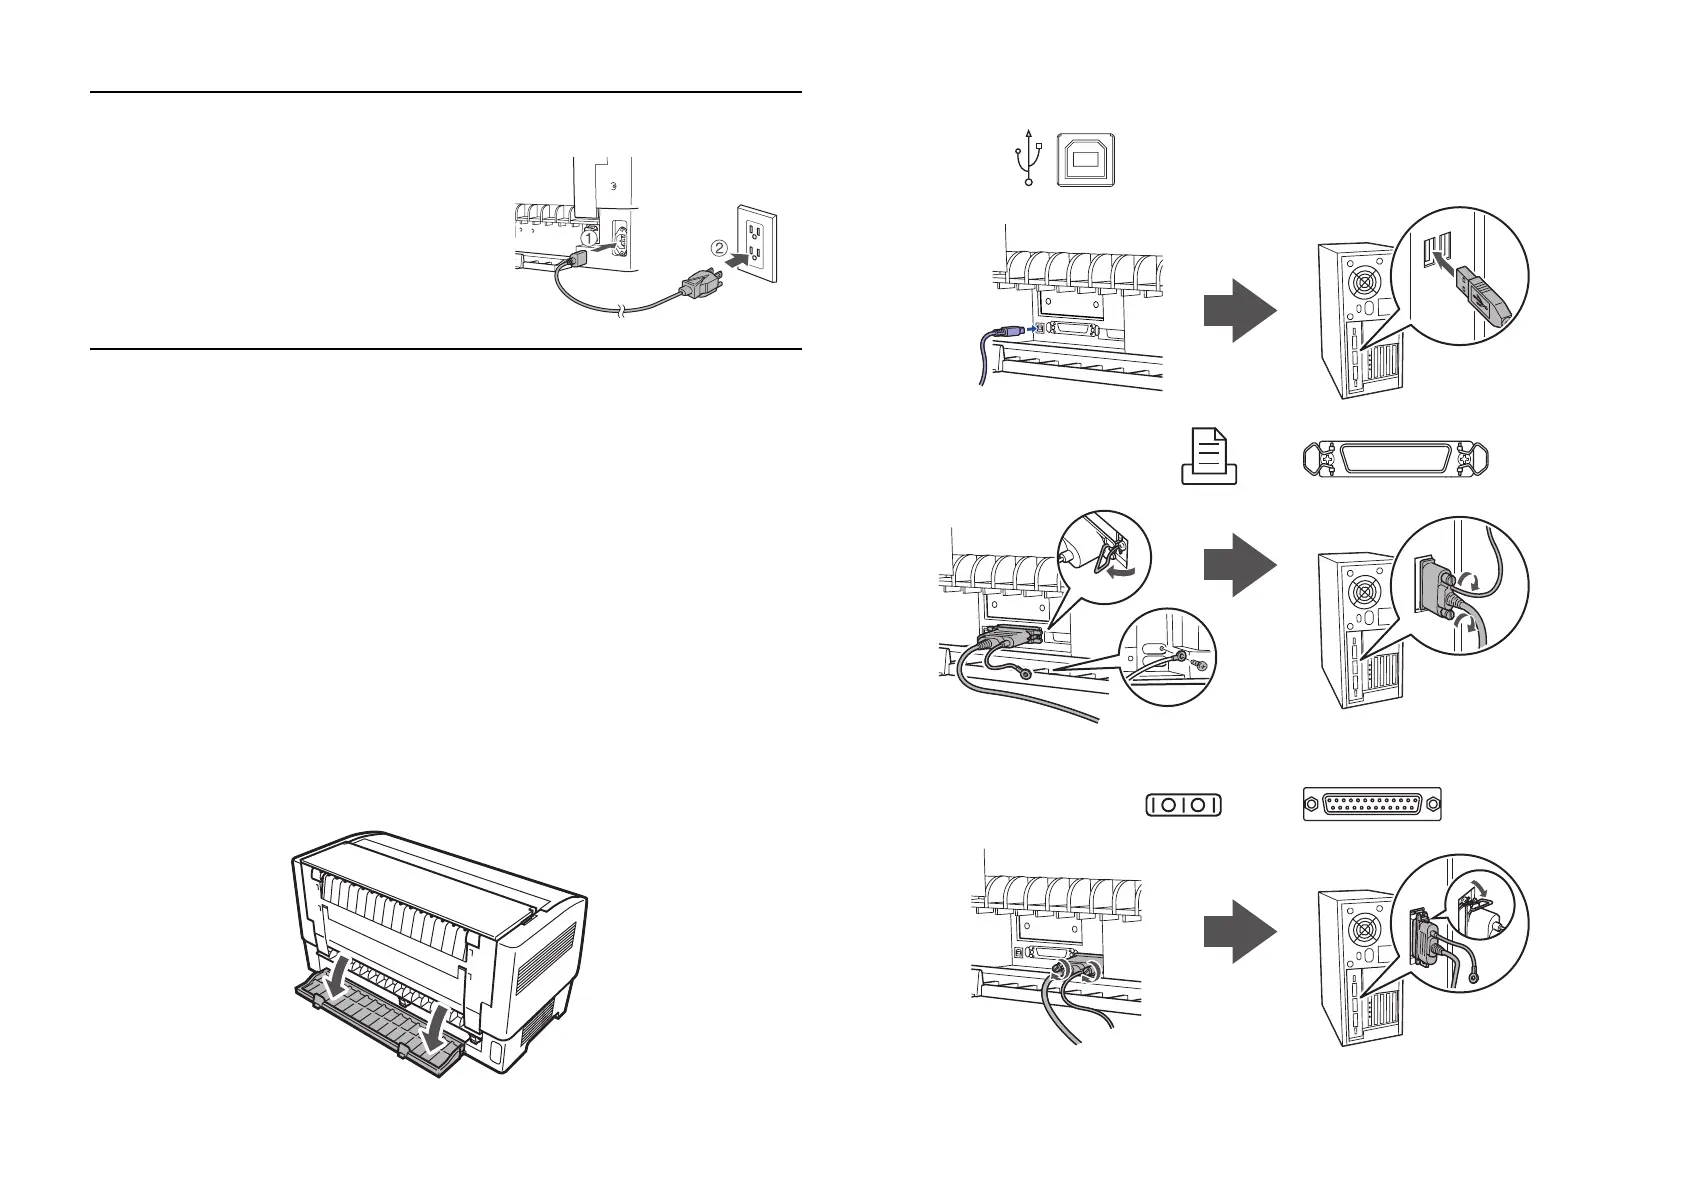
6 Connecting the Power Cord
Connecting the Power Cord
Make sure the printer is turned off.
Then plug the power cord into the
AC inlet on the back of the printer
and connect the other end to a
properly grounded electrical outlet.
Connecting the Printer to Your Computer
You can connect your printer using the following interfaces:
❏ IEEE-1284-compatible parallel interface (use a shielded, twisted-pair
parallel cable with a 36-pin Centronics
®
compatible connector)
❏ USB (Universal Serial Bus) interface (use a shielded USB cable)
❏ RS-232C serial interface (use a null modem cable)
❏ Type-B optional interface (see the Reference Guide to install an optional
interface card)
Note:
You can connect to multiple interfaces simultaneously; the printer switches interfaces
automatically when it receives data.
1. Make sure your printer and computer are turned off.
2. Open the printer’s interface cover.
3. Use the appropriate cable to connect the printer to your computer.
USB
IEEE1284 (PARALLEL)
RS-232C (SERIAL)