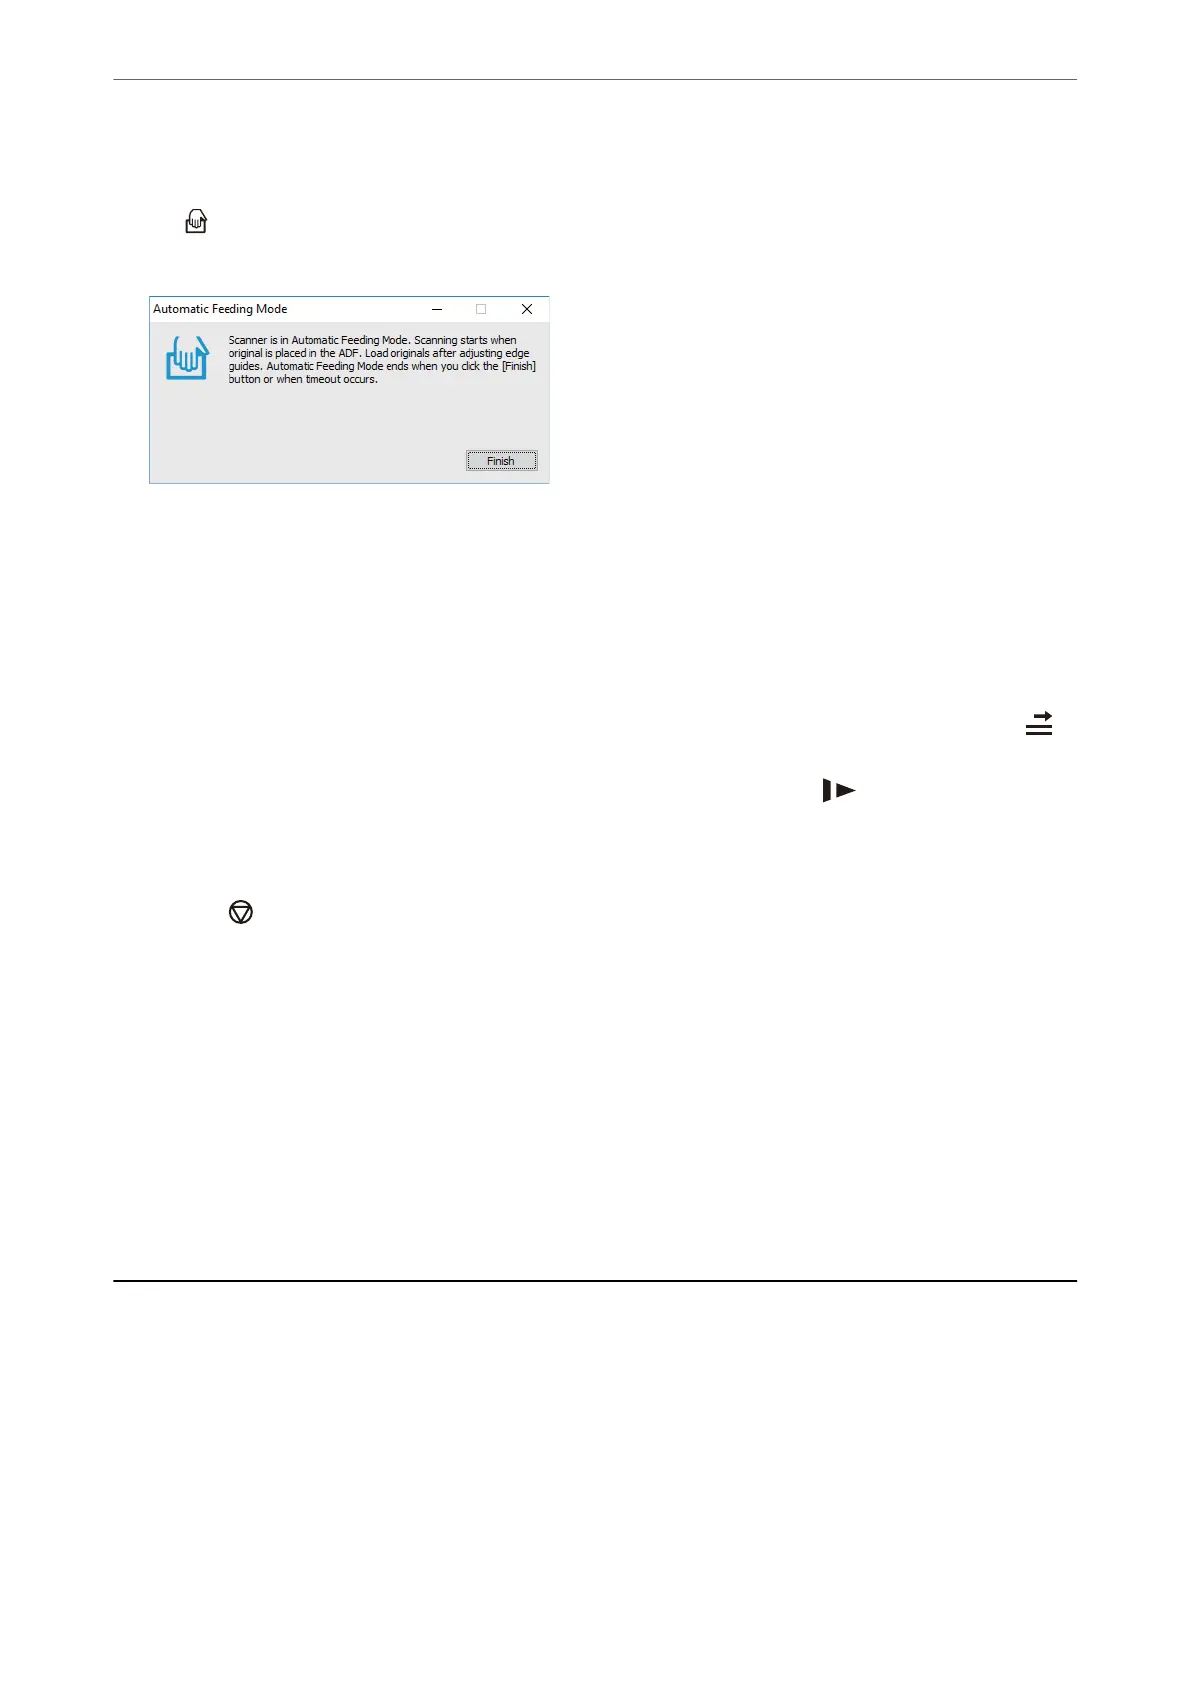
Automatic Feeding Mode starts.
e
light on the scanner turns on, and the Automatic Feeding Mode window is displayed on your
computer.
5.
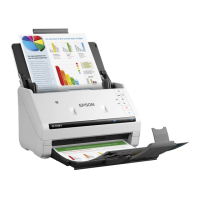
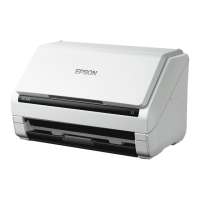
Adjust the edge guides, and then place the original in the ADF.
Scanning starts automatically.
6.
Aer scanning stops, place the next original in the ADF.
Repeat this procedure until you have scanned all originals.
Note:
❏ If you want to scan originals that are detected as double feeds, for example plastic cards or envelopes, press the
(Double Feed Detection Skip) button before placing the original to skip double feed detection.
❏ If you want to scan originals that are likely to jam, for example thin paper, press the
(Slow Mode) button before
placing the original to slow down the scanning speed.
7.
Aer you have scanned all originals, close Automatic Feeding Mode.
Press the
button on the scanner or press Finish on the Automatic Feeding Mode window displayed on
your computer.
Note:
You can make timeout settings to nish Automatic Feeding Mode.
Select Settings on the Document Source list to open the Document Source Settings window. Set Automatic Feeding
Mode Timeout (seconds) on the window.
e scanned image is saved to the folder you specied.
Related Information
& “Placing Originals” on page 33
Various Scanning Settings for Document Capture Pro
(for Windows Only)
Document Capture Pro allows you to easily scan and save documents such as ocial reports and forms, by using
the optimum settings to suit your needs. is section explains how to make settings for jobs that use convenient
functions such as sorting.
Note:
is chapter explains the Document Capture Pro feature on Windows. When you using Document Capture on Mac OS, see
the soware help for details.
Advanced Scanning
>
Various Scanning Settings for Document Capture Pro (for Windows Only)
91
 Loading...