If you do need to change the number of spacers,
go to step 5.
E
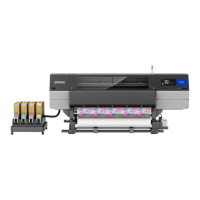
Loosen the fixing lever.
F
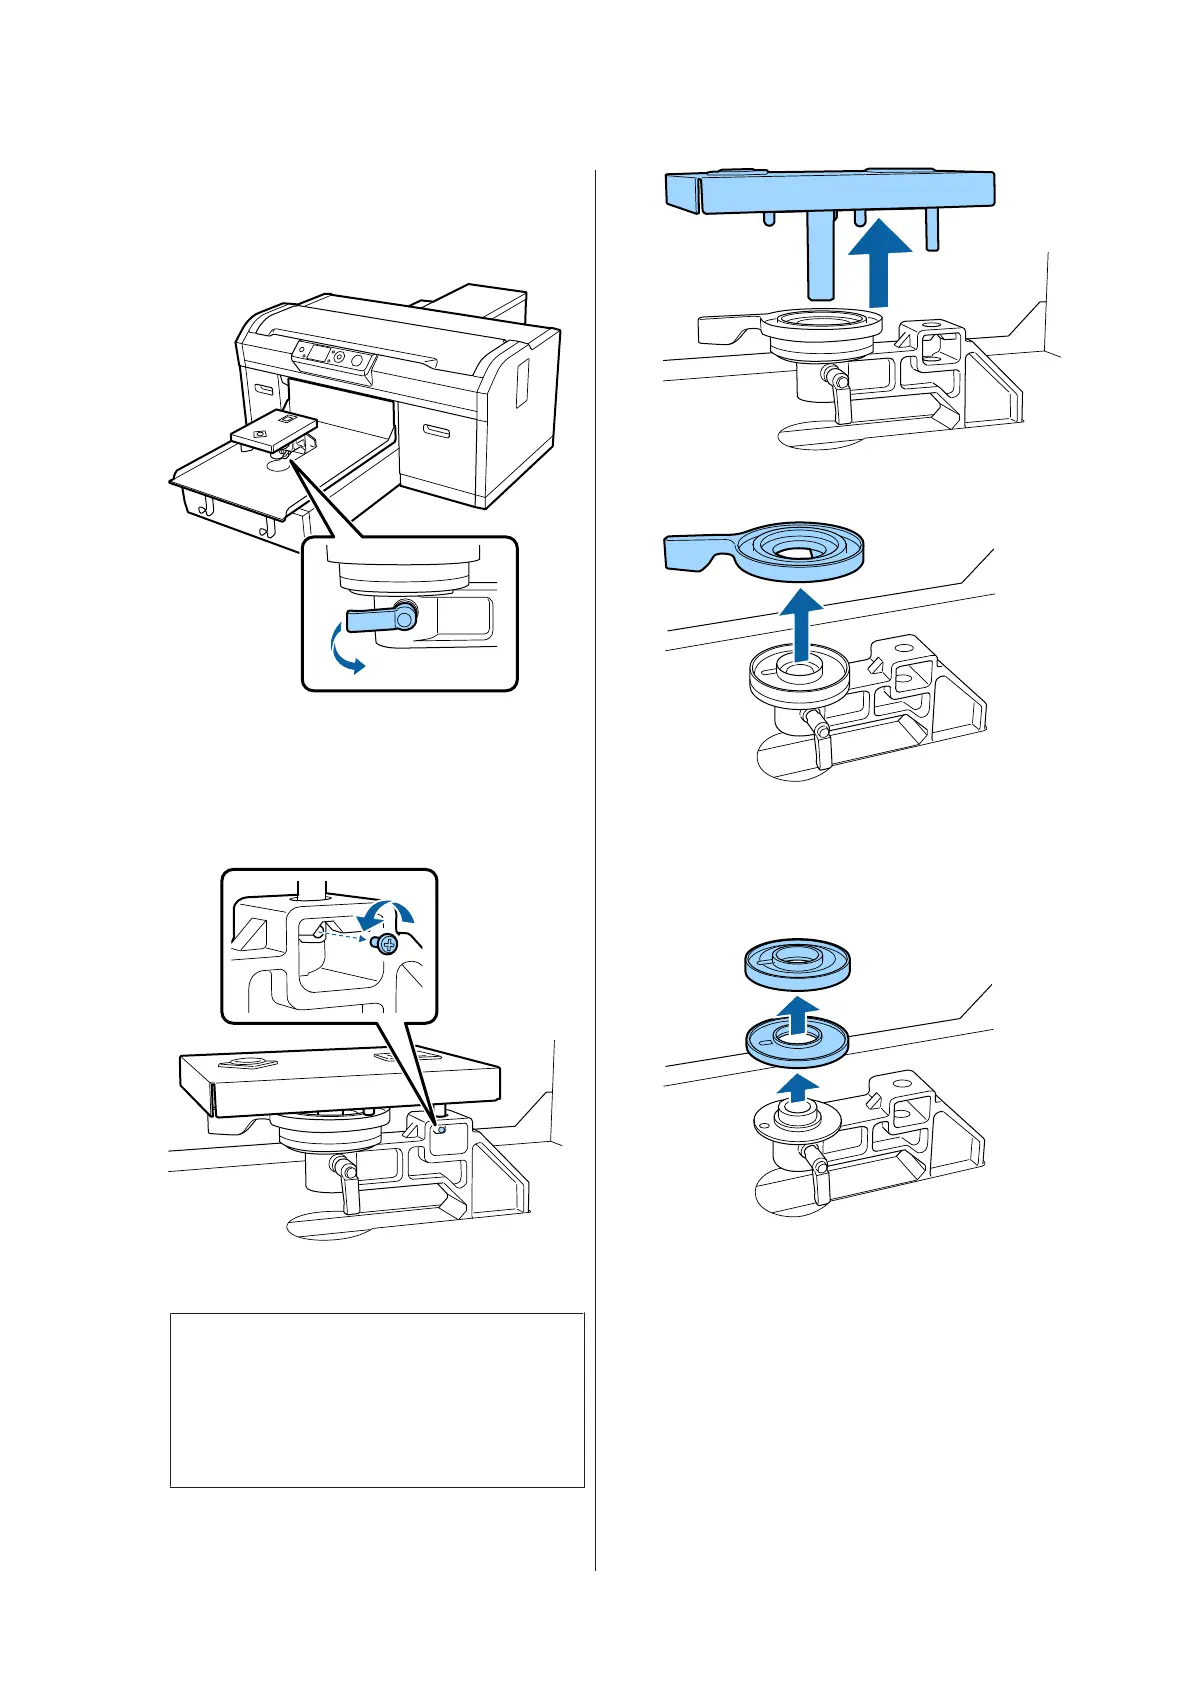
Use the cross-head screwdriver to remove the
screws securing the platen installation plate.
Make sure you keep the removed screws in a safe
place as you need them when attaching spacers a
and b.
G
Remove the platen installation plate.
c
Important:
Make sure you do not drop the platen
installation plate as it is a precision part. If it is
dropped, the part could be deformed and may
not function correctly.
H
Remove the platen gap adjustment lever.
I
Change the status of the spacer in step 4
according to the installed platen and the
thickness of the fabric to be printed on.
Removing
Attaching
Align the protruding section of the spacer with
the hole as shown below. If this is not installed in
the correct direction, the platen gap adjustment
lever does not move.
SC-F2100 Series User's Guide
Basic Printing
42

 Loading...