Confidential
Adjustment Details of Adjustments (TBD) 47
Epson Stylus Photo R3000 Revision A
2.2.4 PG Adjustment
This section describes PG Adjustment.
This adjustment must be performed to secure the specified clearance between the print surface of the Printhead
and paper.
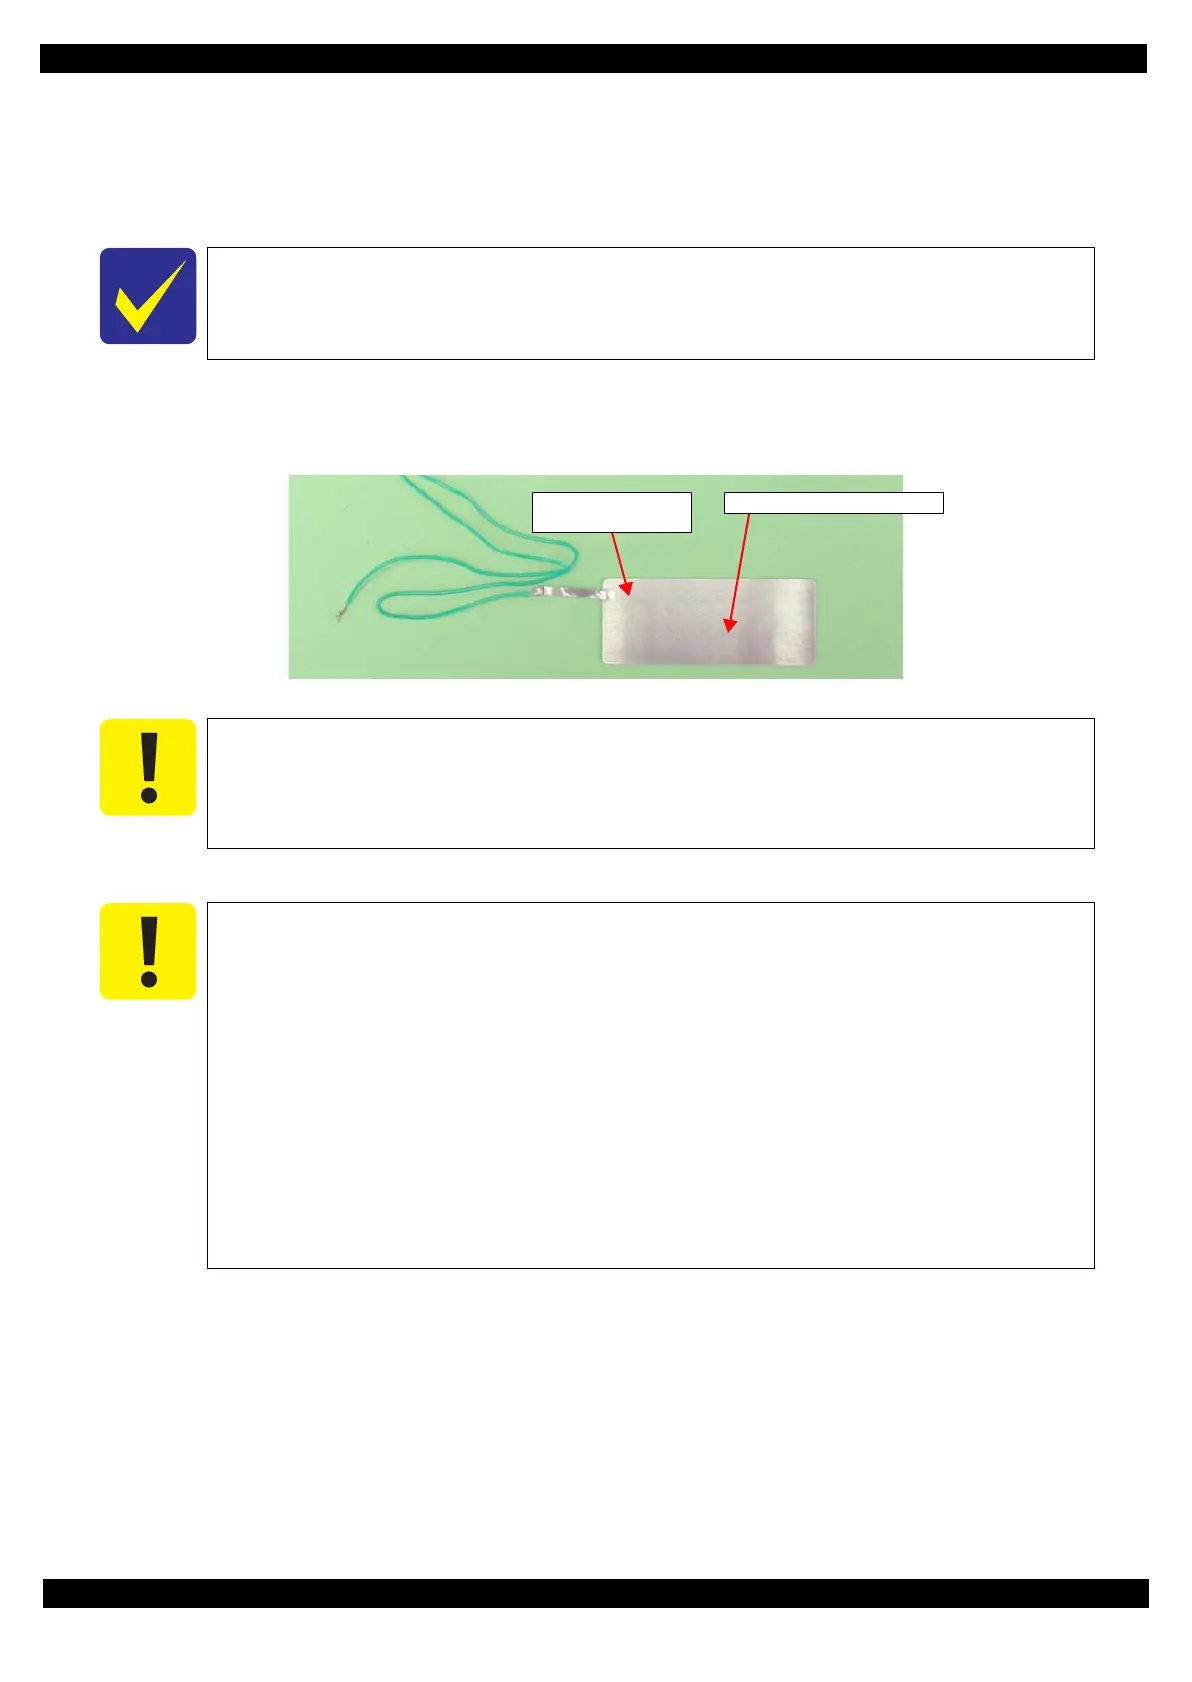
Tools
Adjustment gauge
In this adjustment, use the same adjustment gauge on the left and right sides.
Figure 2-12. Adjustment Gauge
Adjustment procedure
1. With the following parts removed, install the printer on a level workbench and move the CR Unit to the
center of the printer.
Rear Housing
Left / Right Cover
Left / Right Decoration Plate
Adjust Printer Cover
Upper Housing Support Assy
Upper Housing Assy
CR Cover
To change the PG position, turn the cam each on the left and right side of the carriage shaft
simultaneously.
Do not touch the surface of the adjustment gauge plate with bare hands.
Before performing this adjustment, clean the adjustment gauge with a soft cloth
moistened with Shipping Cleaning Liquid “CR06” (parts number: 6104713(1kg),
6104714(18kg)).
Before starting PG Adjustment, completely wipe drops of ink around the Print Head.
Remaining drops of ink will stick to the continuity measurement point of the adjustment
gauge, and cause continuity before the continuity measurement point makes contact with
the metal frame around the Print Head, interrupting accurate PG Adjustment.
As the ink in the Print Head may stick fast and damage the Print Head during PG
Adjustment, make the continuity time detected with a tester as short as possible.
(Maximum three minutes.)
Move the CR Unit by moving the timing belt.
Place the printer on a level, warp-free table. PG Adjustment cannot be performed
normally on a warped table.
Make sure that the Ink Supply Unit and the CR Support Plate are secured when
performing the PG Adjustment.
Continuity measuring part
Adjustment gauge
plate (top face)

 Loading...


