Epson Stylus Pro 3800/3800C/3850/3880/3885/3890 Revision C
DISASSEMBLY & ASSEMBLY Disassembly/Assembly Procedure (Group 1) 107
4.3.3.12 HOUSING, UPPER
1. Remove the HOUSING, REAR, ASSY. (p96)
2. Remove the HOUSING, FRONT, LEFT. (p98)
3. Remove the HOUSING, FRONT, RIGHT. (p99)
4. Remove the COVER, PRINTER. (p100)
5. Remove the HOUSING, LEFT. (p103)
6. Remove the HOUSING, RIGHT. (p104)
7. Remove the HOUSING, FRONT, UPPER. (p105)
8. Remove the OPERATION, PANEL, ASSY. (p106)
9. Remove the four screws that secure the HOUSING, UPPER to the main unit.
Three C.B.P. 3 x 8 screws (6 ± 1 kgf.cm)
One C.B.P. 3 x 12 screw (6 ± 1 kgf.cm)
10. Remove the HOUSING, UPPER upward.
11. Remove the LOCK, COVER, ASSY. from the HOUSING, UPPER.
(p125)
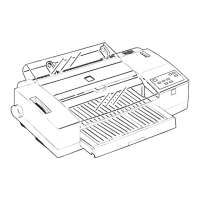
Figure 4-19. Removing the HOUSING, UPPER
C A U T I O N
Note that the LOCK, COVER, ASSY. is attached to the HOUSING,
UPPER, and it is connected to the main unit with cables. When
removing the HOUSING, UPPER, be careful not to separate it too
much from the main unit to avoid damaging the cables.
C H E C K
P O I N T
When removing the HOUSING, UPPER, push outward on the left
and right sides of the HOUSING, UPPER to widen it in order not to
hit the drive gear.
Be sure to insert the four positioning holes of the HOUSING,
UPPER over the guide pins on the main unit as shown in Figure
4-19.
positioning point
positioning point
positioning point
positioning point
C.B.P. 3x8
C.B.P. 3x8
C.B.P. 3x8
C.B.P. 3x12
HOUSING, UPPER

 Loading...


