G
The Setup Type screen appears. Select Developer and then click the Next button.
Click the Browse button to change the default installation location.
H
The Setup Type screen appears. Select the port and click the Next button.
I
The Start Copying Files screen appears. Click the Next button to start the installation.
J
The InstallShield Wizard Complete screen appears. Click the Finish button.
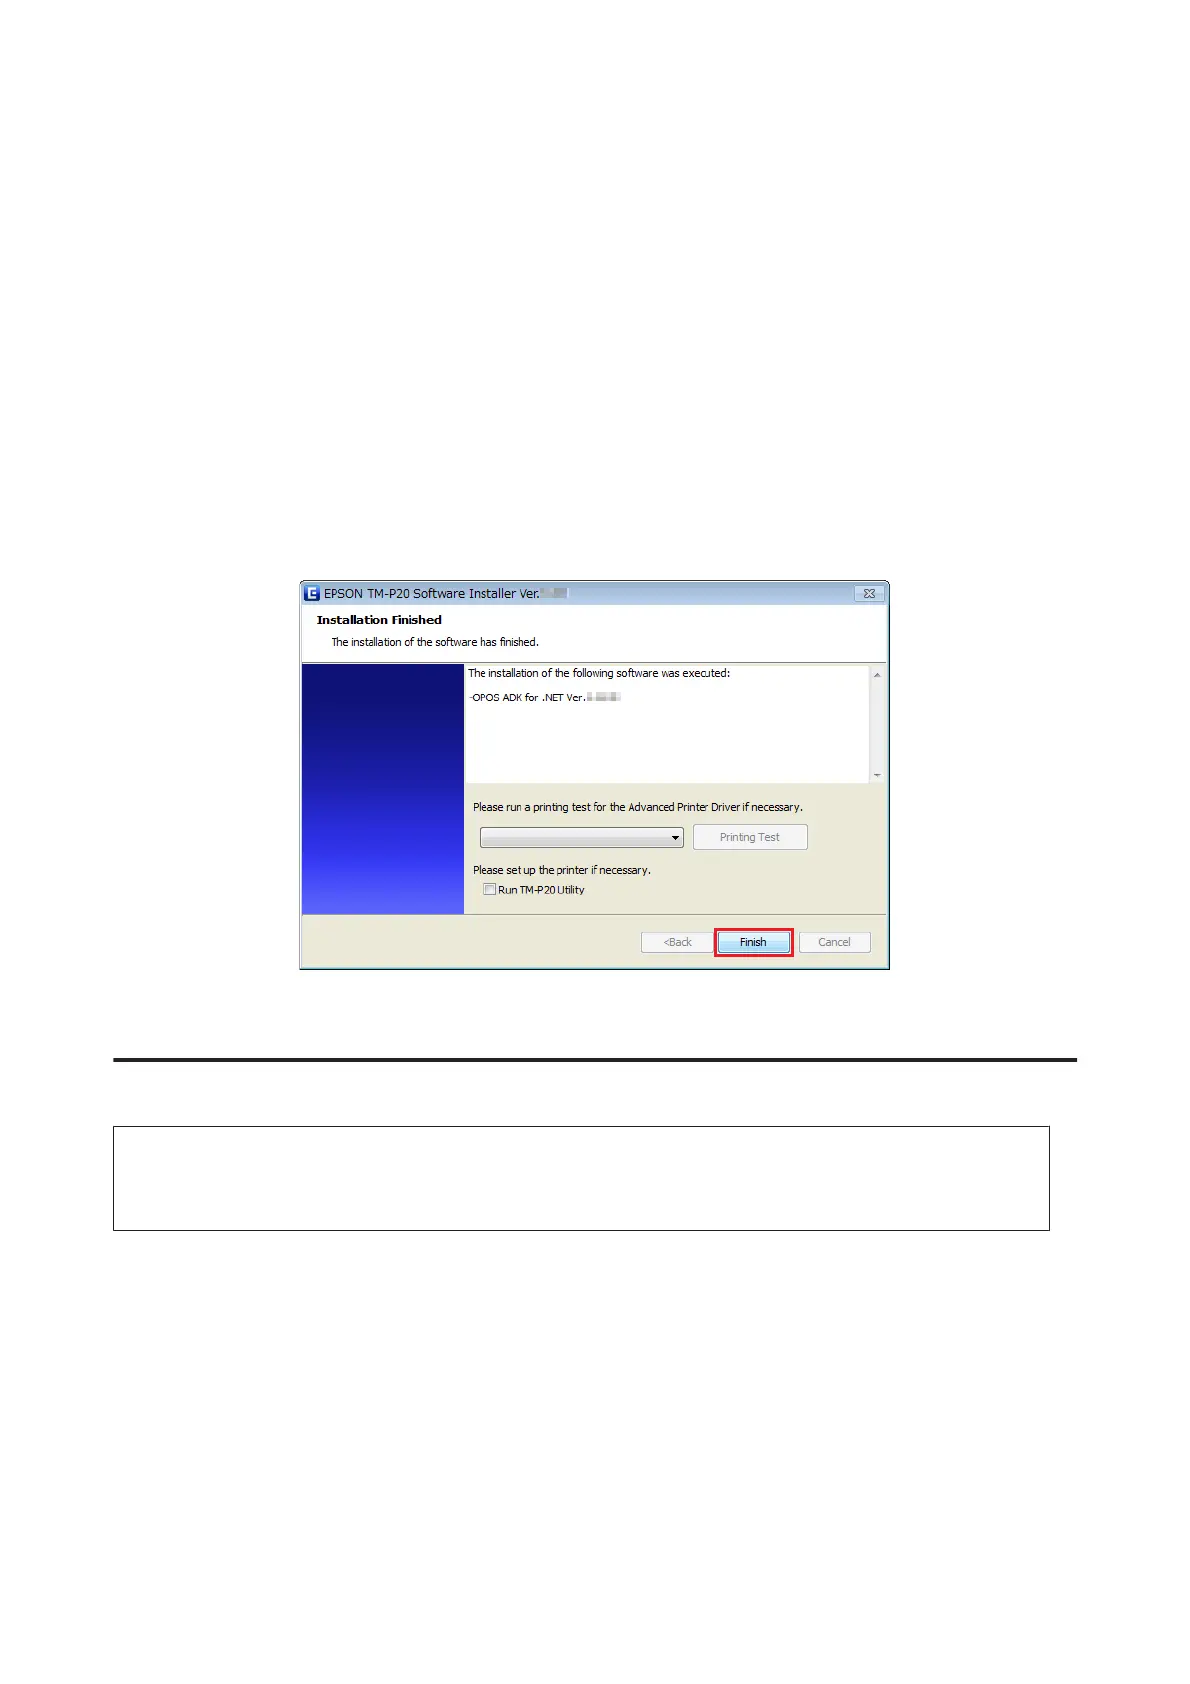
K
When the installation is completed, the Installation Finished screen appears. Then click the Finish button to
end the installation.
This is the end of the OPOS ADK for .NET installation.
Installing the JavaPOS ADK
Note:
To install the JavaPOS ADK, Java Runtime Environment and Java Advanced Imaging API are required.
Make sure to install the above software before installing JavaPOS ADK.
A
Insert the TM-P20 Software & Documents Disc into the computer and follow the steps.
U See “Displaying the Select Software Screen” on page 31
B
Select the JavaPOS ADK Ver.x.xx.x. Clear the check box for the items you do not want to install. Click the Next
button.
C
The Start Installation screen appears. The driver and utility to be installed are listed. Click the Install button to
start the installation.
TM-P20 Software Installer Software User's Manual
Installation
38