16
Product Basics
See these sections to learn about the basic features of your product.
Installing the Optional Cabinet and Paper Cassettes
Using the Control Panel
Product Parts Locations
Checking for Software Updates
Using Power Saving Settings
Epson Connect Solutions for Smartphones, Tablets, and More
Using AirPrint
Using Google Cloud Print
Setting Up Google Cloud Print on a Chromebook
Android Printing Using the Epson Print Enabler
Using Fire OS Printing
Using Windows 10 Mobile Printing
Using Epson Print and Scan App with Windows Tablets
Installing the Optional Cabinet and Paper Cassettes
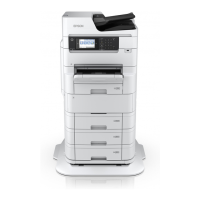
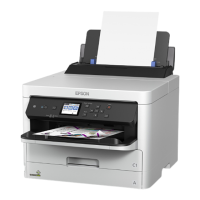
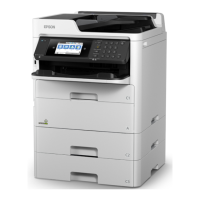
Follow the instructions in this section to install the optional cabinet and paper cassettes to your product.
If you are installing the optional cabinet, install the cabinet under the bottom optional cassette unit first.
Installing the Optional Cabinet
Installing the Optional Paper Cassette Units
Parent topic: Product Basics
Installing the Optional Cabinet
You can install the optional cabinet to provide mobility and extra storage space.
1. Turn off the product, and unplug the power cord and any connected cables.
Warning: To avoid electric shock, make sure you unplug the power cord.
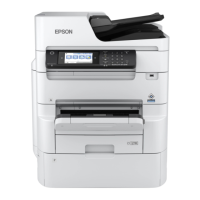
2. Remove the cabinet from its packaging and remove any protective materials.
 Loading...
