QX5
QXFXO4/QXISDN4/QXE1T1/QXFXS24; (SW Version 6.0.x) 83
QXFXO4/QXISDN4/QXE1T1/QXFXS24 Manual II: Administrator’s Guide
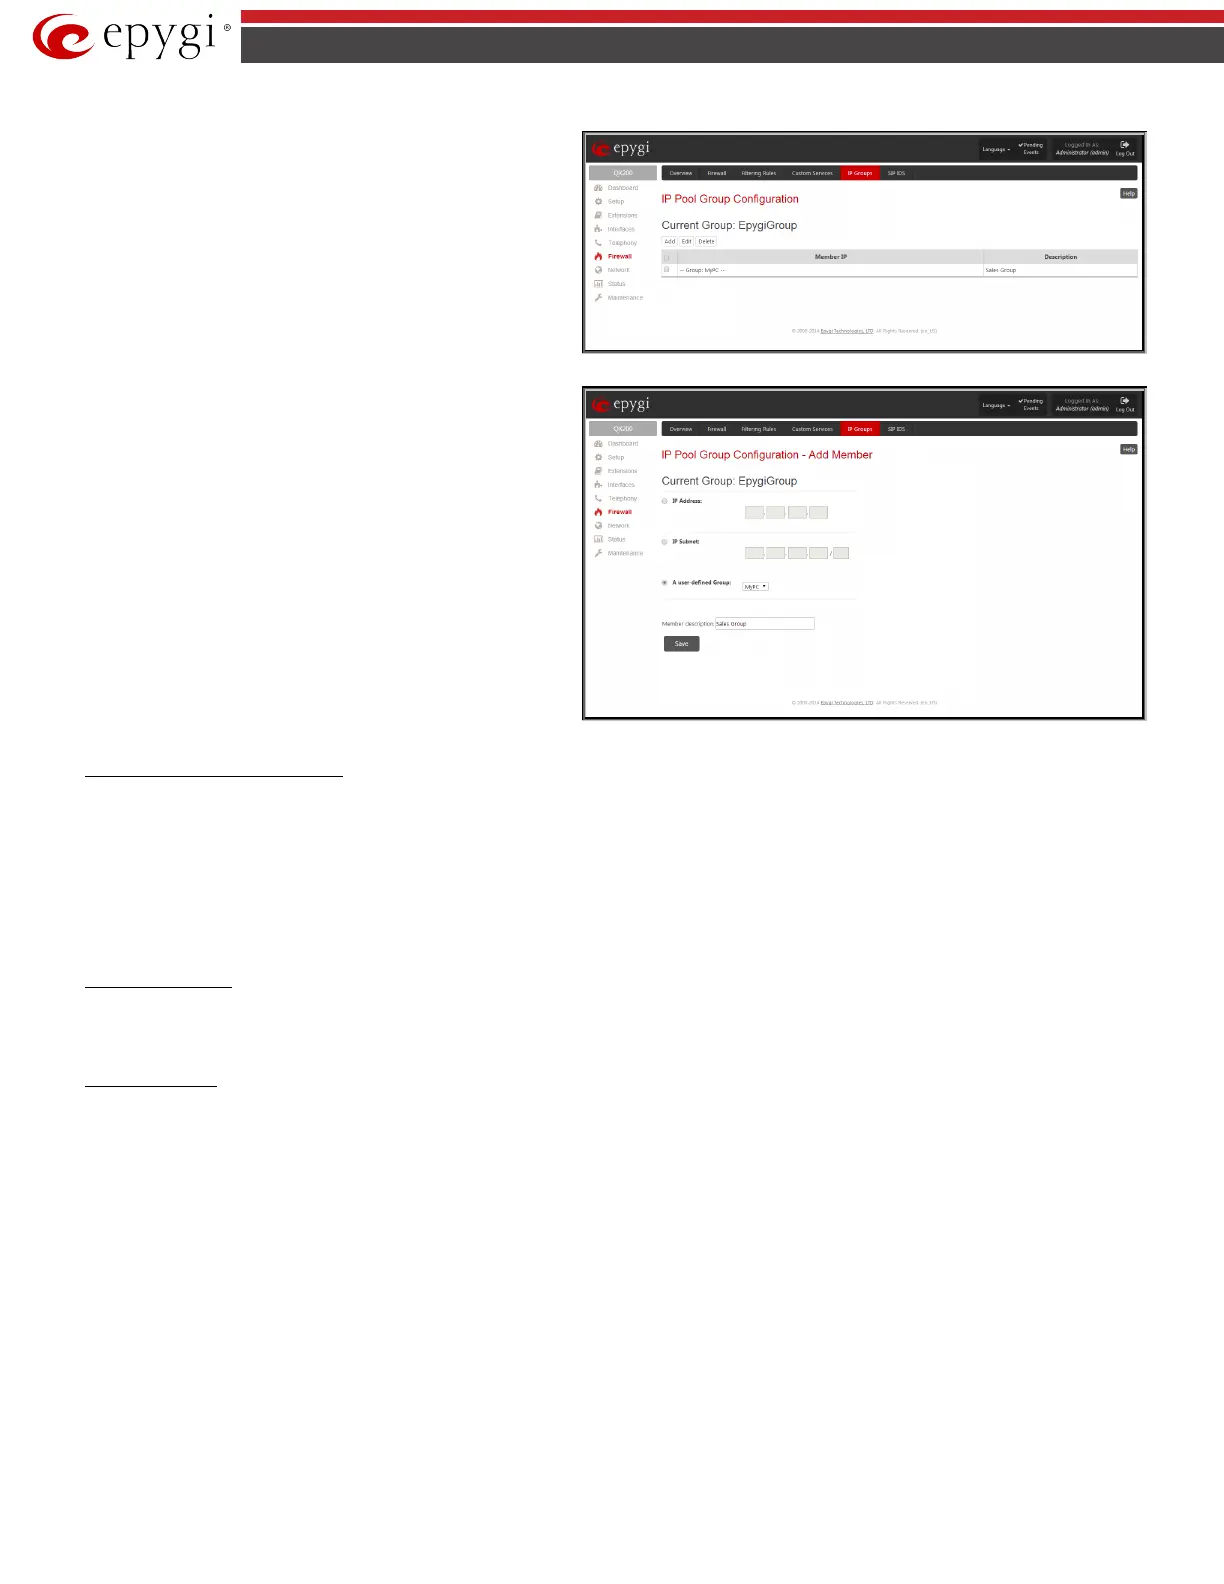
IP Pool Group Configuration
page displays a list of all the
added member IP addresses for the selected group. It offers the
following components:
Current Group provides read-only information about the current
group name the members are listed for.
Add opens the Add Member page where a new member may be
added.
Edit opens the Edit Members page where the service parameters
can be modified. This page includes the same components as the Add
Member page. To operate with Edit, only one record may be
selected, otherwise the error message “One row must be selected”
will appear.
Fig.II- 117: IP Pool Group Configuration page
The Add Members page provides the following radio buttons:
IPaddress requires the member IP address that is to be added to the
group.
IP Subnet requires the subnet specified by the IP address and the
Maskbits. See above for more information about Maskbits.
URL Address requires the member hostname to be added to the
group.
The User-defined Group includes previously added groups that may
also be added as a member to another group.
Member description text fields can be used to enter an optional
description of the member.
Fig.II- 118: IP Pool Group Configuration – Add Member
To Add a new Group with Members
1. Click on the Add button on the IP Pool Configuration page. A page where a new group may be added will appear in the browser window.
2. Define a group name in the Group Name text field and fill in the Group Description, if needed.
3. To add a group with the given parameters, press Save.
4. Open the IP Pool Group Configuration page by clicking on the group name.
5. Select the Add button on the IP Pool Group Configuration page. A page opens where new members may be added to the group.
6. Enter an IP address for the member in the IP Address text fields, select a IP subnet or IP group from the User defined Group drop down list to
assign it to the currently selected group.
7. Enter a Member Description in the corresponding text field, if needed.
8. To add a member with these parameters to the selected group press Save.
To Delete a Member
1. Check one or more checkboxes of the corresponding members that should be deleted from the Members table.
2. Press the Delete button on the IP Pool Group Configuration - Members page.
3. Confirm the deletion by pressing on Yes or cancel the deletion by pressing on No.
To Delete a Group
1. Check one or more checkboxes of the corresponding groups that should be deleted from the IP Pool Configuration table.
2. Press the Delete button on the IP Pool Configuration page.
3. Confirm the deletion by pressing on Yes or cancel the deletion by pressing on No.

 Loading...

