Home
ESAB
Welding System
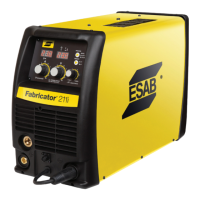
fabricator 211i
ESAB fabricator 211i User Manual
4
of 1
of 1 rating
80 pages
Give review
Manual
Specs
To Next Page
To Next Page
To Previous Page
To Previous Page
Loading...
ESAB F
ABRICA
TOR 211i
DISASSEMBL
Y PROCEDURES 6-6 Manual 0-5450
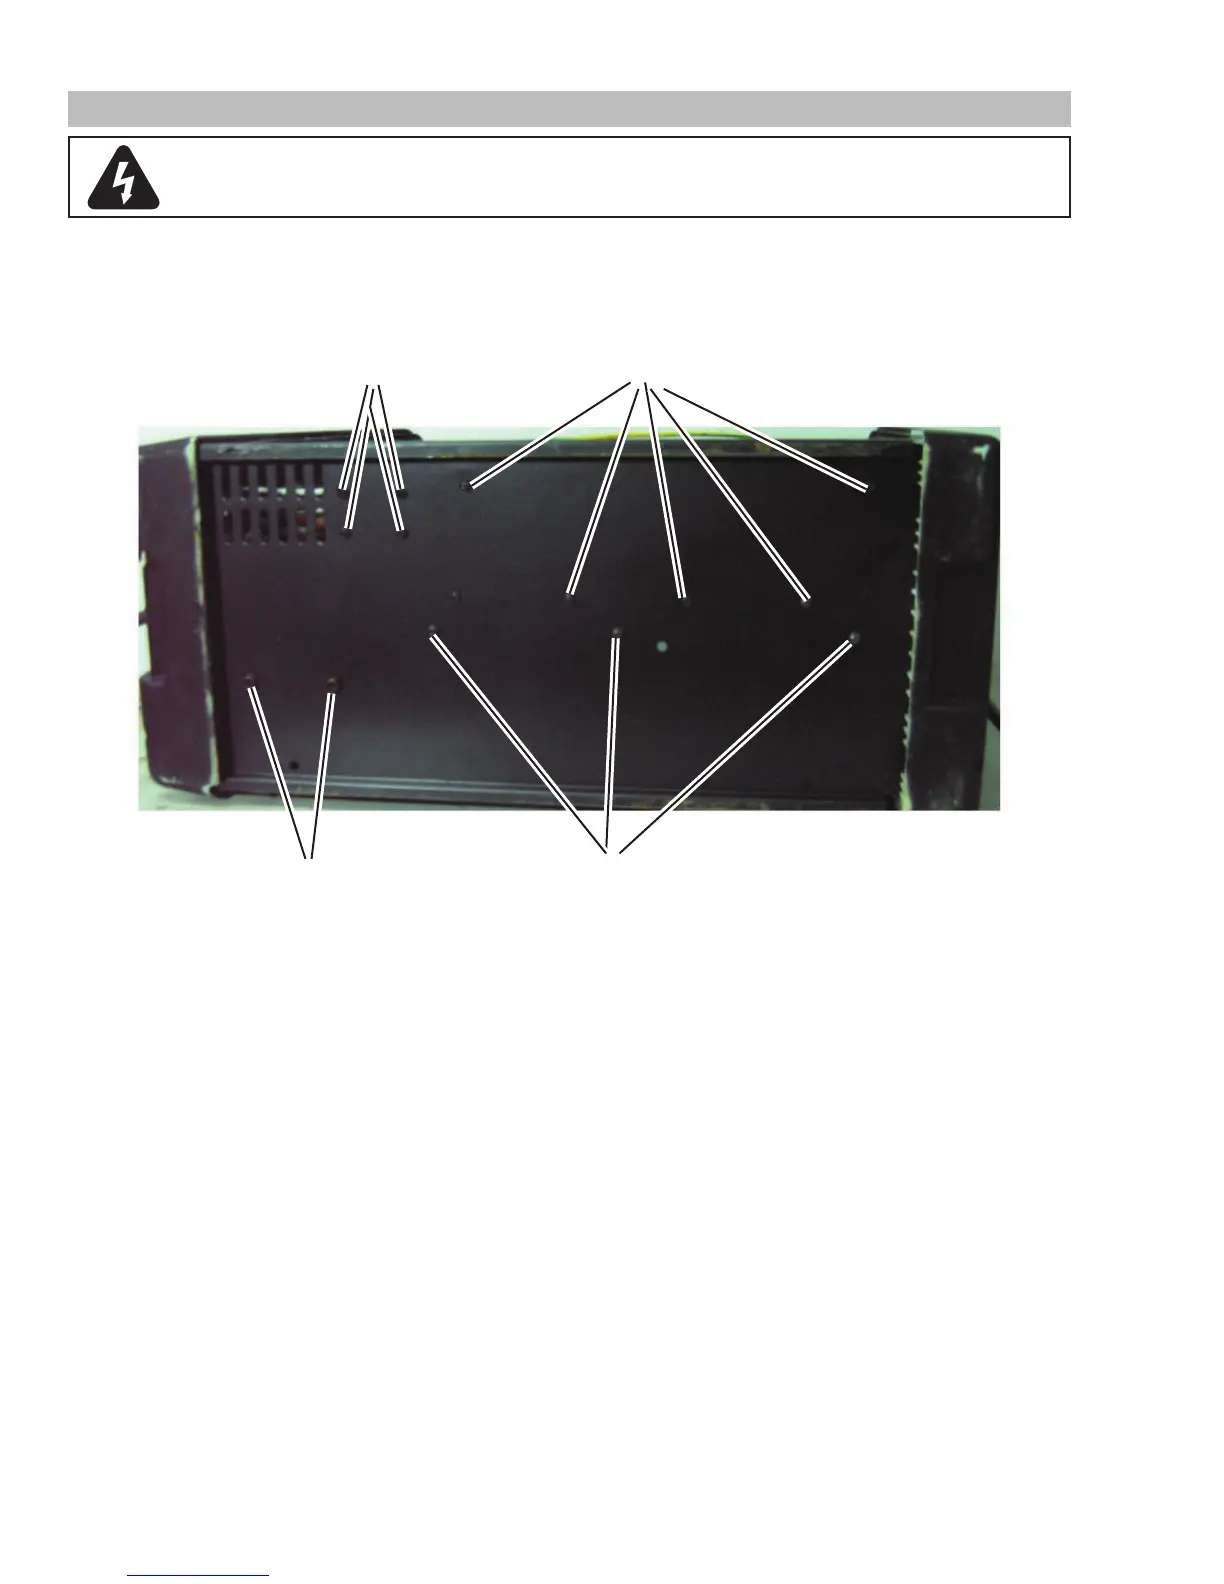
6.07
Base Panel Removal
WARNING
Read and follow safety information in Section 5.03 before proceeding with disassembly
.
1.
Remove
Wire Feeder Screws.
2.
Remove inductor assembly Screws.
3.
Remove Power PCB assembly Screws.
4.
Remove Center Panel Screws.
1
2
3
4
Art # A-10765
65
67
Table of Contents
Default Chapter
1
Service Manual
1
Table of Contents
5
Section 1: Safety
7
Safety Precautions
7
Section 2
9
Introduction
9
Equipment Identification
9
Receipt of Equipment
9
Description
9
How to Use this Manual
9
Transportation Methods
10
User Responsibility
10
Fabricator 211I Portable System Package (Part No. W1004201)
10
Section 3
11
Safety and Installation
11
Duty Cycle
11
Specifications
12
Environment
13
Location
13
Ventilation
14
Electricity Supply
14
Electromagnetic Compatibility
16
Victor Regulator
17
Leak Testing the System
19
When You Finish Using the Regulator
19
Storage of the Regulator
19
Volt-Ampere Curves
20
Section 4
21
Operation
21
Fabricator 211I Power Source Controls, Indicators and Features
21
Attaching the TWECO Fusion 220A MIG Gun
27
Installing 33/44 Lb Spool (12" Diameter)
28
Installing 12.5 Lb Spool ( 8" Diameter)
29
Installing 1 Lb Spool (4" Diameter)
30
Inserting Wire into the Wire Feed Mechanism
31
Feed Roll Pressure Adjustment
32
Changing the Feed Roll
32
Wire Reel Brake
33
Setup for MIG (GMAW) Welding with Gas Shielded MIG Wire
33
Setup for MIG (FCAW) Welding with Flux Core (Gasless) Wire
35
Setup for SPOOL GUN MIG (GMAW) Welding with Gas Shielded MIG Wire
36
Setup for LIFT TIG (GTAW) Welding
38
Setup for STICK (SMAW) Welding
39
Section 5
41
Troubleshooting
41
Basic Troubleshooting-Power Source Faults
41
Routine Service and Calibration Requirements
42
Check Unit before Applying Power
44
Test Equipment and Tools Needed for Troubleshooting and Servicing
45
Visually Inspect
45
Preliminary DC Bus Measurement of the Power PCB
45
Preliminary Check of the Control PCB
46
Check Main Input Rectifier
47
DC Bus Voltage Measurement
48
PCB Connectors
49
DIP Switch Settings, Control PCB
56
Calibration
57
Circuit Diagram
59
Main Circuit Description
60
Disassembly Procedure
61
Safety Precautions for Disassembly
61
Control PCB Removal
61
Front Panel Assembly Removal
62
Display PCB Removal
63
Back Panel Removal
64
Power Switch S1 and Power Cord Removal
65
Base Panel Removal
66
Assembly Procedures
67
Installing Base Panel
67
Installing Back Panel
68
Installing Front Panel
69
Installing Control PCB and Clear Cover Sheet
70
Installing Cover Panel and Door Panel
71
Key Spare Parts
73
Tweco Weldskill 220A MIG Gun
73
Tweco Fusion 220A MIG Gun
74
Power Source Spare Parts
75
Optional Accessories
77
4
Based on 1 rating
Ask a question
Give review
Questions and Answers:
Need help?
Do you have a question about the ESAB fabricator 211i and is the answer not in the manual?
Ask a question
ESAB fabricator 211i Specifications
General
Brand
ESAB
Model
fabricator 211i
Category
Welding System
Language
English
Related product manuals
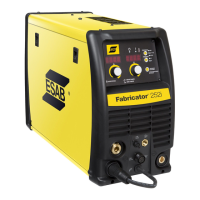
ESAB Fabricator 252i
76 pages
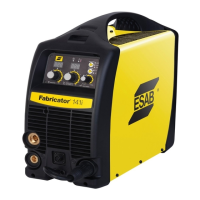
ESAB fabricator 141i
72 pages
ESAB Fabricator EM 400i
28 pages
ESAB Fabricator EM 401i
32 pages
ESAB Fabricator EM 500i
28 pages
ESAB Fabricator ET 410iP
38 pages
ESAB Fabricator ES 410iC
38 pages
ESAB Origo Feed 3004
24 pages
ESAB Feed 3004 Aristo
28 pages
ESAB Warrior Feed 404HD
34 pages
ESAB Origo Feed 304N P4
60 pages
ESAB Aristo Origo Feed 3004
28 pages
 Loading...