Section 5: Hyper-Surround
Euphonix CS3000/2000 MixView 3.0 Software Supplement 5 - 33
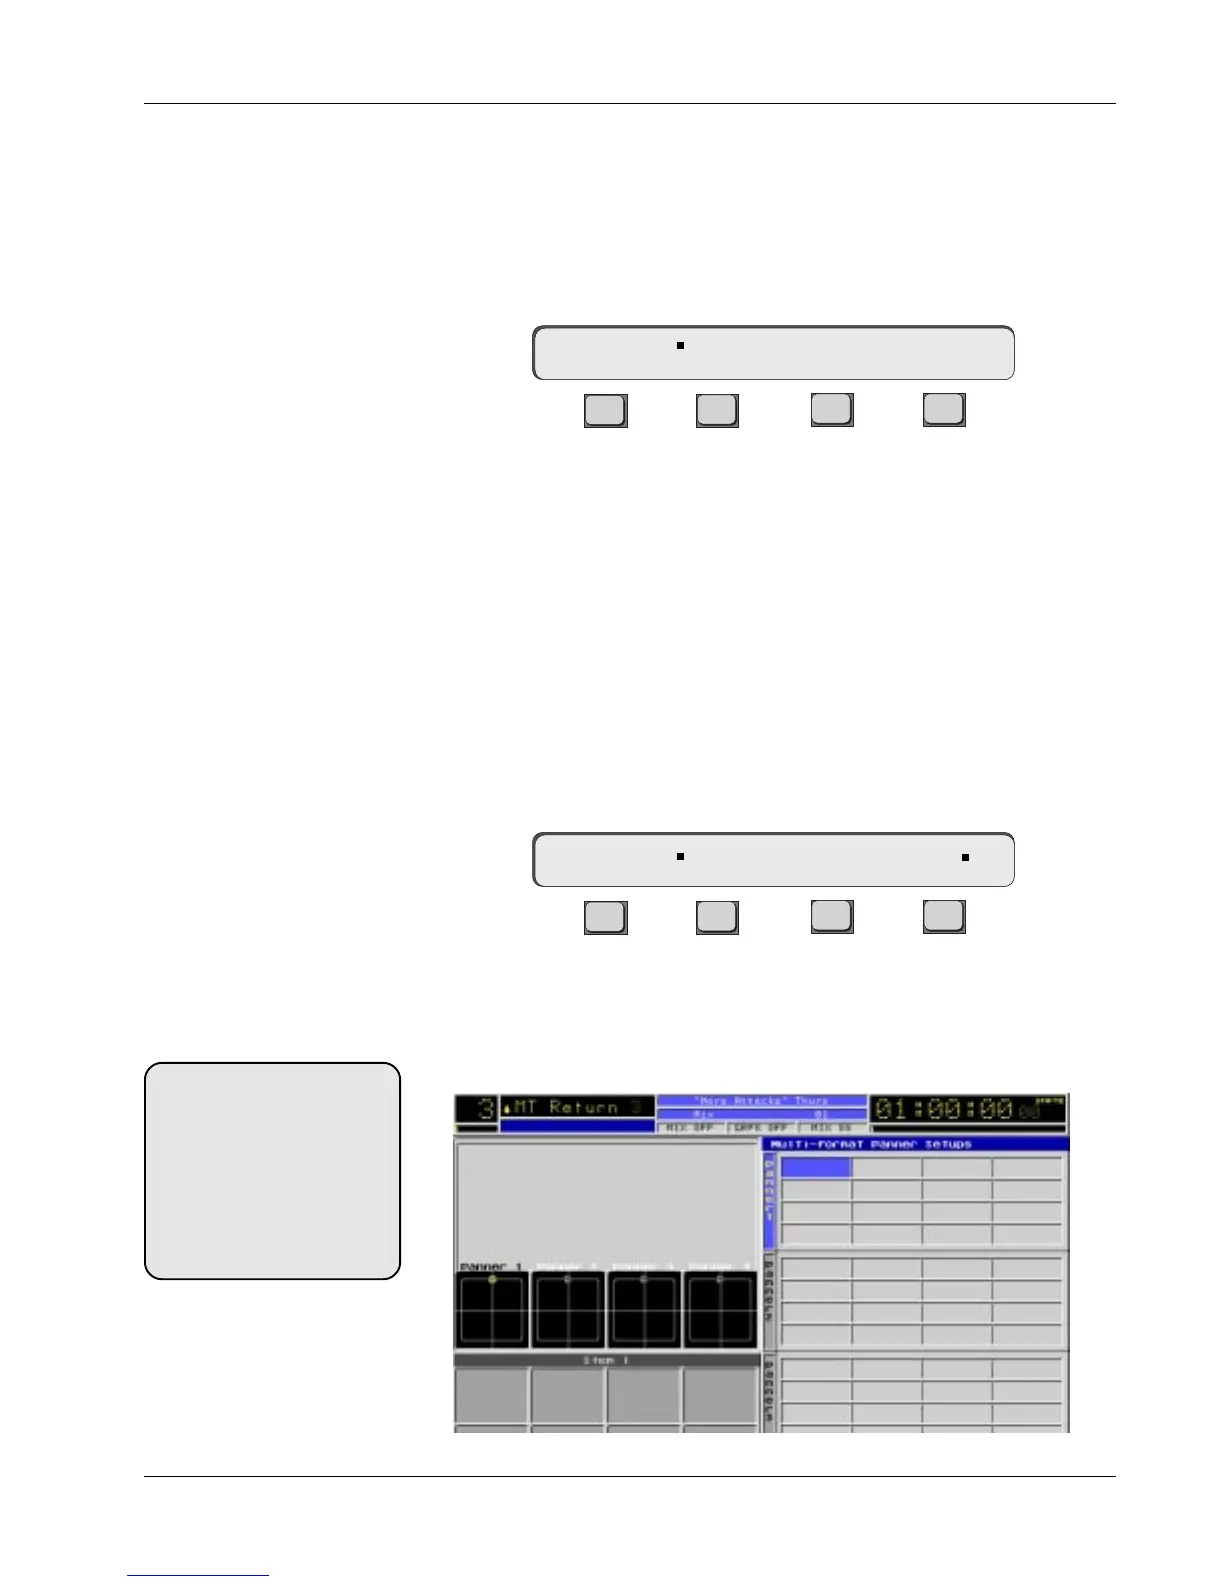
The panner screen appears in the right half of the DSC screen display. Assum-
ing no panners have been built, all panners are blank.
The blue cursor is in the first block of the first panner. Press [F2] to begin
selecting the panner format. While viewing the SmartDisplay menu, use the
SpinKnob or [+]/[-] keys to scroll through the available formats until you see
“5.1”:
F3F1 F2 F4
Notice that “5.1 L” appears in the Smart Display. It has automatically entered
L (left) as the first channel designation above F3.
If it is necessary to change the channel designation, press [F3]. You will see
the flag move from next to the format designation to next to the channel
designation. Use the SpinKnob or [+]/[-] keys to change the channel designa-
tion. Return the selection to “L”.
Now press [F4] to assign the bus. Notice the flag moves to the Bus designa-
tion and the system will automatically select the first available bus in the
system. In our case bus 1 is selected because no other panners have been
built so no buses have been used. The SpinKnob or [+]/[-] keys are used now
to change the bus selection if desired.
F3F1 F2 F4
Press the [right arrow] key to move the blue cursor to the next block on the
panner screen. Press [F2] again and notice that it has automatically entered
5.1 as the format and incremented the channel designation to C. Press [F4] and
see that bus 2 is automatically selected.
Selecting a Format
Selecting a Channel
Selecting a Bus
P1-> 5.1:L B – –
P1-> 5.1:L B1
Next Block
SIDE NOTE:
The system is designed so that
from a blank panner menu,
pressing [F2], [F4] and the DSC
[right arrow] key repeatedly,
allows you to quickly complete
a panner setup. Continue this
sequence of key presses until
the 5.1 panner is complete.