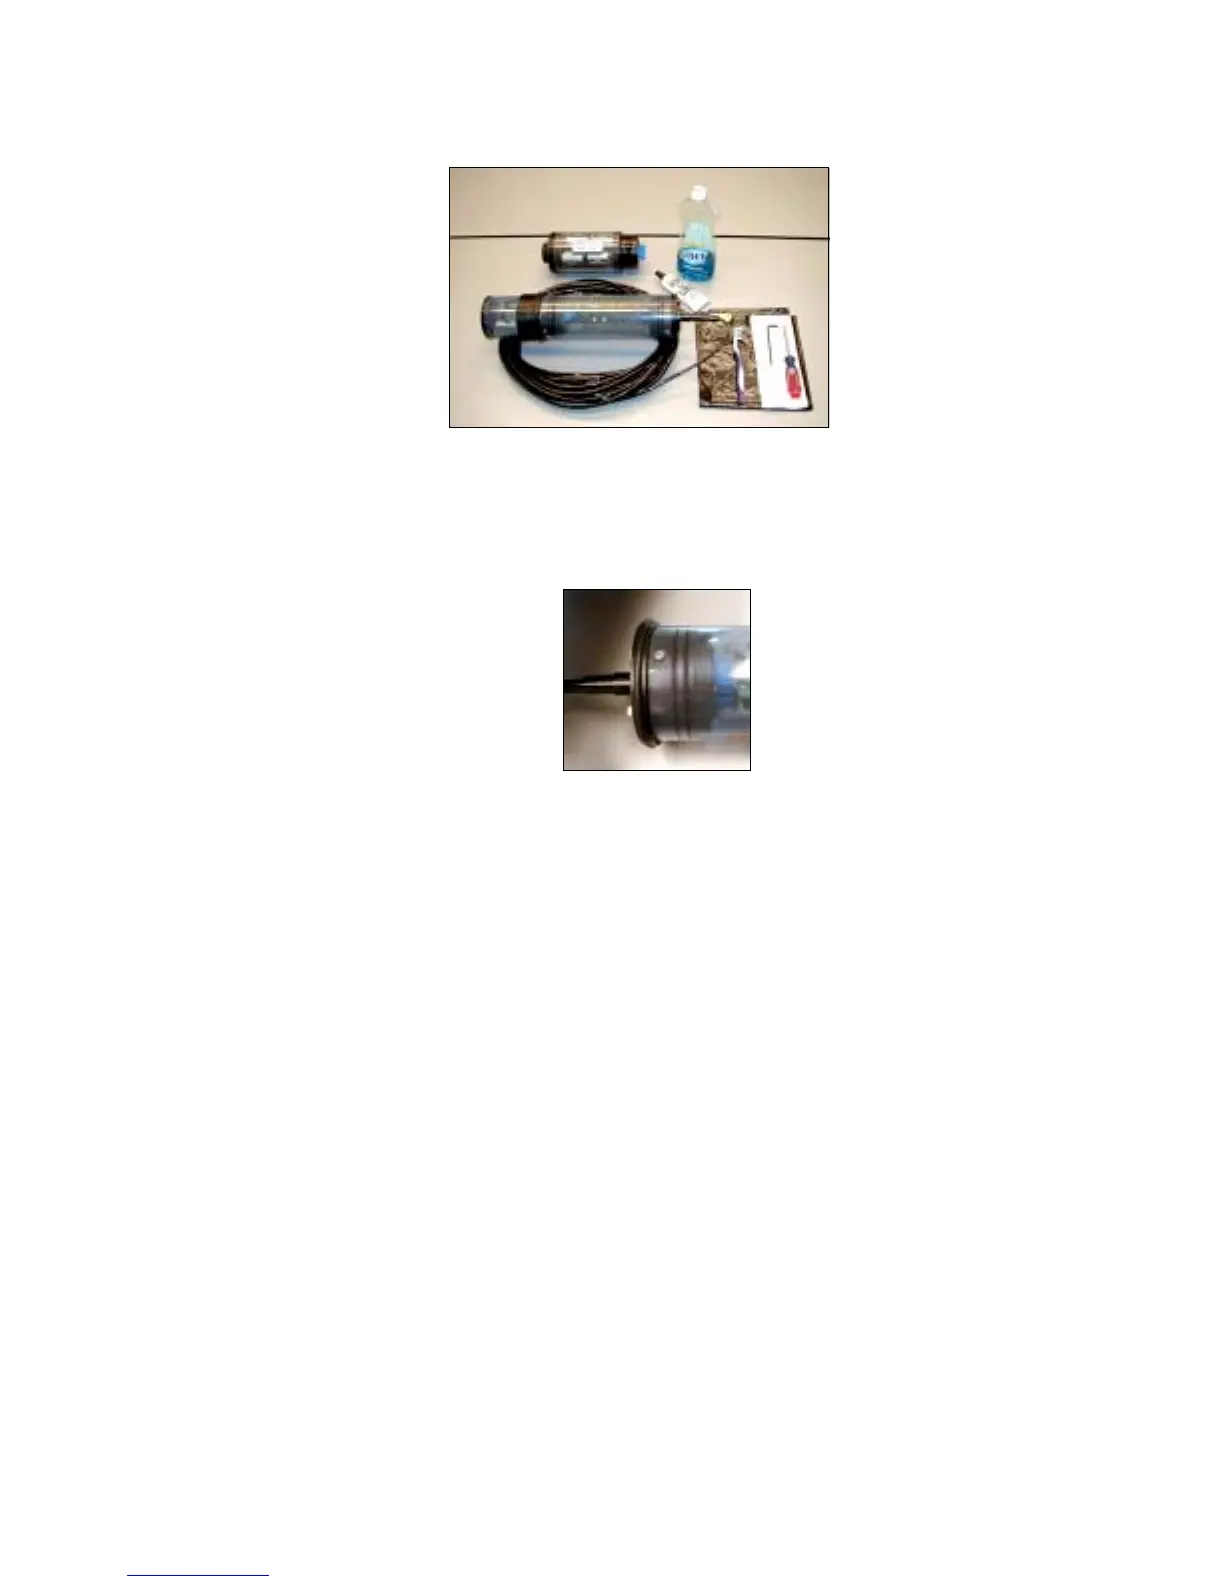
2) If your Manta or battery pack has any dirt, algae, or other contamination on it, use the brush and soapy water to
clean all the external surfaces. Also, notice that the o-ring seals appear as two narrow black lines of consistent
width (below). That indicates a good seal.
3) Remove the two Allen-head cap screws from the Manta’s top cap. Grasp the Manta in both hands and use your
thumbs to press the top cap out of the housing. If you can’t easily remove the top cap by pushing it with your
thumbs, then gently pry the top cap loose with the screwdriver. Pull the top cap completely away from the
Manta, and clean any contaminants from the top cap and o-rings. Store the cable and top cap in a clean plastic
bag. If the circuit board came out when you removed the top cap, you’d be in really big trouble and facing a
huge repair bill if you had one of the lesser multiprobe brands. But with Eureka’s Manta, all you have to do is
pick up the circuit board by its edges and push it back into the connectors at the bottom of the Manta housing.
4) Examine the o-rings and the top of the Manta housing. Remove all contaminants, if any, from the o-rings and
the sealing area. If you wiped away the existing grease during cleaning, apply a liberal amount of silicone
grease to the o-rings and the housing.
5) Line up the screw holes in the Manta housing with the threaded holes in the top cap and use the two Allen
screws to fix the top cap in the Manta. You may have to twist the Manta housing to get the screw holes to line
up – it’s OK, it’s made to twist.
6) Examine the o-ring seals to ensure that the two narrow black lines, consistent in width, are present as they were
just before you removed the when the top cap.
41