Euroscan MX1 16
Document number: EN-301-1:UD - based on Firmware version 1.033 and forward
3.2 Functionality check – pc menu
Parameters such as supply voltage/currents, temperature inputs, digital inputs, parameter settings, COM port
settings, communication settings and vehicle information can be displayed on your PC by means of a serial
connection and a terminal program. This terminal program will display the “MX1 menu”, which is – so to speak –
the ‘display’ of the Euroscan MX1 recorder.
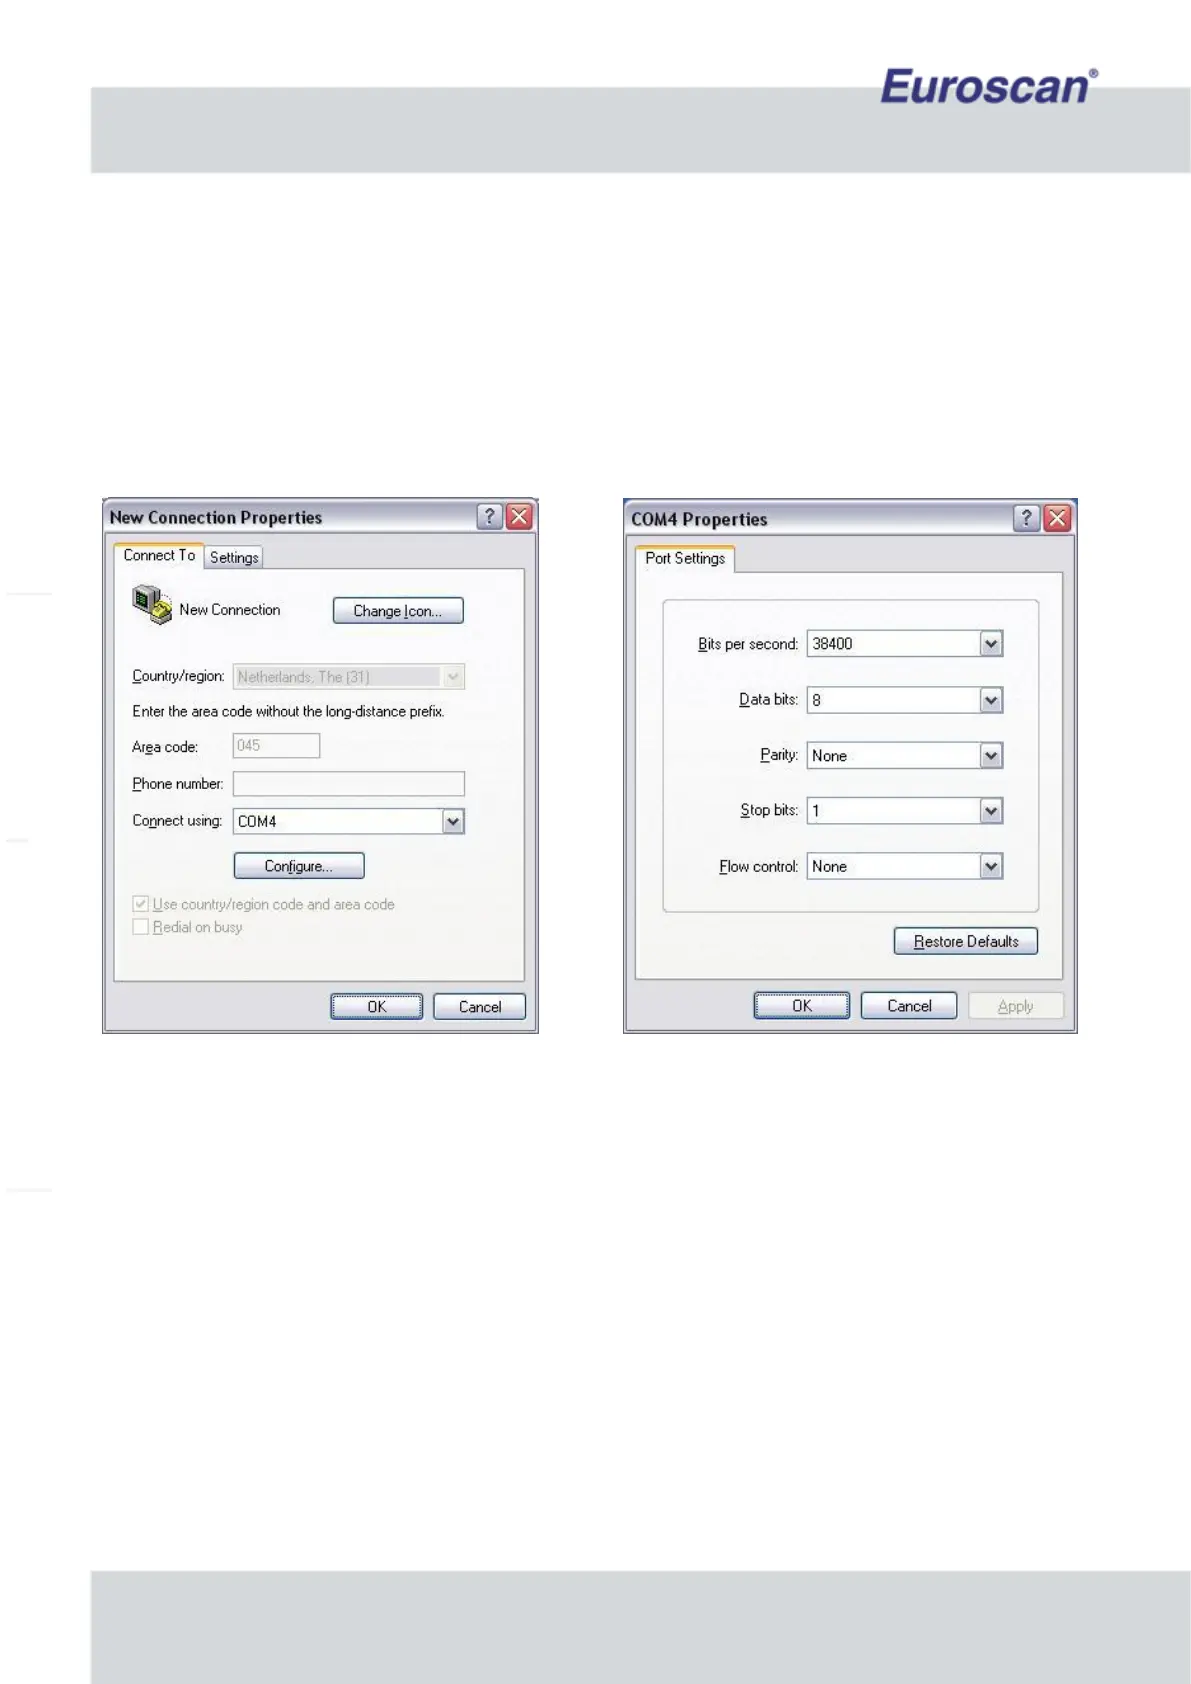
Open HyperTerminal, or any terminal program on your PC, and make sure that your COM port settings are as
depicted in Fig. 5.
(COM4 may be any COM port on your pc).
Fig. 13 Configuring HyperTerminal
When HyperTerminal has been configured, the MX1 is ready to be switched on.
Make sure that the MX1 is powered by the vehicle or fridge battery, and that the 10 amp fuse is integrated into
the circuit. (See wiring diagram on page 6.)
When powered, the MX1 first initializes the communication device(s). When this is done, the recorder is ready for
use (view Fig. 6).
Type ‘h’ to display the help menu (view Fig. 7).
The menu will show the various commands that can be entered. Just press the letter which is displayed for the
command you would run. The most important things to check are if the correct hardware is found and if the
hardware settings are proper. Also check the actual temperatures/digitals (press ‘a’ and ‘d’) and the internal
voltage (press ‘v’).