Euroscan MX1 8
Document number: EN-301-1:UD - based on Firmware version 1.033 and forward
2.7 EuroTOOL Setup
The parameter settings for the MX1 recorder can be changed in two ways: by means of EuroTOOL, or
online via the EuroWEB II parameter menu. Both methods are basically the same. However, be aware that on-
line modifications make use of an iGPRS connection, which is much slower than a direct serial data connection to
a PC (9600 vs. 38400 Baud).
Also, when changing communication settings over the internet, be aware that if the wrong settings are entered,
connection might be lost when the recorder has been rebooted.
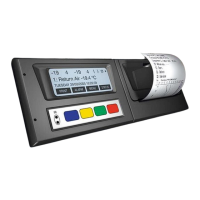
This first step is to check the connections of the recorder: there must be a serial connection between the recorder
and your pc (see chapter 2.6) and the recorder should be connected to a 10-36V power supply (see figure 3). A
green led-light on the main PCB of the MX1 will blinking.
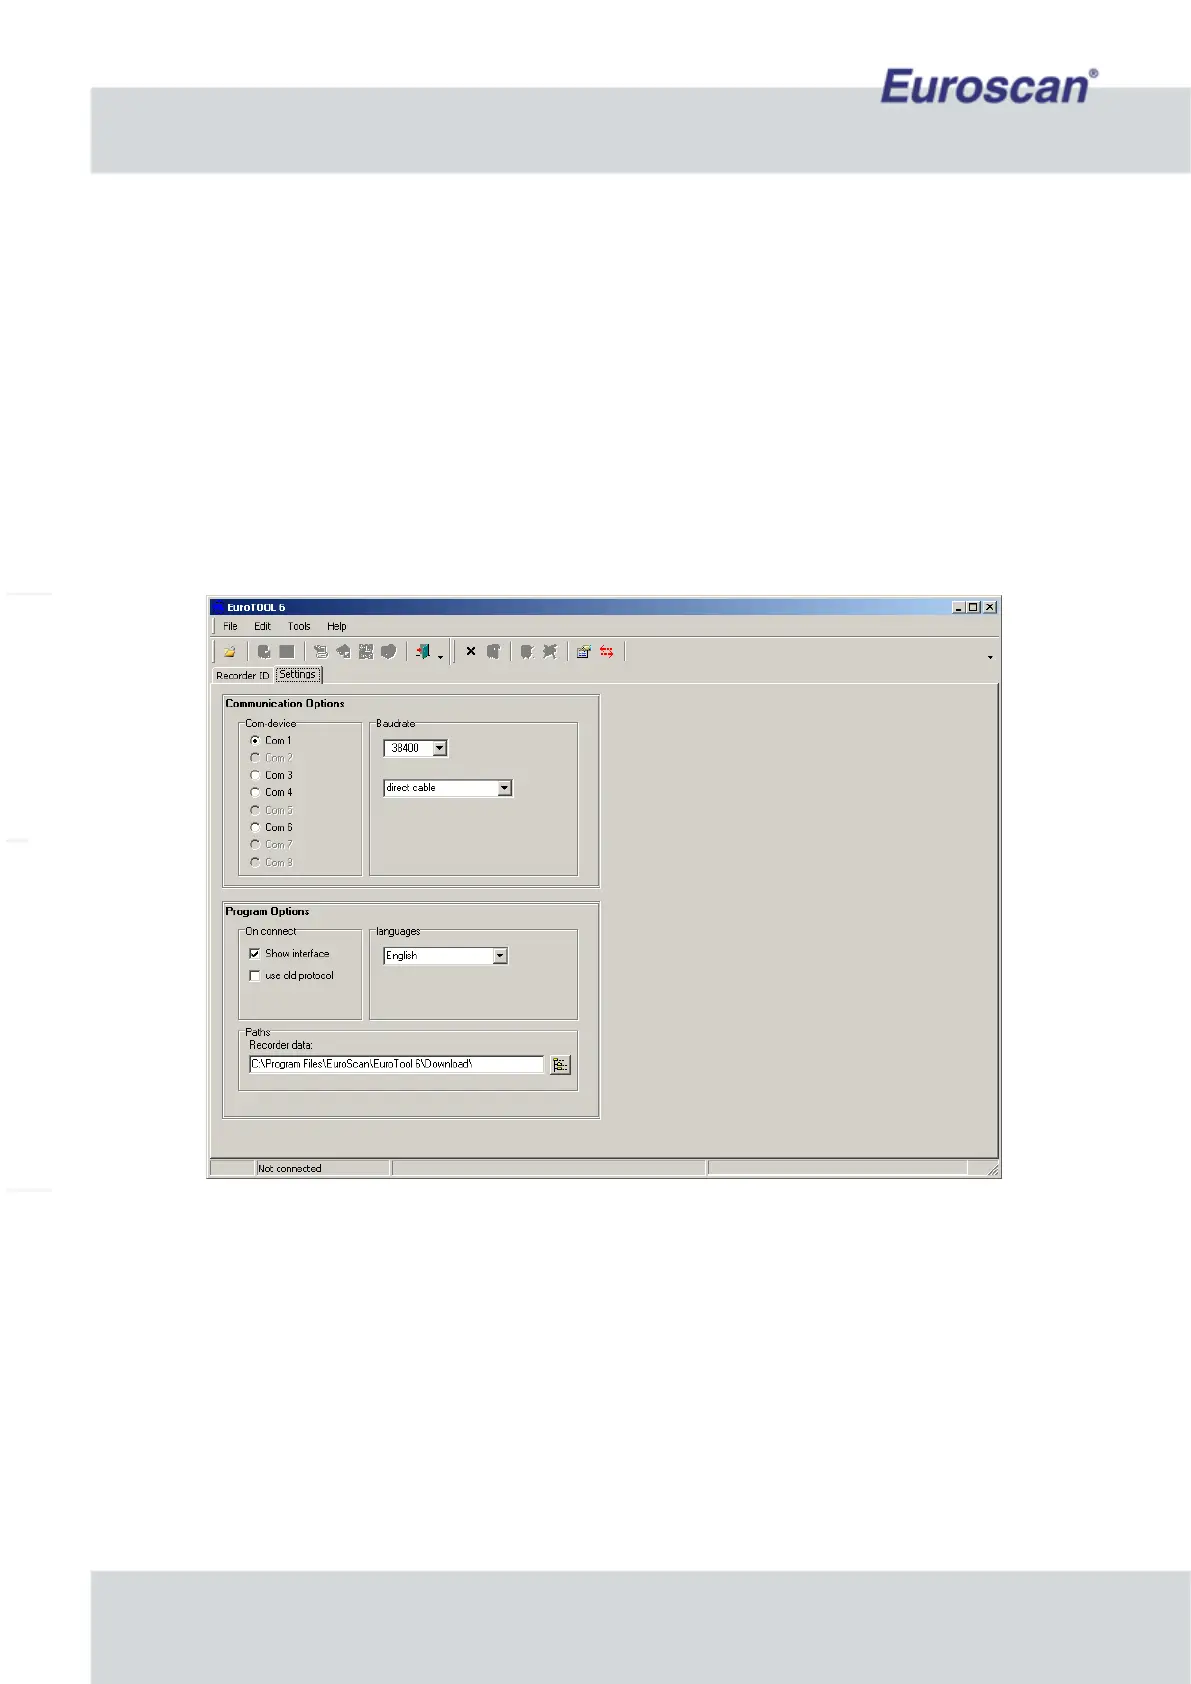
Now you have to run EuroTOOL. Press “Edit -> Settings” to see a screen like figure 5. Select the correct COM-
port, a ‘direct cable’ connection and a Baudrate of 38400 bps.
Fig. 5 EuroTOOL Communication settings
Press “Edit -> Settings” again to go back to the main screen of EuroTOOL. Click now on “Autodetect recorder” to
find the connected MX1 device. If everything is correct, the recorder type, name and serial will appear.
Now fill the recorder’s PIN in the yellow field of the main screen. The default PIN is ‘1111’. See figure 6 on the
next page.