retained.
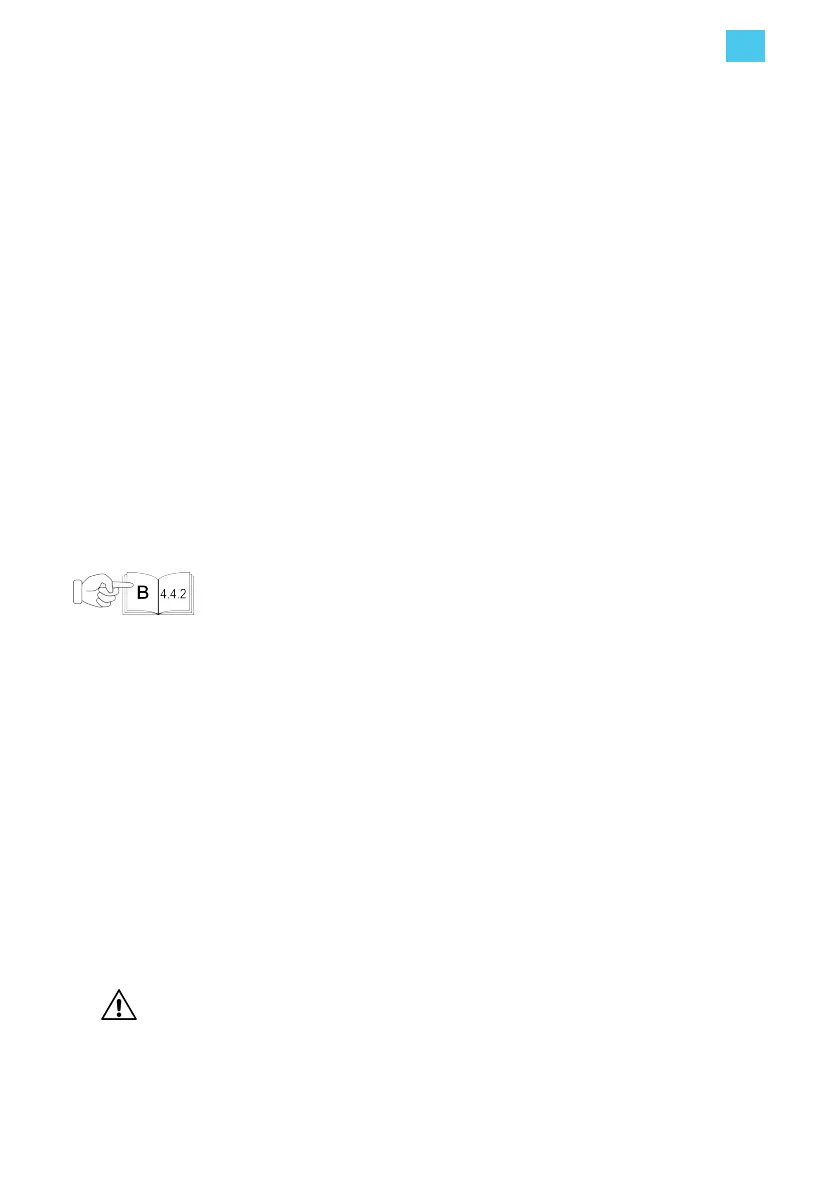
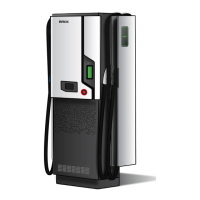
7. For two Iqon stations installed back-to-back, secure the Iqon stations together as follows:
a. Assemble four brackets into two bracket assemblies.
Note: The fasteners are supplied with Iqon.
b. Secure the two stations back-to-back using the two wall brackets assemblies and eight Torx
T25 screws that you retained.
8. When Iqon was secured to a wall or back-to-back with another Iqon, close the covers as follows:
a. Install the transparent cover using four Torx T25 screws.
b. Remove the safety pin and place it back into its holder.
c. Retract the charging cables by pushing down the levers in the cable locking mechanism.
Iqon is ready for power cable connection.
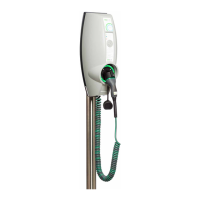
4.4.2. Connect power cables
See the corresponding illustrations in manual B.
Note: Use minimum 10 mm
2
and maximum 16 mm
2
copper wire, depending on the power supply
available and the distance from the power supply cabinet.
1. Remove four Torx screws and the frame from the installer box.
2. Loosen the six Phillips screws then remove the installer box cover.
3. Route each power cable into the charging station through the chosen entry point.
Note: There can be one or two power cables, depending on the power supply.
Note: Use a cable gland on a power cable that enters from the side or back.
4. Route each power cable to its cable gland fitting in the installer box using the available cable
entries from below, the sides, or the back.
CAUTION: Do not exceed the maximum bend radius for the type of cable used.
5. Cut and strip the power cables to the required length.
4. Installation instructions
EN
31