..........Press Enter ( ) to enter Volume Setup (see page 18).
..........Press Enter ( ) to enter Language Selection
(see page 19).
End ..........Exit Setup Screen and return to testing.
Setting the Clock
You will need:
√ Your EvenCare G2 Meter
NOTE
If date and time on the EvenCare G2 Meter has not been set, test or
control result will not be stored in memory.
Step 1:
Press and hold Enter ( ) to turn on the meter.
Step 2:
Press Enter ( ) to go into setup screen, then
press ▲or▼ until start to flash. If the voice
function is on, the meter will say, “Set date and time.”
Press Enter ( ) to enter clock setup.
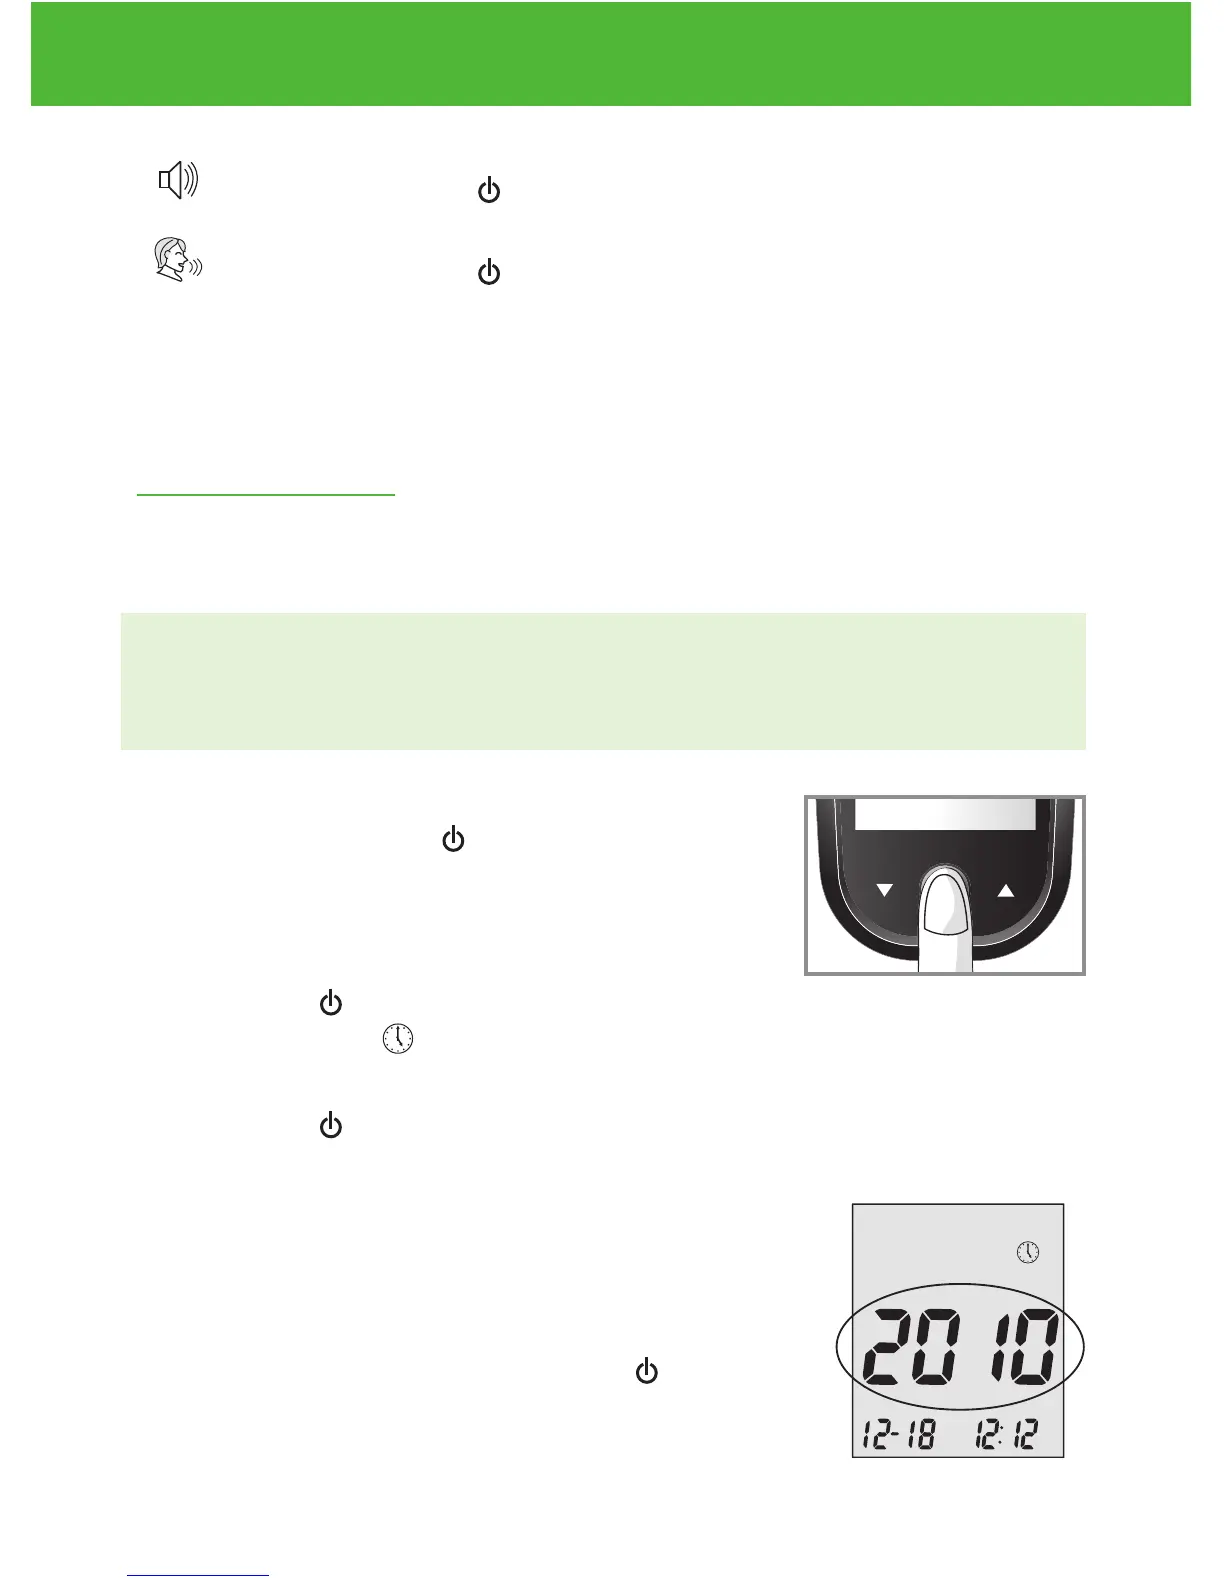
Step 3-Set the Year
The current year will flash. If the voice function is
on, the meter will say, “Set Year.” press ▲or▼to
select the correct year. Press Enter ( ) to con-
firm your choice and advance to set the month.
DVI
e
g
a
r
otS
e
ru
t
are
p
m
e
T
51
e
t
a
d
n
oi
t
a
ri
px
e
e
h
t
e
rofe
b
r
o
gn
i
n
e
po
t
sr
if r
et
f
a
shtn
om 3
ni
htiw
esU
Low
Control Soluon
Suitable for Self-tesng
www.medline.com
©2010 Medline Industries, Inc.
Manufactured for Medline Industries, Inc.,
Mundelein, IL 60060 USA Made in Taiwan
1-800-MEDLINE RK10APB
Patent# 7655128
DVI
e
g
a
r
otS
erutarepmeT
51
e
t
ad
n
oit
a
ri
px
e eht e
r
ofe
b
r
o
gninepo tsrif retfa shtnom 3 nihtiw esU
Low
Control Soluon
Suitable for Self-tesng