44
ä
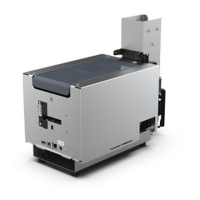
Ste p 2 - Insta lling the ne w print he a d
Ê
Note the code shown on the white label stuck on the print head. You will be asked for this code in Step 3.
Ë
Ta ke the ne w he a d a nd inse rt it ve rtic a lly (white c o nne c to r up wa rd s) ra ising it in the two g uid e s so a s to tra p the lug s o f
the fo rk in the ir slo ts
Ê
. The n lo we r it b y p re ssing o n the two fo rks
Ë
, a c lic k will b e he a rd .
Ì
C o nne c t the c a b le into its so c ke t, m a king sure it is the rig ht wa y ro und . Do no t use a ny fo rc e , a s this p a rt is re la tive ly
fra g ile . Pre ss d o wn o n e a c h sid e o f the c o nne c to r to e nsure a g o o d c o nne c tio n is ma d e .
Í
The he a d is b a c k in p o sitio n.
Î
Close the cover. The print head is now tted.
4
Ê
Í
Î
Ë
Ì