6
EVONIC - 104 INSTRUCTION MANUAL TEMPLATE ISS. 1EVONIC - 104 INSTRUCTION MANUAL TEMPLATE ISS. 1 INSETS. 1INSETS. 1
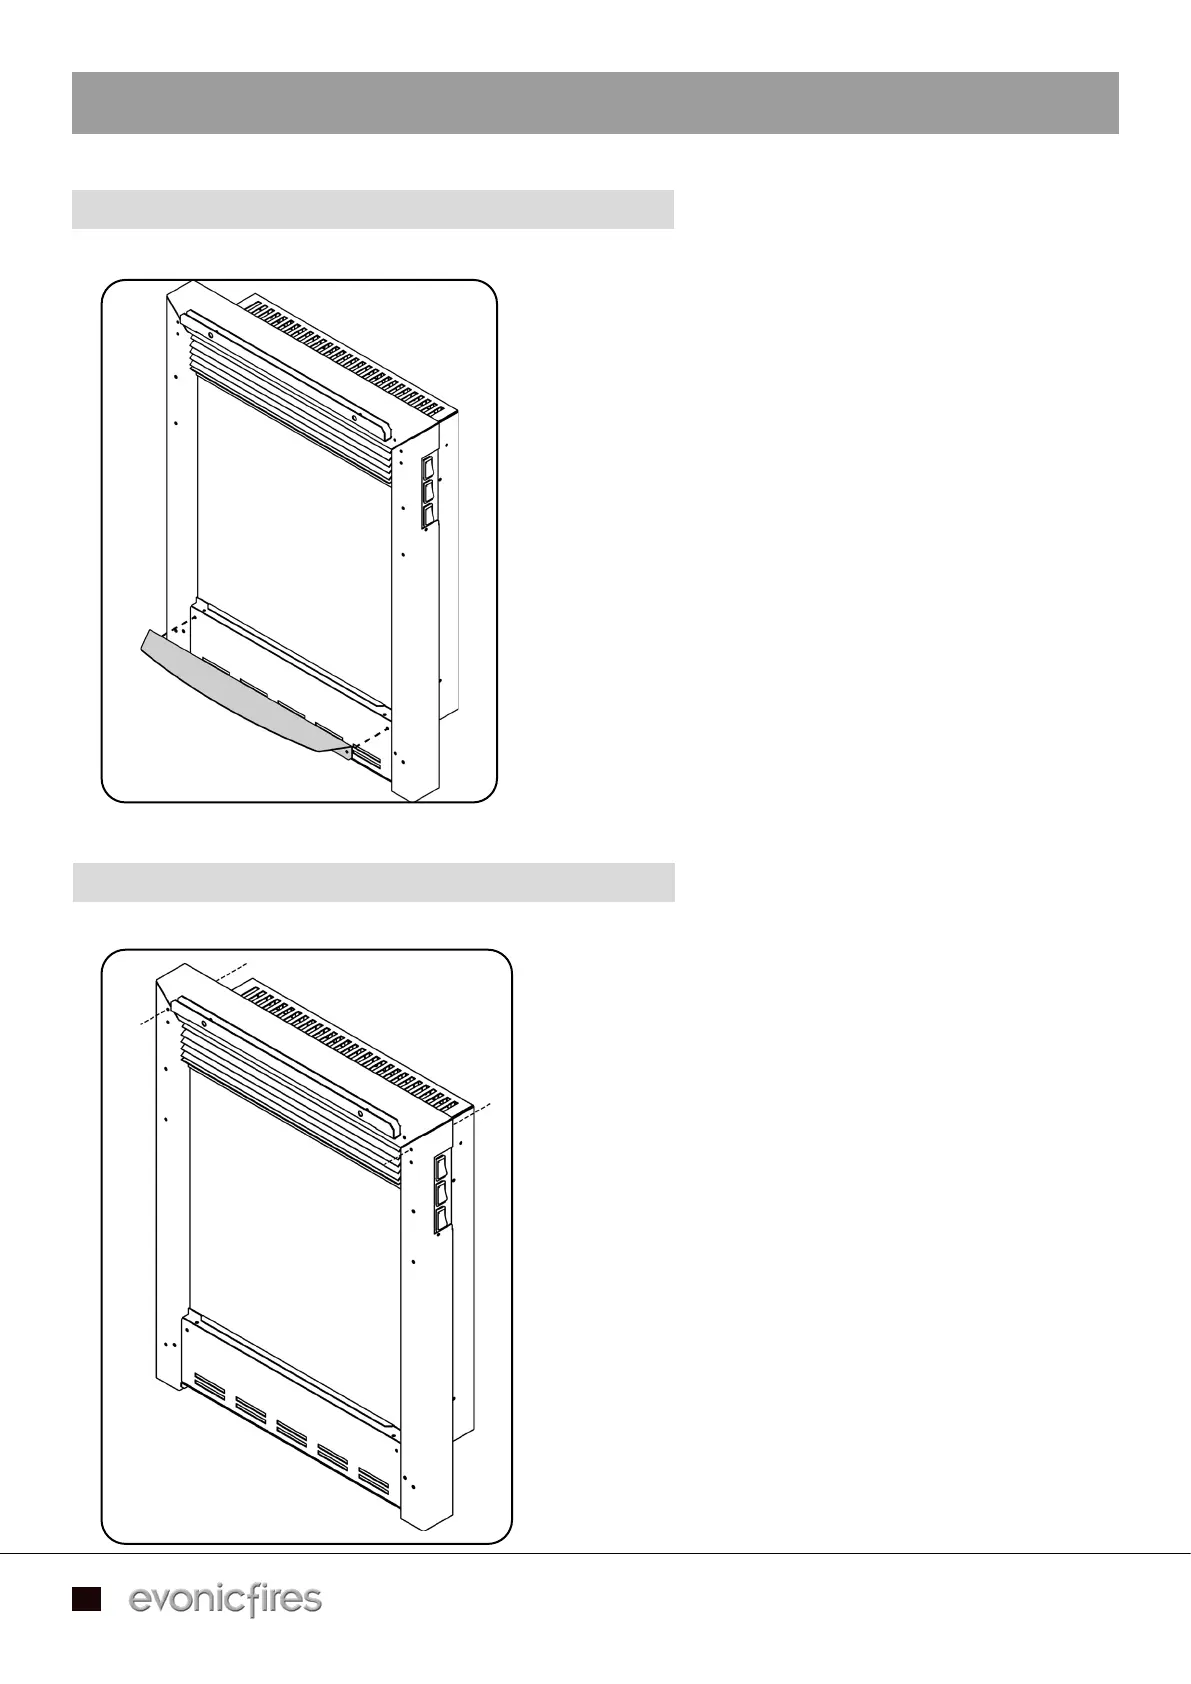
INSET INSTALLATION - TIE BACK MODELS
First attach the electrical lead to the power inlet on
the back lower right, and plug into the mains power.
Using the Cast Frame fixing kit, drill and fit the x 2
wall plugs and x 2 screw eyes to the inside of the
wall opening.
Then using the cable, form a loop by threading
it through one of the holes on the front of the
appliance, then through the eye screws, and back
through another hole on the appliance. You can
use the most conveniently positioned hole on the
appliance for your installation.
Now move the appliance into the opening, pulling
the solid end of the cable against the appliance.
Feed the barrel clamp onto the open end of the
cable, and whilst maintaining tension screw it tight.
Cut the cable approximately 50mm away from the
barrel clamp.
STRELLAR INFILL PLATE
STRELLAR & OBERON INSTALLATION
Our Strellar model comes with an infill plate and 2x
screws, if you have an Oberon model you can skip to
the section below and continue with the installation.
To fit the Infill plate, screw in the two screws to
either side of the plate as shown. This lines up with
the two screw holes on the front of the appliance.
You can now continue the installation as stated on
page 6.