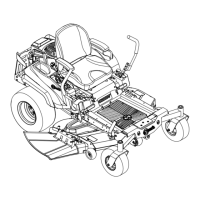
Figure63
1.Sailareaofblade3.Curvedwasher
2.Blade4.Bladebolt
SharpeningtheBlades
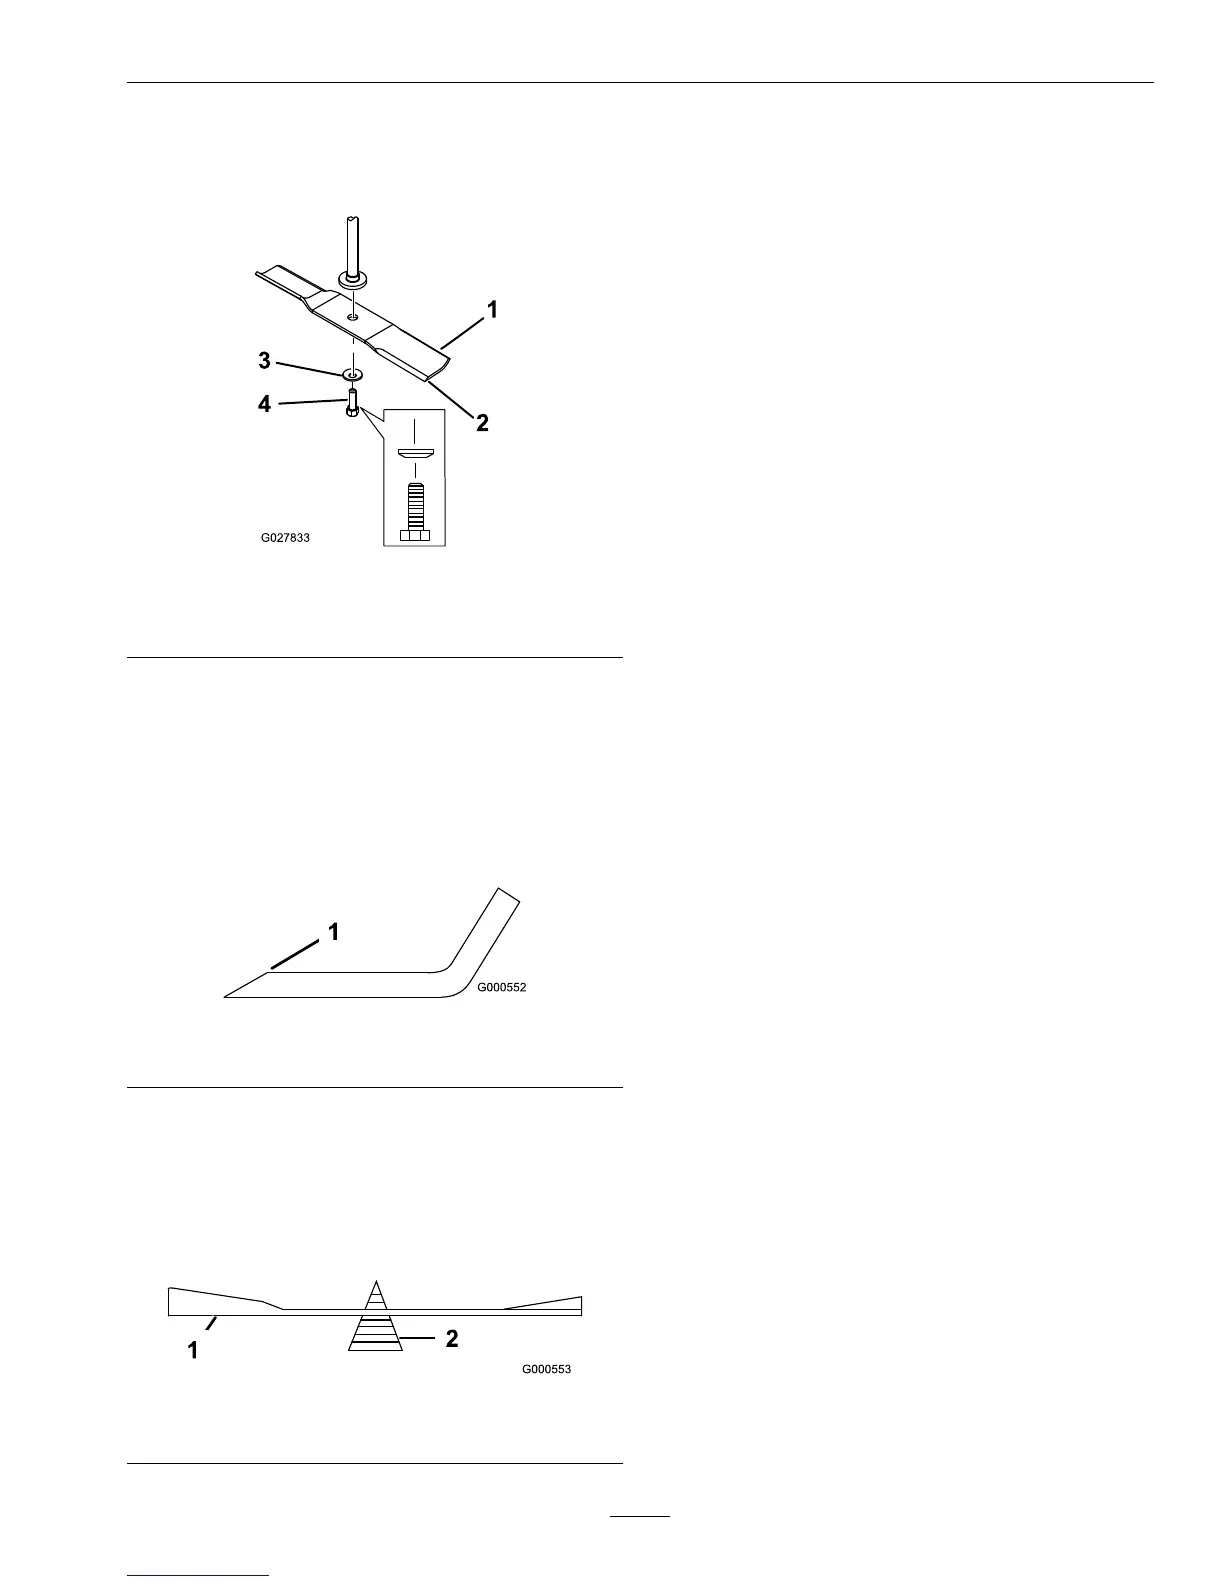
1.Usealetosharpenthecuttingedgeatbothends
oftheblade(Figure64).Maintaintheoriginal
angle.Thebladeretainsitsbalanceifthesame
amountofmaterialisremovedfrombothcutting
edges.
Figure64
1.Sharpenatoriginalangle
2.Checkthebalanceofthebladebyputtingitona
bladebalancer(Figure65).Ifthebladestaysina
horizontalposition,thebladeisbalancedandcan
beused.Ifthebladeisnotbalanced,lesome
metalofftheendofthesailareaonly(Figure64).
Repeatthisprocedureuntilthebladeisbalanced.
Figure65
1.Blade2.Balancer
InstallingtheBlades
1.Installthebladeontothespindleshaft(Figure63).
Important:Thecurvedpartoftheblade
mustbepointingupwardtowardtheinsideof
themowertoensurepropercutting.
2.Installthecurvedwasher(cuppedsidetowardthe
blade)andthebladebolt(Figure63).
3.Torquethebladeboltto35-65ft-lb(47-88N-m).
LevelingtheMowerDeck
Checktoensurethemowerdeckislevelanytime
youinstallthemowerorwhenyouseeanunevencut
onyourlawn.
Themowerdeckmustbecheckedforbentblades
priortoleveling;anybentbladesmustberemoved
andreplaced.RefertotheCheckingforBent
Bladesprocedurebeforecontinuing.
Themowerdeckmustbeleveledside-to-siderst
thenthefronttorearslopecanbeadjusted.
Requirements:
•Themachinemustbeonalevelsurface.
•Allfourtiresmustbeproperlyinated.Referto
CheckingtheTirePressureintheDriveSystem
Maintenancesection.
Side-to-SideLeveling
1.Parkthemachineonalevelsurfaceanddisengage
thebladecontrolswitch.
2.Ensuretheparkingbrakeisengaged,stopthe
engine,removethekey,andwaitforallmoving
partstostopbeforeleavingtheoperatingposition.
3.Settheheight-of-cutlevertomiddleposition.
4.Carefullyrotatethebladessothattheyareallside
toside(Figure66andFigure67).
57