Maintenance
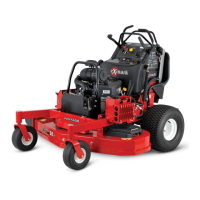
ReleasetheCushionforRear
Access
ServiceInterval:Asrequired
Thecushioncanbereleasedforrearaccesstothe
machineformaintenanceoradjustment.
1.Lowertheplatform.
2.Removethehairpinoneachsideofthecushion.
3.Pushtheplasticslidestotheinside.
4.Removethecushionandlowerittotheplatform.
5.Performanymaintenanceoradjustmentonthe
machine.
6.Raisethecushionandslideitontothepinson
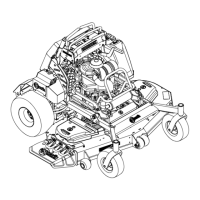
bothsidesofthemachine(Figure17).
7.Pushtheplasticslidesintothecushionbracket
andsecurethemwithahairpin.
Figure17
1.Cushionbracket
2.Plasticslide
3.Pin
4.Hairpin
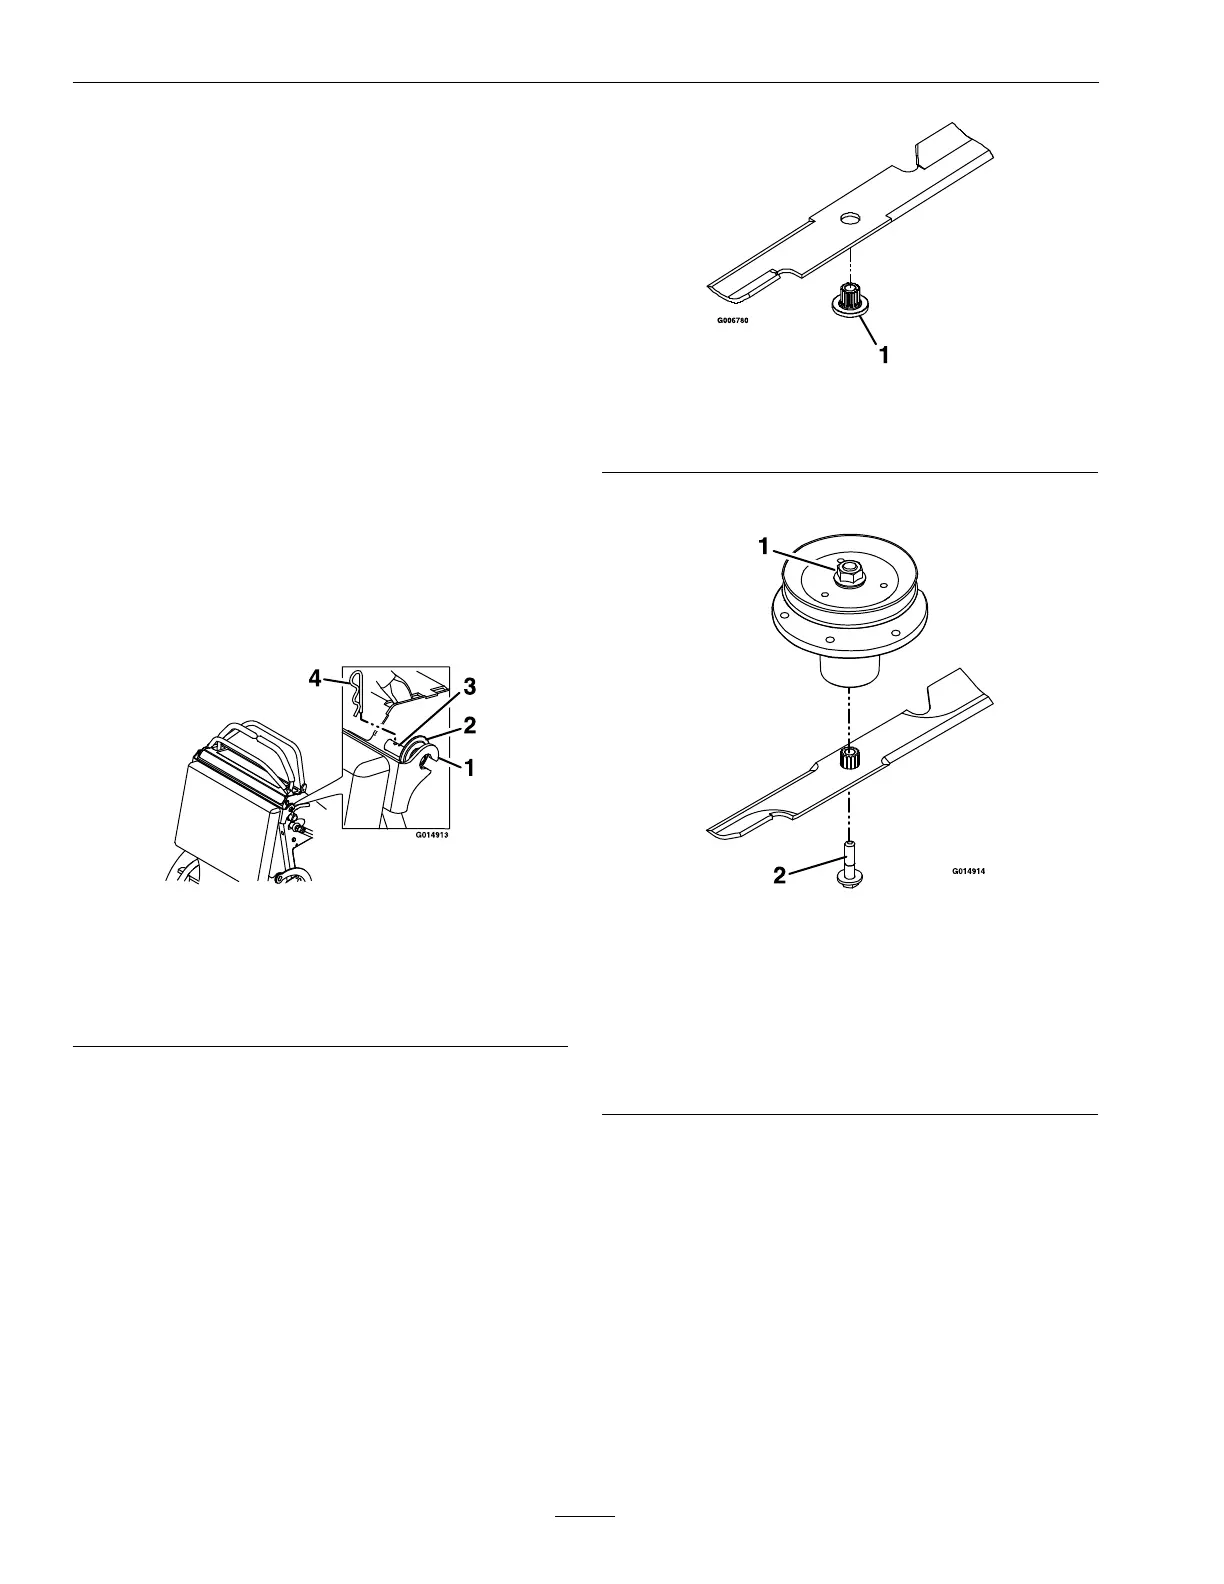
CheckMowerBlades
ServiceInterval:Beforeeachuseordaily
1.Stopengine,waitforallmovingpartstostop,and
removekey.Engageparkingbrake.
2.Liftdeckandsecureinraisedpositionasstatedin
theCleanGrassBuild-UpUnderDecksection.
3.Inspectbladesandsharpenorreplaceasrequired.
4.Reinstalltheblades(iftheywereremoved)inthe
followingorder:
A.Installbushingthroughbladewithbushing
angeonbottom(grass)sideofblade.
Figure18
1.Installbushinginbladepriortoinstallingbushingin
spindle.
B.Installbushing/bladeassemblyintospindle.
Figure19
1.Usewrenchherefor
bladeinstallation.This
nuthasbeentorquedto
130-160ft-lb(176–217
N-m)
2.Torqueto50-60ft-lb
(68-81N-m)Apply
lubricanttothreads
asneededtoprevent
seizing.Copper-based
anti-seizepreferable.
Greaseacceptable
substitute.
C.Applylubricanttothreadsofbladeboltas
neededtopreventseizing.Copper-based
anti-seizepreferable.Greaseacceptable
substitute.Installbladeboltngertight.Place
wrenchonthetopspindlenutthentorquethe
bladeboltsto50-60ft-lb(68-81N-m).
28
 Loading...