Replacing BlackDiamond 8800 Series Chassis Components
BlackDiamond 8800 Series Switches Hardware Installation Guide
154
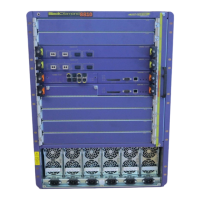
Figure 112: Installing the Fan Tray in the BlackDiamond 8806 Switch
3 Use a #2 Phillips screwdriver to tighten the screws (Figure 111).
Leave the ESD-preventive wrist strap permanently connected to the switch so that it is always available
when you need to touch ESD-sensitive components.
Replacing the PSU/Fan Controller
The BlackDiamond 8800 series switch has two PSU/fan controllers behind an access panel on the rear of
the switch chassis.
NOTE
If your system is running ExtremeXOS version 11.2.1.3 or later, you can hot swap the PSU/fan controller unit. Refer
to the ExtremeXOS Concepts Guide for complete information about upgrading software.
Pre-installation Requirements
Make sure that you have access to the back of the switch. You need the following tools and equipment
to replace a BlackDiamond 8800 series PSU/fan controller:
● ESD-preventive wrist strap
● #1 Phillips screwdriver
● #2 Phillips screwdriver
● Replacement BlackDiamond 8800 series PSU/fan controller
EX_115
Fan tray
handle
Fan tray
captive
screws (x2)
 Loading...

