SW HD 4K PLUS Series • Installation 4
Installation
This section describes the installation and setup of the SW HD 4K PLUS Series switchers.
Topics include:
• Installation Overview
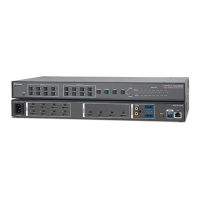
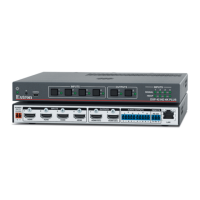
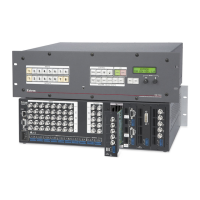
• Rear Panel Features
• Wiring the Power Connector (SW2 and SW4 HD 4K PLUS Only)
• Wiring for RS‑232 Control
• Wiring the CONTACT/TALLY Connectors
• LockIt HDMI Cable Lacing Bracket Installation
Installation Overview
To install and set up the SW HD 4K PLUS Series switcher:
1. Turn off all equipment and disconnect it from the power source.
2. (Optional) Mount the switcher on a rack shelf or furniture (see Mounting the
SW HD 4K PLUS Switchers on page 44).
3. Connect HDMI input sources to one or more of the SW HD 4K PLUS input
connectors.
NOTE: LockIt cable lacing brackets, one for each HDMI input and output
connector, are provided with the SW HD 4K PLUS series. These brackets can
be used to secure the HDMI cables to the rear panel connectors to reduce
stress on the HDMI connectors and prevent signal loss due to loose cable
connections. For information on attaching the LockIt brackets, see LockIt
HDMI Cable Lacing Bracket Installation on page 12.
4. Connect an HDMI output device to the output connector. By default, the EDID of this
device is stored at the HDMI inputs.
5. Connect control devices. Connect your computer to one of the following
SW HD 4K PLUS ports to configure and control the switcher via SIS commands:
• RS‑232 port — 3-pole captive screw connector for serial RS-232 control (see
Wiring for RS‑232 Control on page9 for connection procedures)
• Config port — USB mini-B connector for USB control
• LAN port — RJ-45 connector for Ethernet control
6. Power on the output display.
7. Connect power to the switcher (see Powering on the Switcher on page15).
8. (Optional) Configure the EDID Minder (see EDID Minder on page17).
9. Power on the source devices.