PATHWAY
®
Aluminum Wheelchair Ramp Kit Assembly Manual Page 22 of 40
1
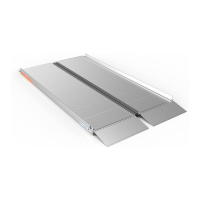
4.6. INSTALL A SINGLE RAMP RUN TO AN EXISTING STRUCTURE
This section (as well as sections 4.7 & 4.8) addresses configurations that do not include a top platform
(the ramp run will be connected to an existing landing, such as a porch, deck, stairs, etc.).
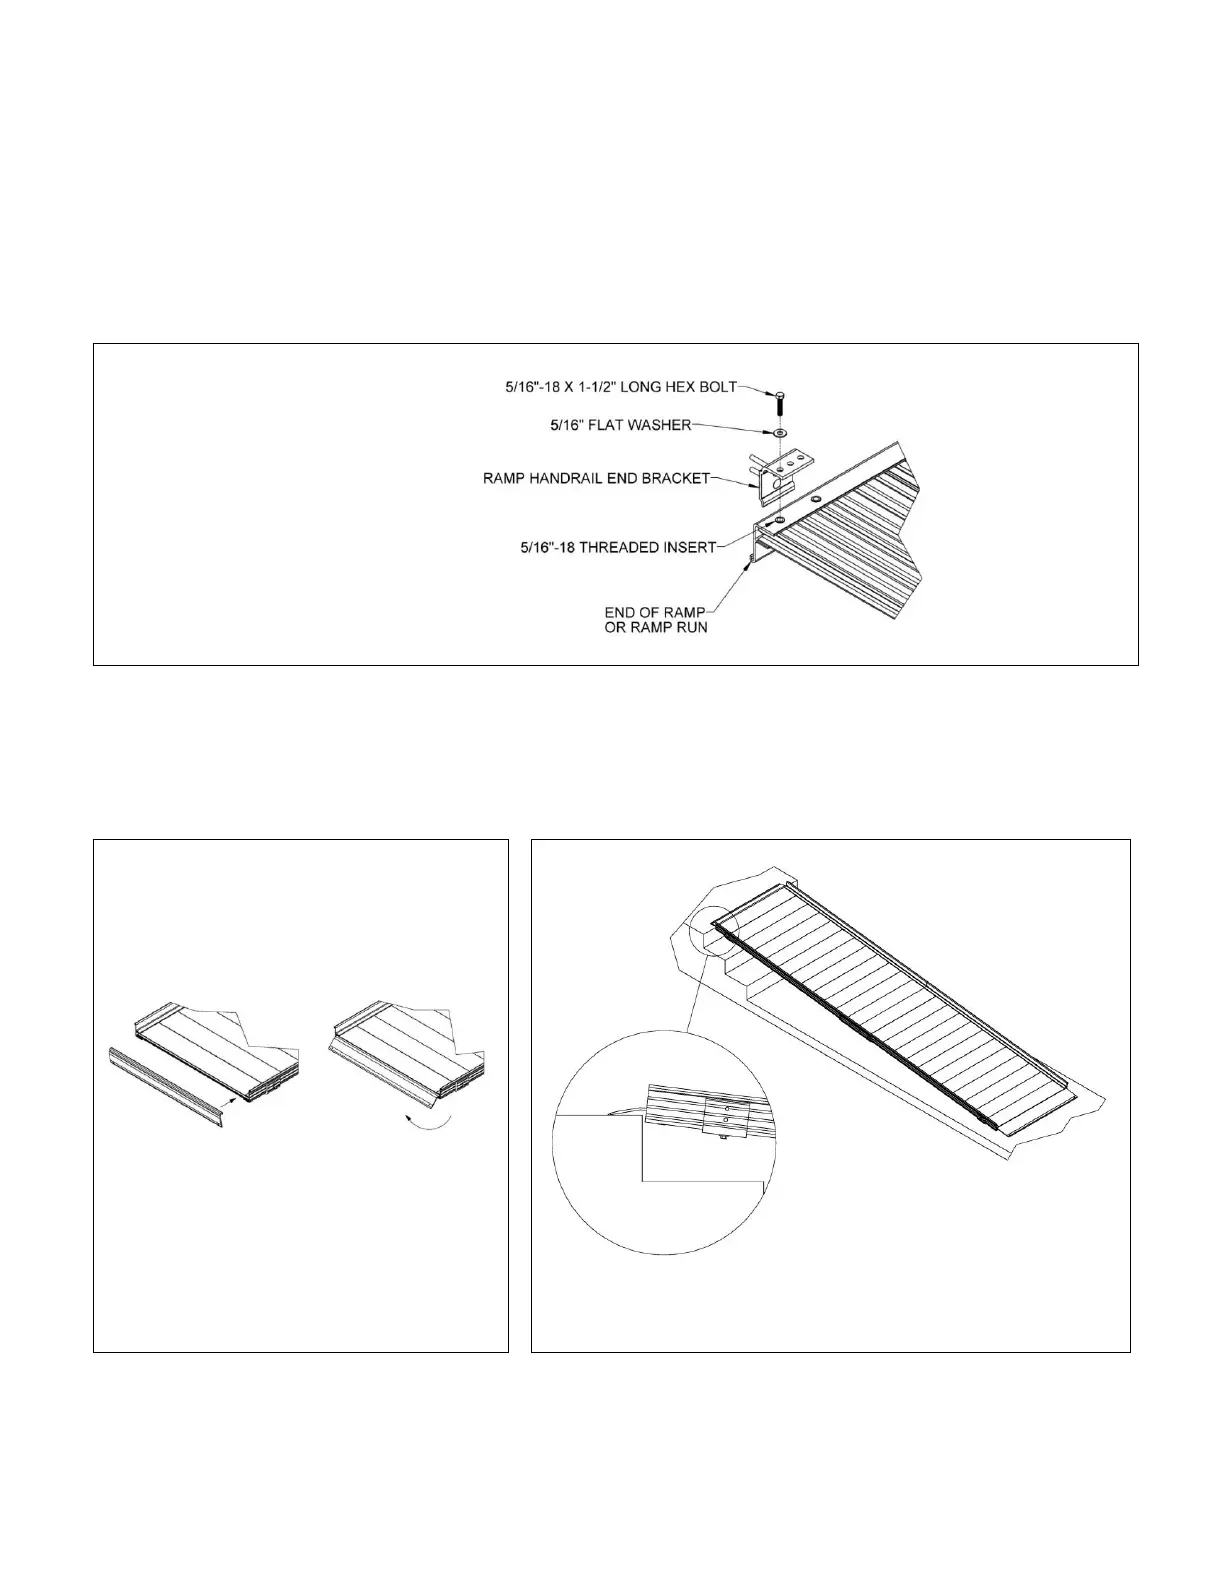
4.6.1.
Turn the ramp section upside down on a flat surface. Do this on cardboard or a lawn so
that the ramp is not damaged (scratched or dented).
4.6.2.
Locate PRHBPR (RAMP HANDRAIL END BRACKET PAIR). Install four end brackets (will be
used to attach handrails in a later step). Install one end bracket at each outside corner
of the ramp section using one 5/16”-18 x 1-1/2” bolt and washer into the threaded
insert closest to the end of the ramp (FIG. 4.14).
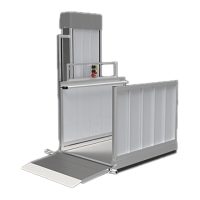
4.6.3.
Turn the ramp over to the upright position.
4.6.4.
Place the upper end of the ramp onto the supporting surface (i.e., platform, porch, etc.).
Once the ramp is resting on the porch or platform, lift the upper end of the ramp and install
the PRUT (RAMP UPPER TRANSITION) into what will be the upper end of the ramp (FIG. 4.15)
and the PRGT (RAMP GROUND TRANSITION) into what will be the lower end of the ramp.
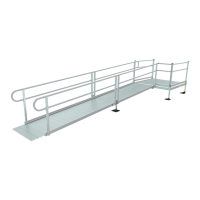
4.6.5.
Maneuver the ramp to its desired position (FIG. 4.16).
ENSURE THAT THE RAMP UPPER
TRANSITION OVERLAPS THE SUPPORTING
SURFACE AS FAR AS POSSIBLE