3.
ACTUATOR MOUNT
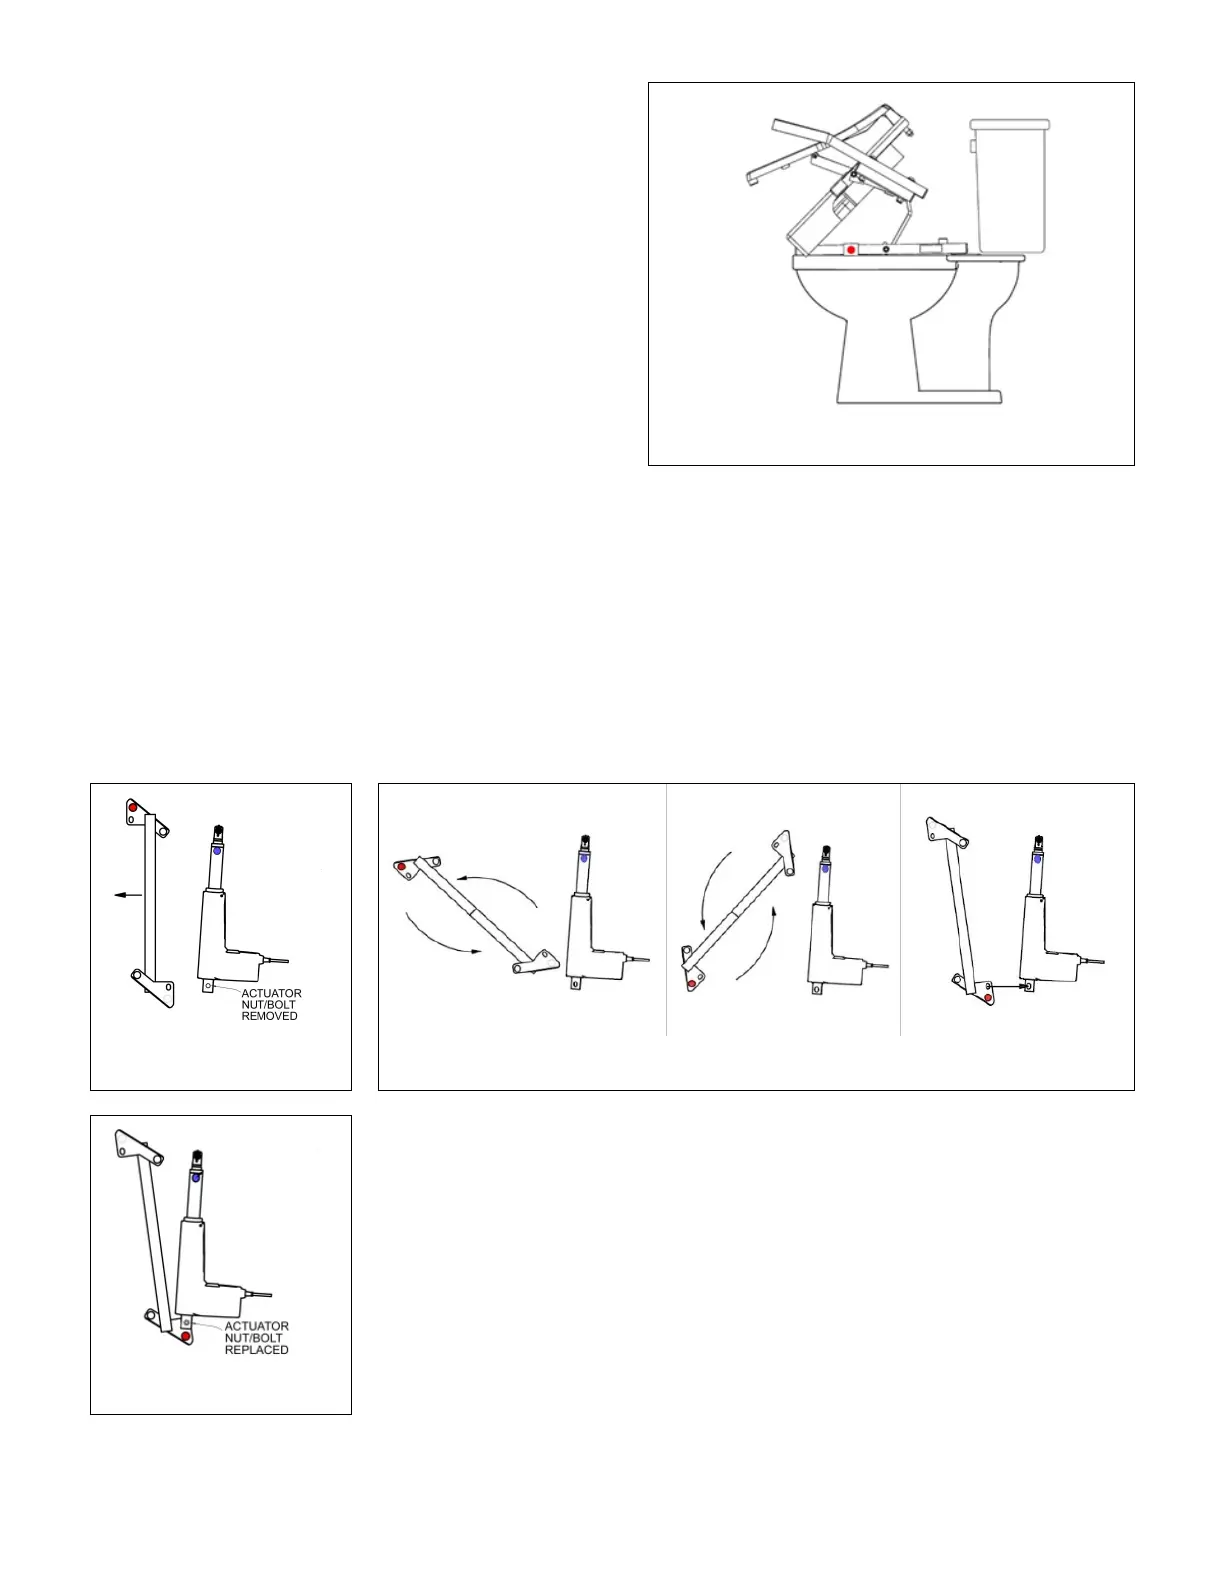
3.1 Once the frame is properly mounted to the toilet,
carefully lift/extend the TILT by pulling the two
handles forward and slightly upward (FIG. 4),
until the seat is fully raised and slightly
overextend (this allows the seat to stay in the
“up” position while the actuator and actuator
mount are installed).
FIG. 4
3.2 The actuator mount is universal for both the left and right side of the TILT and is factory packaged
configured for a left side mount. Depending on space requirements (see ‘SECTION 1’) or bathroom
configuration, it may be necessary to change to a right side mount.
3.2.1 Left/right is determined with your back to the tank.
3.2.2 For left side mount, alignment dots will be red; for right side they will be green.
3.3 To switch actuator and actuator mount from the left side to right, release actuator by removing the bolt
(FIG. 5) using a 9/16” wrench and locking pliers to secure the nut while backing out the bolt.
3.4 Flip actuator mount 180-degrees as shown in FIG. 6, and then replace actuator by aligning oblong hole in
actuator mount between slotted tabs on actuator.
3.5 Replace nut and bolt, and fasten securely. (FIG. 7).
FIG. 5
FIG. 6
FIG. 7