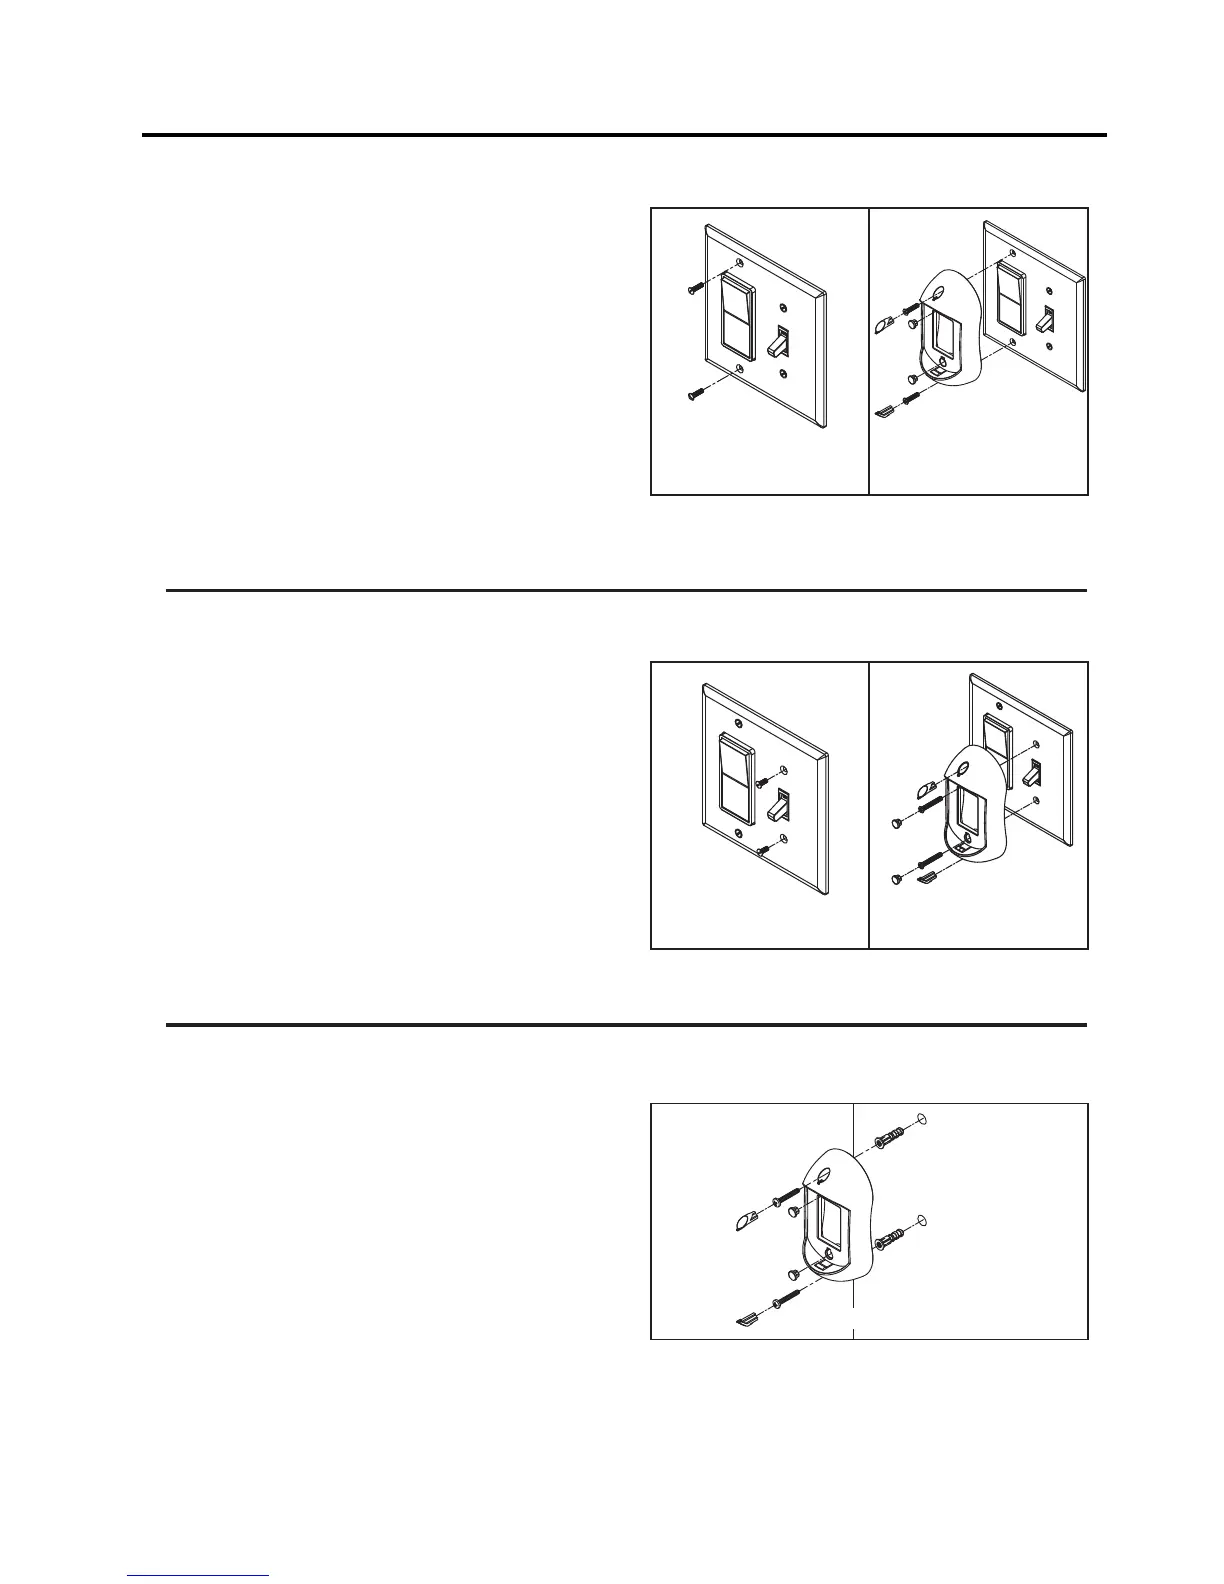
How to Mount Your Remote Control (Option #1)
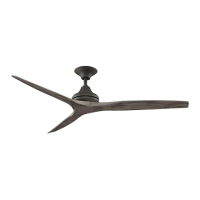
How to Mount Your Remote Control (Option #2)
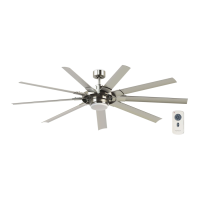
How to Mount Your Remote Control (Option #3)
1. Drill the two 1/4” holes in wall and use the M6 plastic
anchor pushed into the holes. Install the control bracket
with two #3- 1” self tap screws. Push the four plastic plug
to cover the screw holes. (Including in the control).
(Figure 1)
1. Unthread two screws from the wall switch plate.
(Figure 1)
2. Install the control bracket with two #6-32x 1” screws.
And push the four plastic plug to cover the screw holes.
(Including in the control).(Figure 2)
1. Unthread two screws from the wall switch plate.
(Figure 1)
2. Install the control bracket with two #6-32x 3/4” screws.
And push the four plastic plug to cover the screw holes.
(Including in the control).(Figure 2)
Figure 1
Figure 1 Figure 2
Figure 1 Figure 2
15