4
Step 2: Connect to the Web-interface
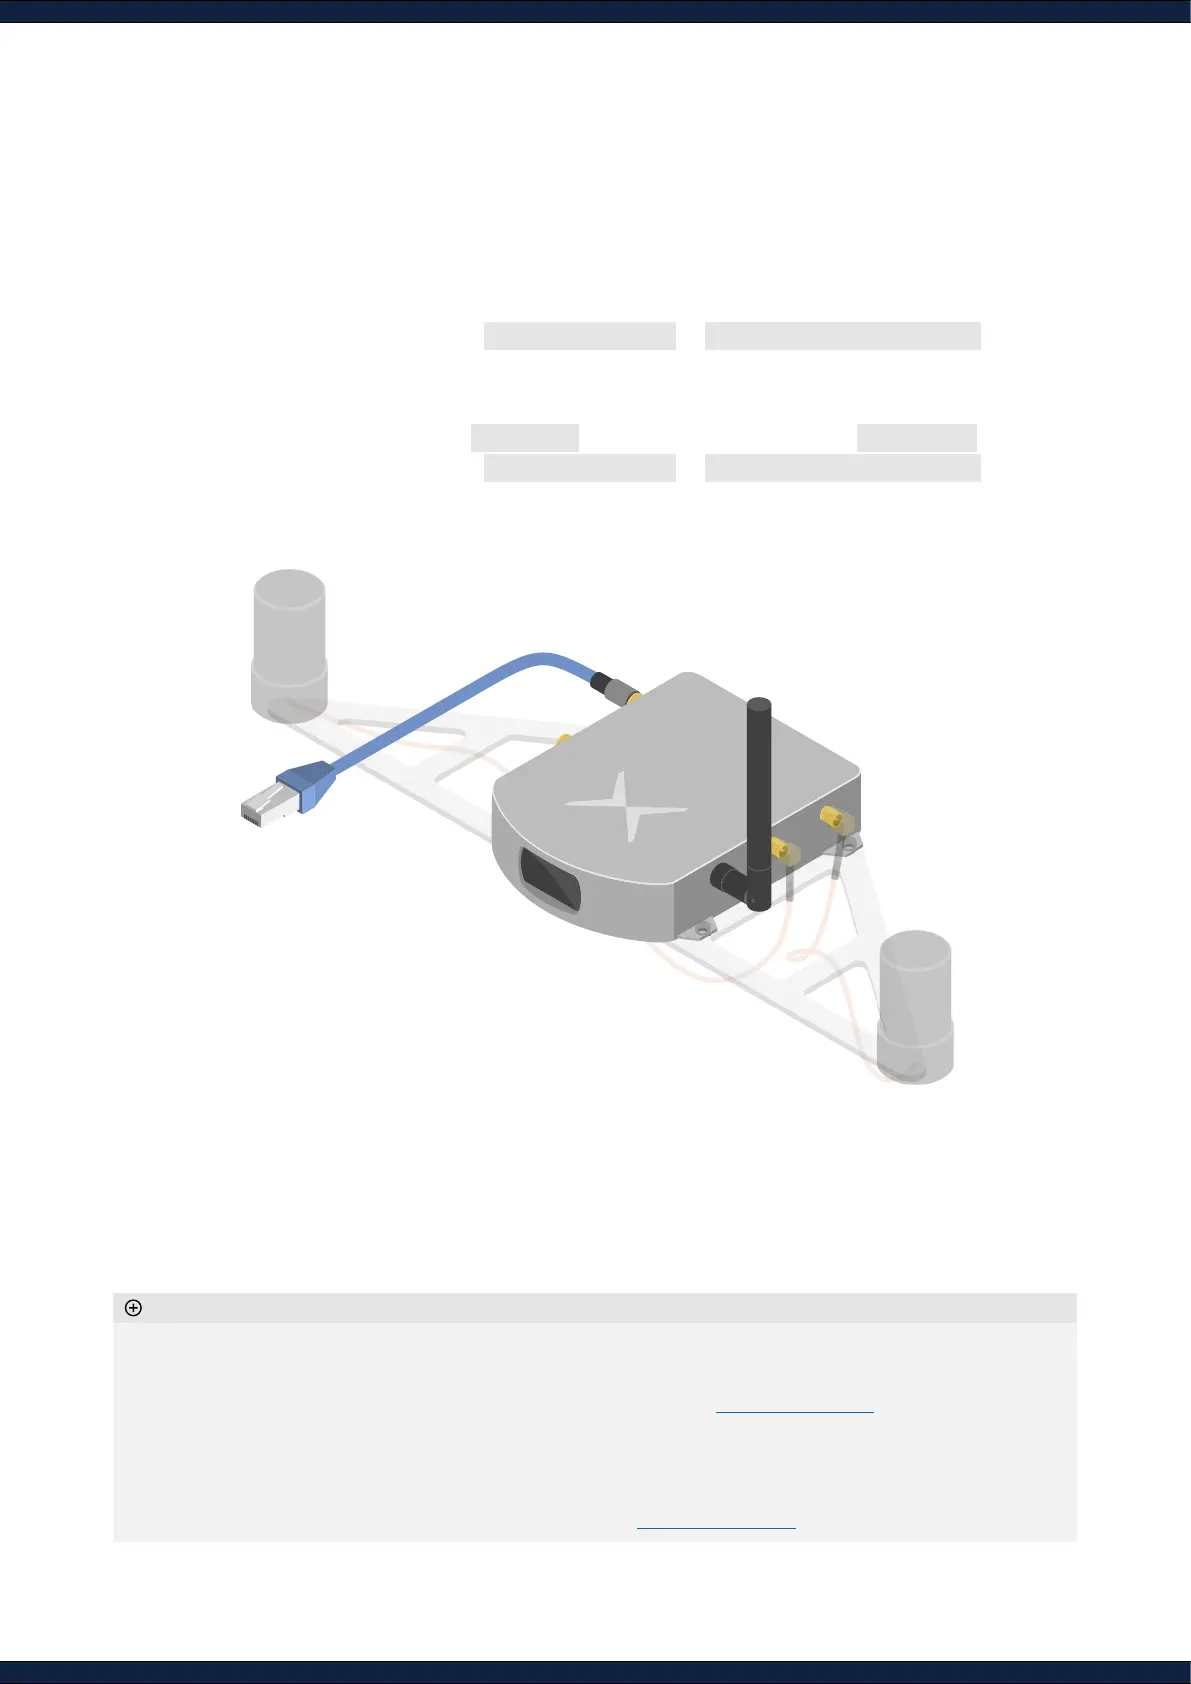
1. Connect the Vision-RTK 2 either via:
A. Ethernet (recommended)
◦ Connect the provided Ethernet cable to your network
◦ Open the browser and visit http://10.0.2.1/ or http://fp-xxxxxx.local/
B. Wi-Fi
◦ Plug the provided Wi-Fi antenna to the Vision-RTK 2
◦ Connect to the Wi-Fi SSID fp-xxxxxx using the default password 1234567890
◦ Open the browser and visit http://10.0.1.1/ or http://fp-xxxxxx.local/
◦ Wi-Fi is only suitable as a service interface. Use Ethernet for regular operation
◦ Connect the Wi-Fi antenna as the range without it is limited to only half a meter
◦ To change the Wi-Fi hotspot password, refer to
Section 5.2.6
of the Integration manual. To set up a password
for the web interface, refer to
Section 5.14
◦ When employing an intermediary device, such as a router, congure the sensor as a DHCP client. The
network’s DHCP server will assign a dynamic IP to the sensor. Thus, the 10.0.1.1 and 10.0.2.1 IPs do not apply
anymore
◦ To congure a static IP, please refer to
Section 5.2.7
of the Integration manual
Additional information
B
A