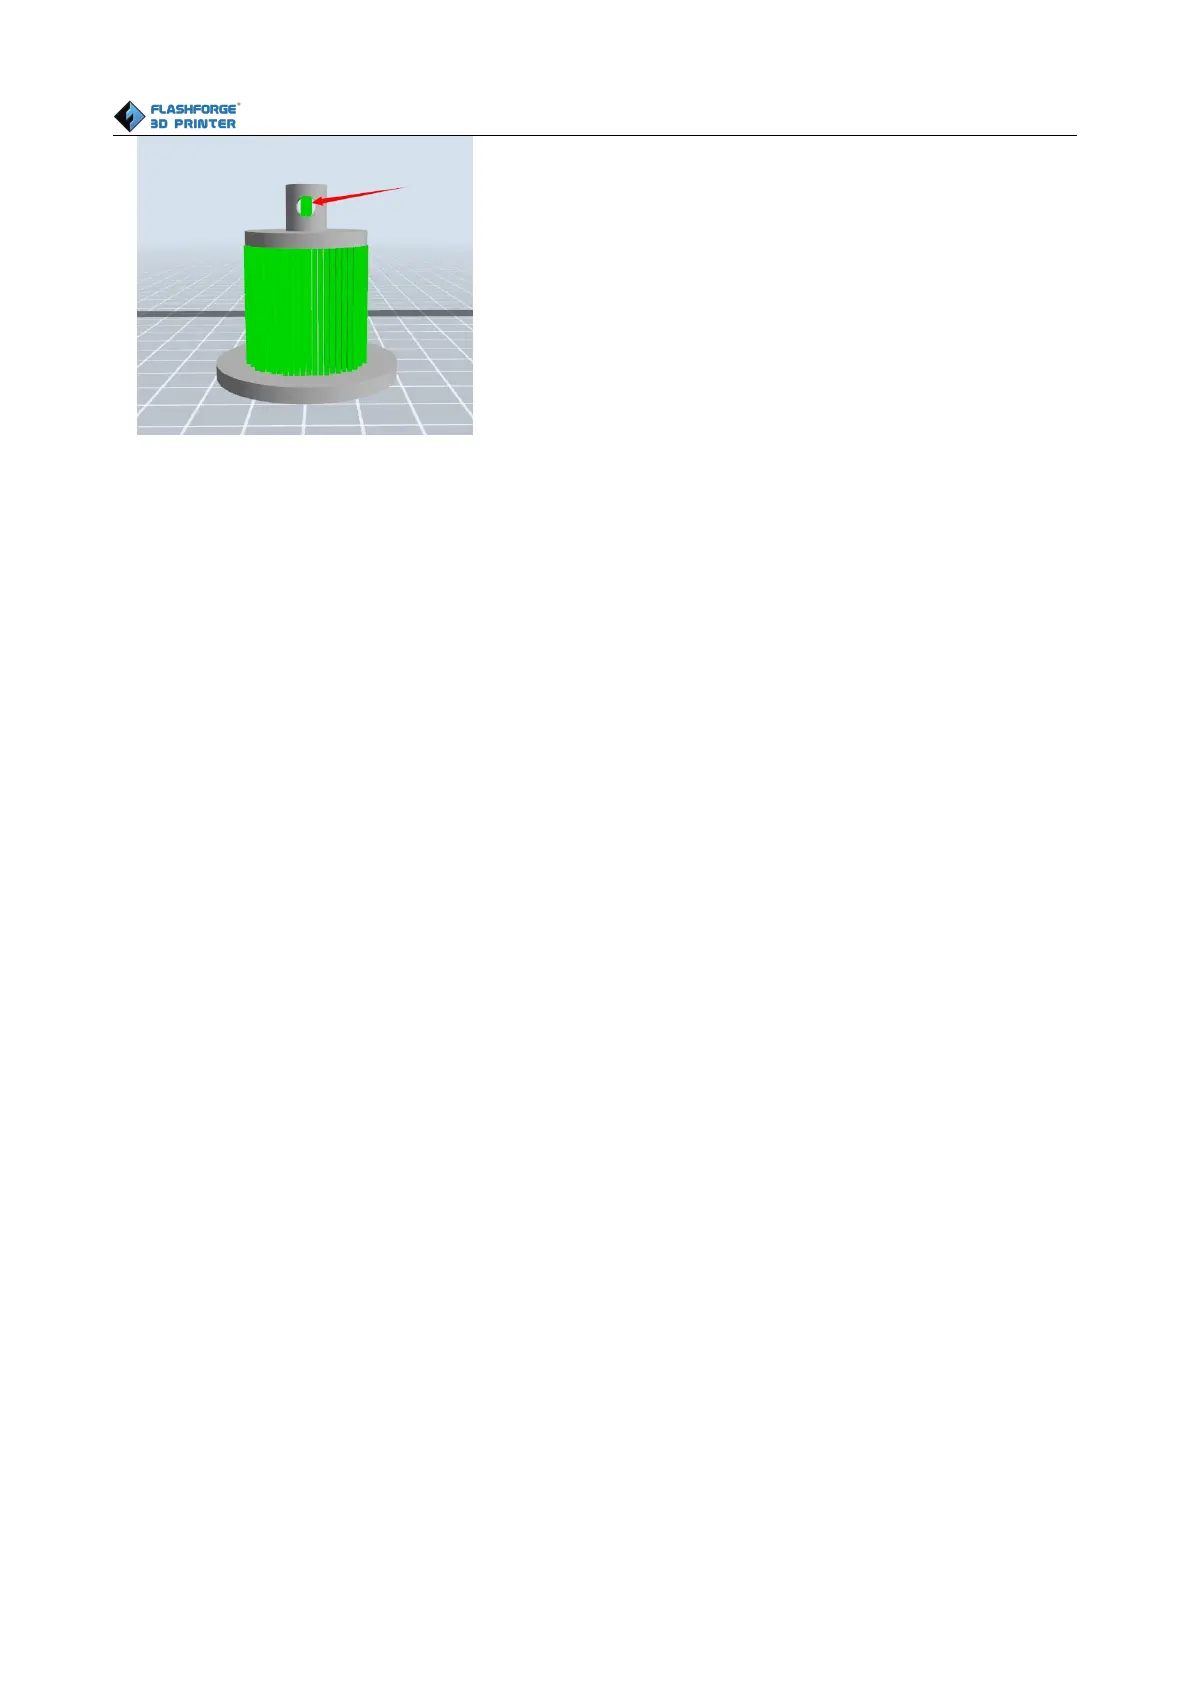
Like the picture above, a hole inside the model doesn’t need any supports.
Left click the [Delete] button and then left click the supports needed deleting. And the support will
7.2 Control over Printing Quality
① Enhance the build plate adhesiveness
● Leveling the build plate
● Keeping the build plate smooth and tidy
● Using the build tape or glue
② Adjusting the printing speed
● Low (Fast) (Print Speed 100mm/s Travel Speed 120mm/s)
● Standard (Print Speed 80mm/s Travel Speed 100mm/s)
● High (Slow) (Print Speed 60mm/s Travel Speed 80mm/s)
● Hyper (Print Speed 40mm/s Travel Speed 60mm/s)
7.3 Skills of Model Placement
Not all the models are in the right positions after being loaded. Therefore, you need to place it in an
appropriate position for better print quality. Such as the models below, you need to put one of the
surfaces onto the platform.(Please refer to 5.1.12-⑦Surface to Platform)