(3) properly mount the filament spool and feed the filament
To make the process of feeding or withdrawing the filament easy, please follow the next few steps
carefully:
After inserting the filament into the filament intake, do not push it further until the extruder
temperature reaches 200°C or higher. Once the machine reaches this point, you will feel the
filament being pulled into the extruder head.
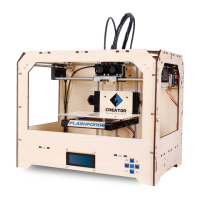
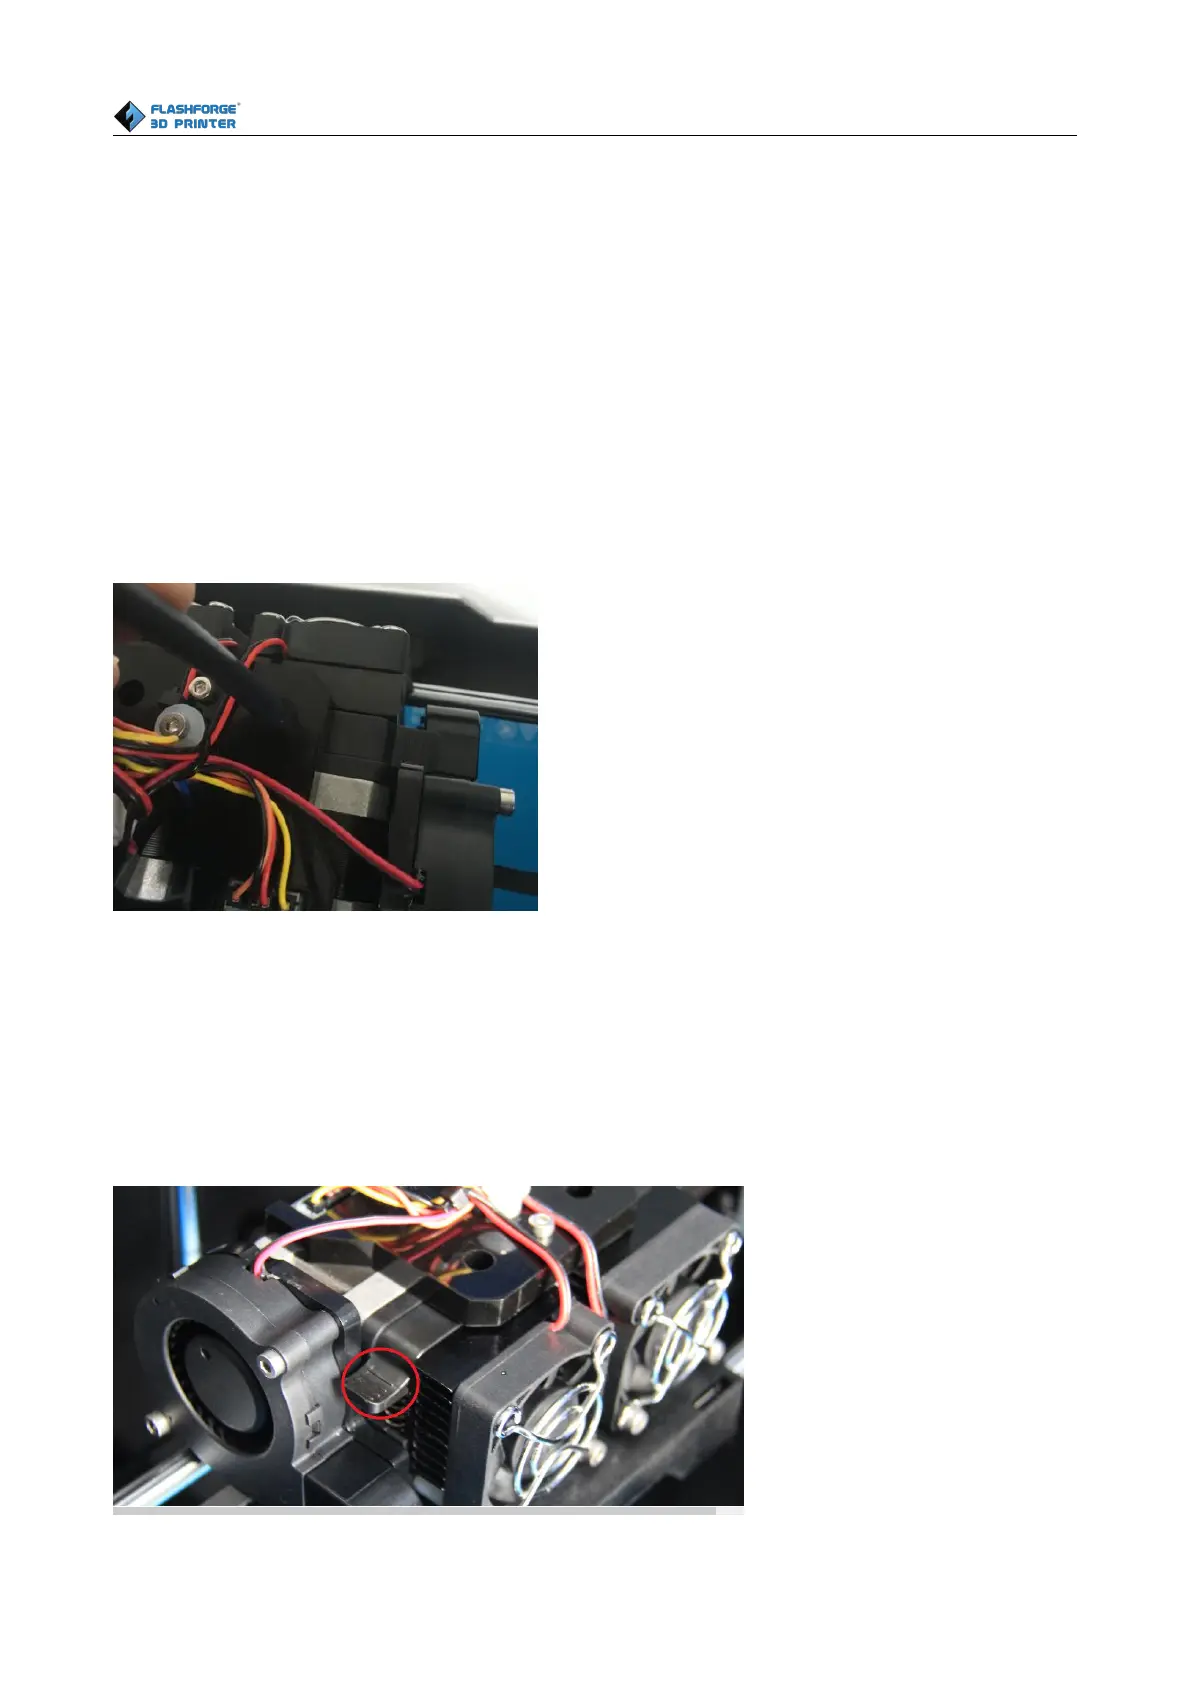
6.1 Installing Filament
First, remove the filament guide tube from the extruder.
To avoid filament jams, always ensure that any filament spool you mount you mount on the Creator
pro feeds from the bottom of the spool toward the top. Filament mounted on the right spool holder
[When viewed from the back] should always unspool clockwise and filament loaded onto the left
holder should always unspool counterclockwise.
Moreover, when you insert the filament into the filament intake, you should press down the spring
presser first.