Operation
12
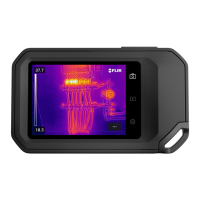
5. Connect the USB cable to the USB Mini-B connector in the connector bay.
6. Do one of the following:
• Move the images to the computer using a drag-and-drop operation in Microsoft
Windows Explorer.
Note Moving an image using a drag-and-drop operation does not delete the im-
age in the camera.
• Move the images to the computer using FLIR Tools.
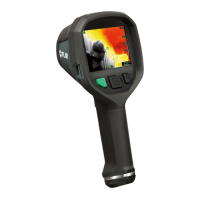
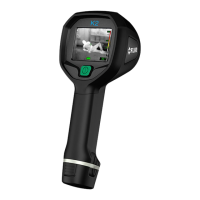
12.10.3 Procedure (FLIR K65)
Follow this procedure:
1. Fold up the rubber cover at the top of the camera.
2. Fold up the metal ring.
3. Unscrew the Torx T20 screw.
CAUTION
Make sure that you do not use a torque value that is more than 80 Ncm on the Torx T20 screw.
Damage to the camera can occur if you do not obey this.
#T559946; r. BA/41926/41970; en-US
37
 Loading...