CoRe+
TM
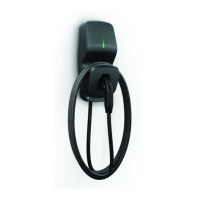
Cable management system and pedestal installation guide
7
Cable management
system installation
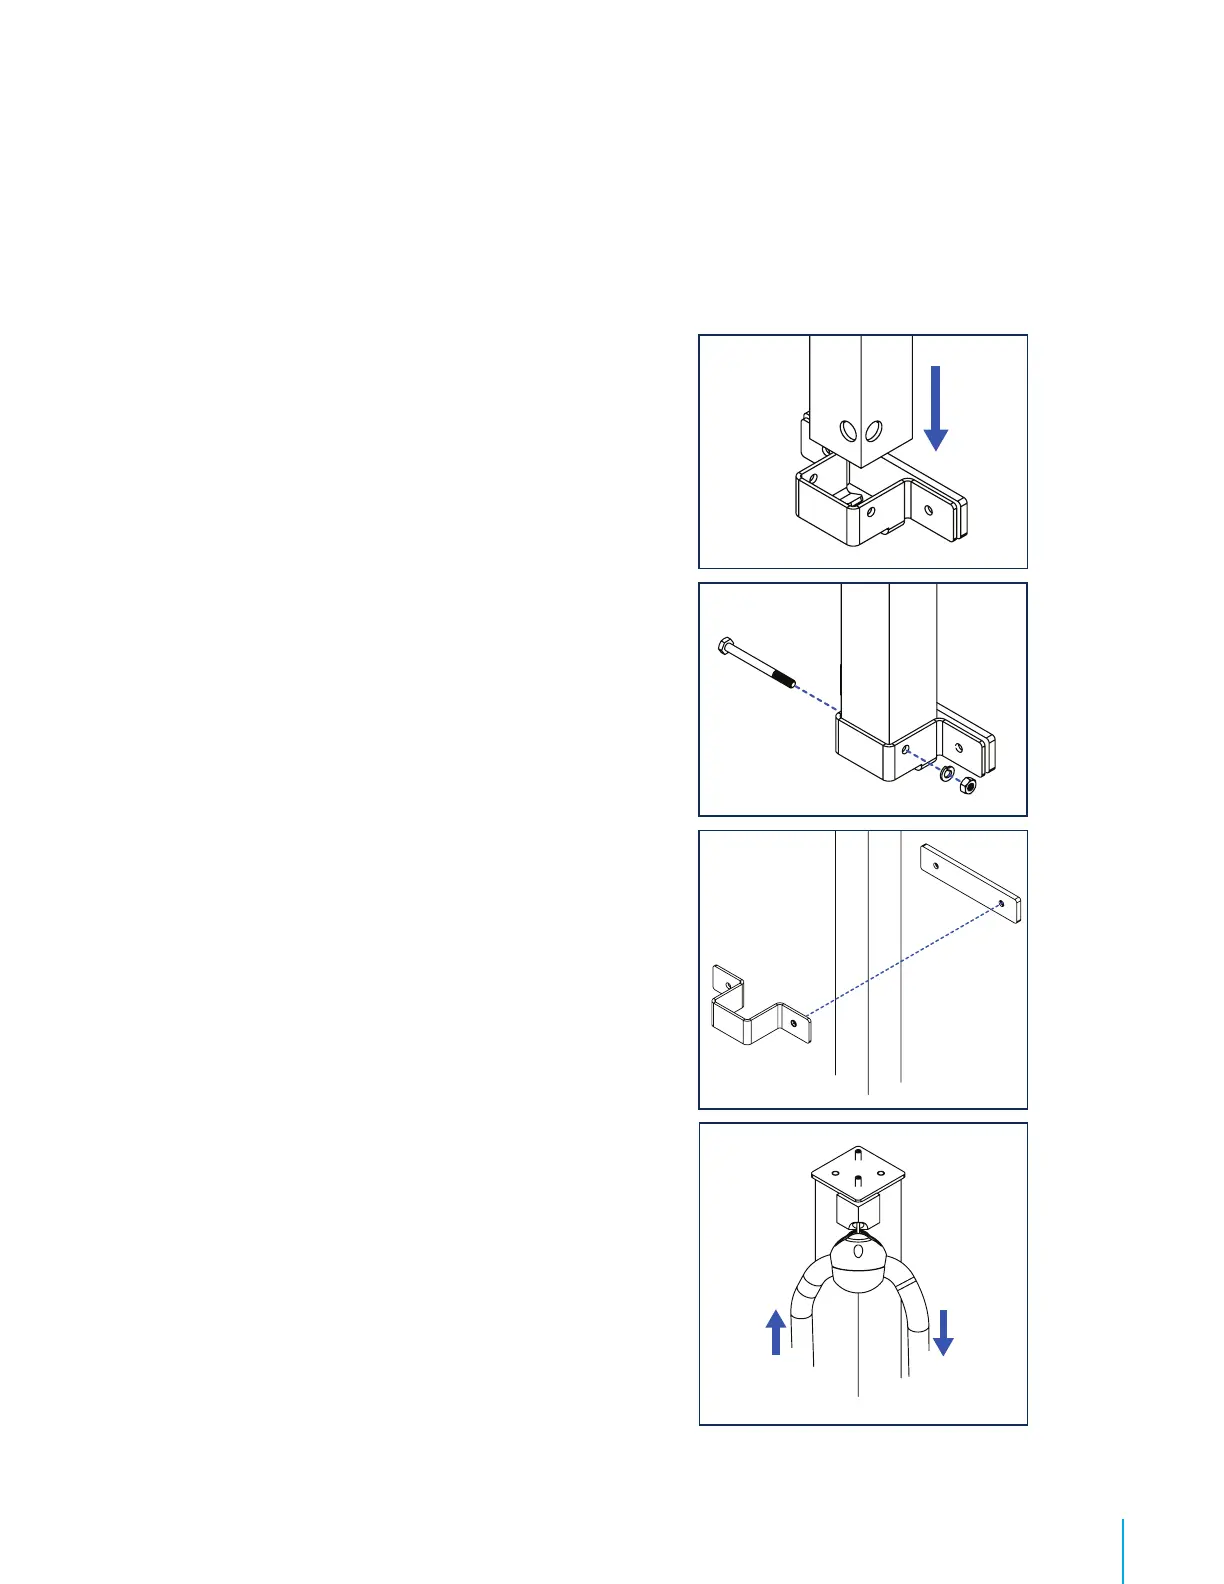
1. First, install one of the two spacing shims and the
lower wall mount bracket at the desired height by
using two ¼ in diameter screws and appropriate
washer. Make sure that both brackets are levelled
horizontally.
Remark : The lower wall mount bracket can be identied
by its factory pre-drilled holes.
2. Sit the column in the lower wall mount bracket.
Remark : Make sure to position the Cable management
system’s cable clamp on the correct side, that is on the
right or the left, according to where the charging station is
located.
3. Secure the column by installing the screw and bolt in
the lower wall mount bracket thought the pre drilled
holes with a ratchet wrench and an axel nut socket
(the security screw that was used for holding the
counterweight).
4. Install the top bracket and the rectangular spacing
shim while inserting the column between the parts.
Once you ensure that the bracket is flush with
the plate and assembly is level, secure it with the
appropriate screws (according to wall type).
5. Verify the column’s angle with a level.
6. Proceed with the positioning of the cable clamp. Refer
to page 15.
7. Pull on the Cable management system’s cable a few
times to ensure that all parts are moving freely.