Defibrillator/Transcutaneous Pacemaker Analyzer
Turning the Analyzer On and Off
7
Table 3. Rear-Panel Connections
Item Name Description
1 Charge Status LED
Indicates RED while battery is charging. Indicates GREEN when the battery is fully
charged and the charger is still connected.
2
Battery Charger
connector
Input connector for attaching the battery charger to the Analyzer.
3 Scope output Output signal jack for displaying the defib playback wave on an oscilloscope.
4 Hi-level ECG output High-level ECG signal output jack for oscilloscope viewing.
5 Computer Port Device Port (B-style USB) for controlling the Analyzer from a PC or instrument controller.
Turning the Analyzer On and Off
Note
Before using the Analyzer for the first time, plug
the battery charger into the Analyzer and a power
outlet and charge the Analyzer for at least 4
hours.
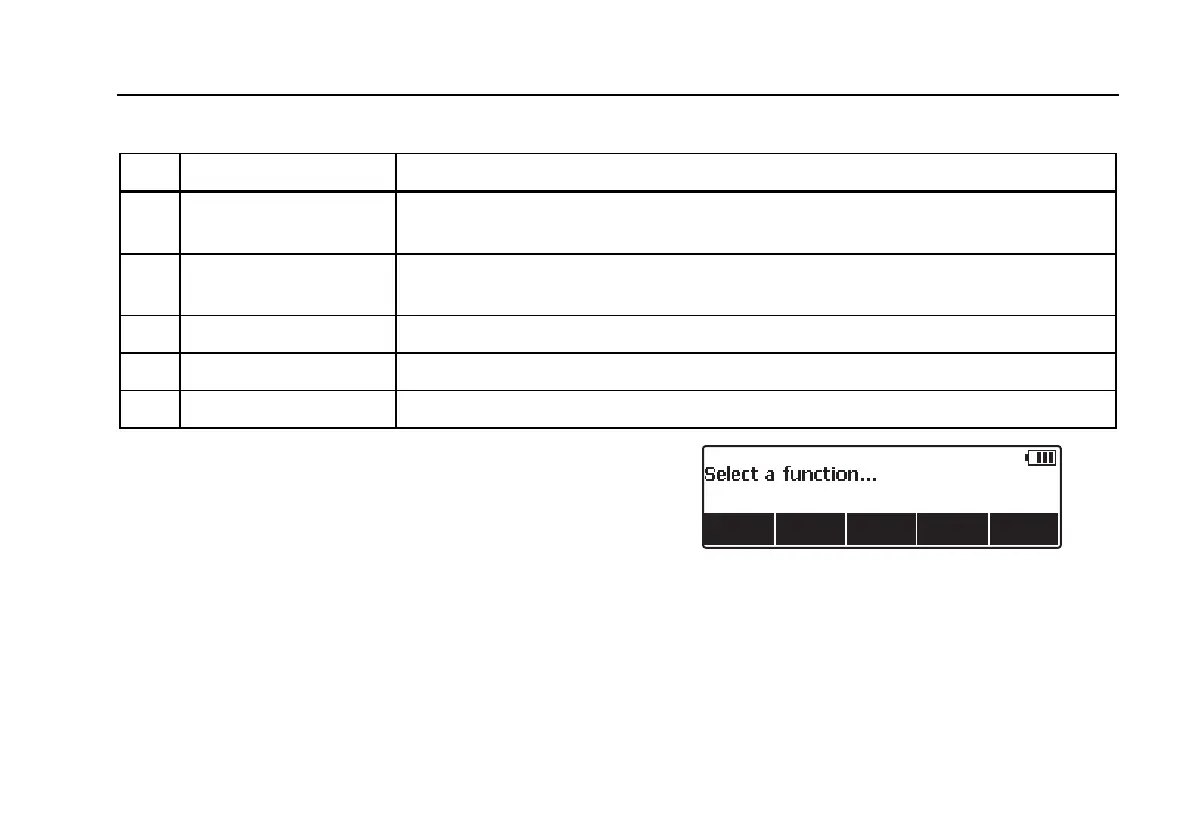
Press the power button (O) on the top panel to turn the
Analyzer on. After a short self-test period, the Analyzer will
display the screen shown in Figure 3 to indicate it is ready
for operation.
fak01.eps
Figure 3. Analyzer Ready Display
Battery condition is displayed in the upper right-hand
corner of the display (S) when a top-level menu is
displayed. When a low battery is indicated, attach the
battery charger to the Analyzer and plug it into a power
outlet.
 Loading...