3 Getting started
Fully charge battery before using FLYMASTER VARIO for the first time.
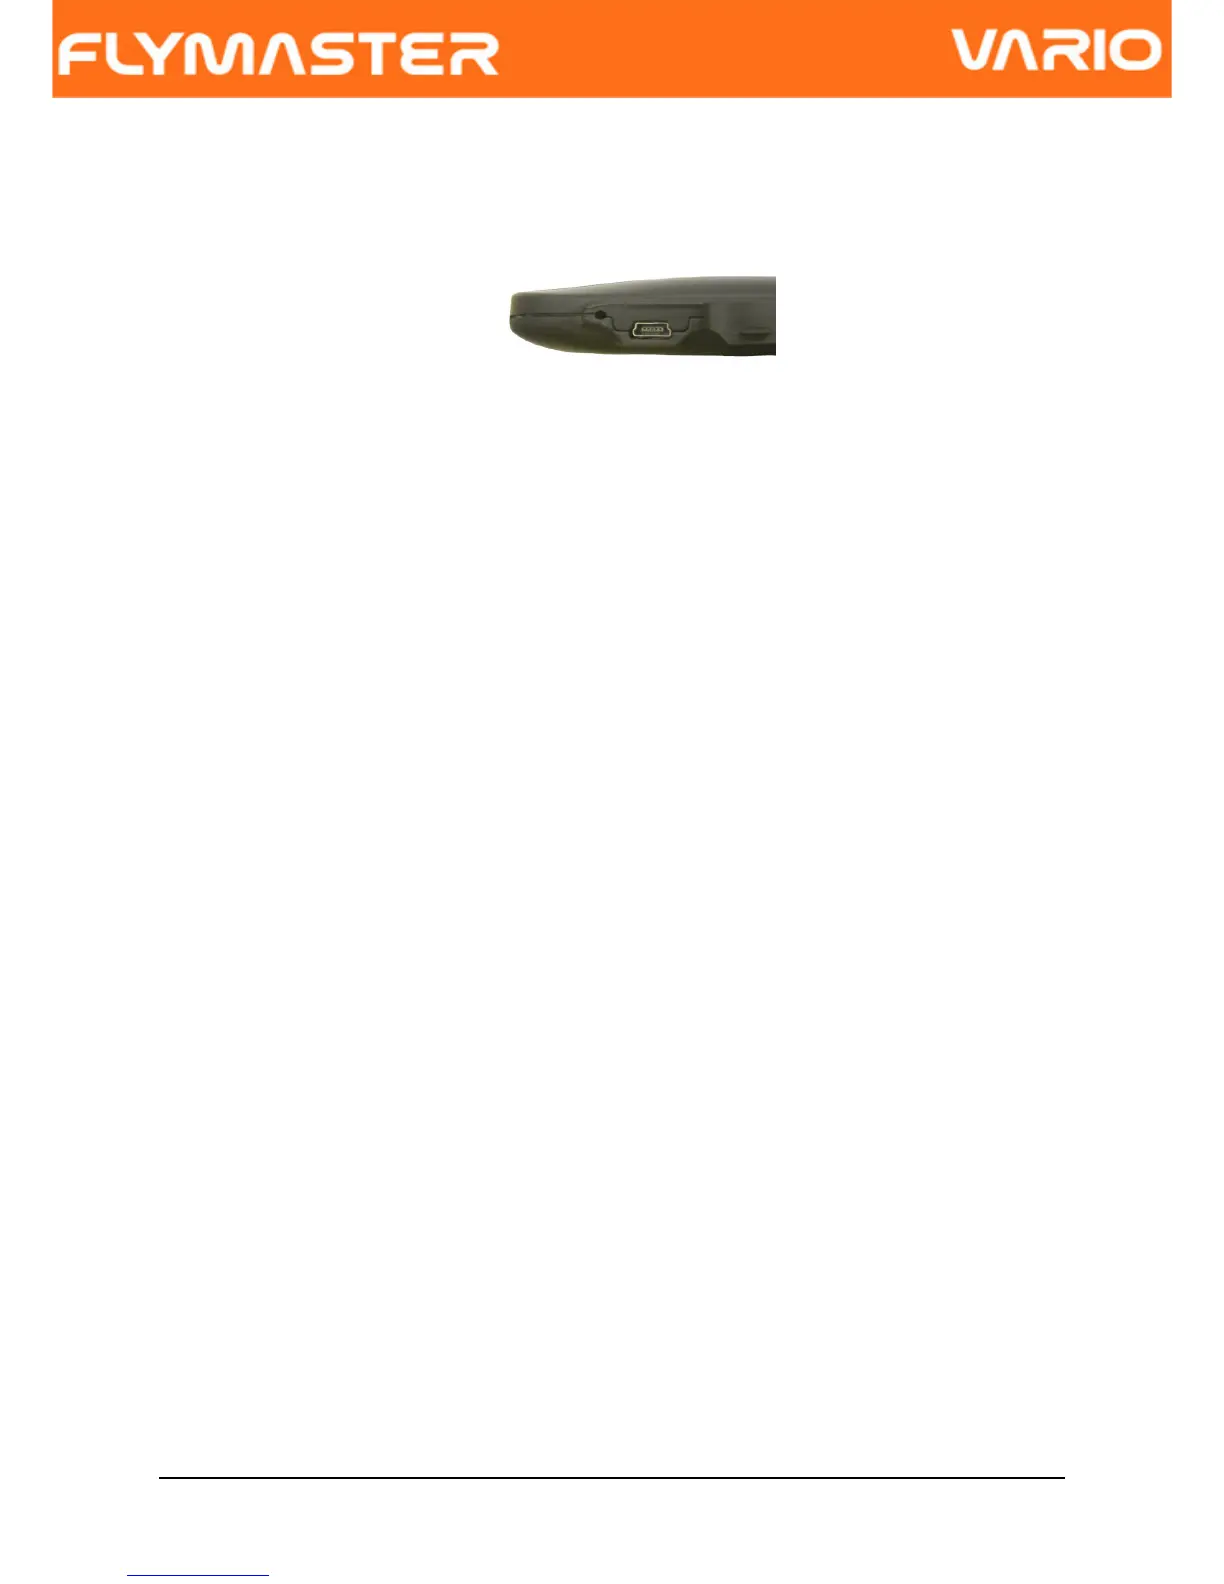
Figure. 2 - USB Connector
The battery may be charged by either connecting the VARIO USB connector to the wall
socket charger or USB cable. USB connector can be found on the right side of the VARIO
(see Figure. 2).
3.1 Charging the Battery
Flymaster VARIO has a completely new battery power management, that gives the pilot a
more accurate information about the battery state, as well as the charging time and battery
remaining time.
To charge the Flymaster VARIO battery you can use the wall charger, the Usb cable, or the
car charger. Flymaster accessories are recommended in order to avoid damage the power
management module.
Charging, or battery status information is shown in the Shutdown menu.
When not being charged, the remaining battery level is shown as a percentage. In addition
the estimated remaining working time (TTG) is shown. Both values are estimated based
on the average consumption of the device since the last charge. Naturally, any change in
consumption profile results in an estimation error.
The Flymaster VARIO has 2 charging modes, namely, “Quick Charge” and “Slow charge”.
The charging mode choice is made automatic.
Quick charge mode is only choose when the wall charger, or the car charger are used,
while Slow Charge mode is choose when is used a USB cable connected to a Pc.
Note: Charging is not possible when the device is turned on, and the device is
connected to a PC. In order to start charging the device should be turned off.
Document version: 2.0 Page 6